
Merchant Administration Portal - Partner / Multi-outlet
What’s new on the Midtrans Dashboard?
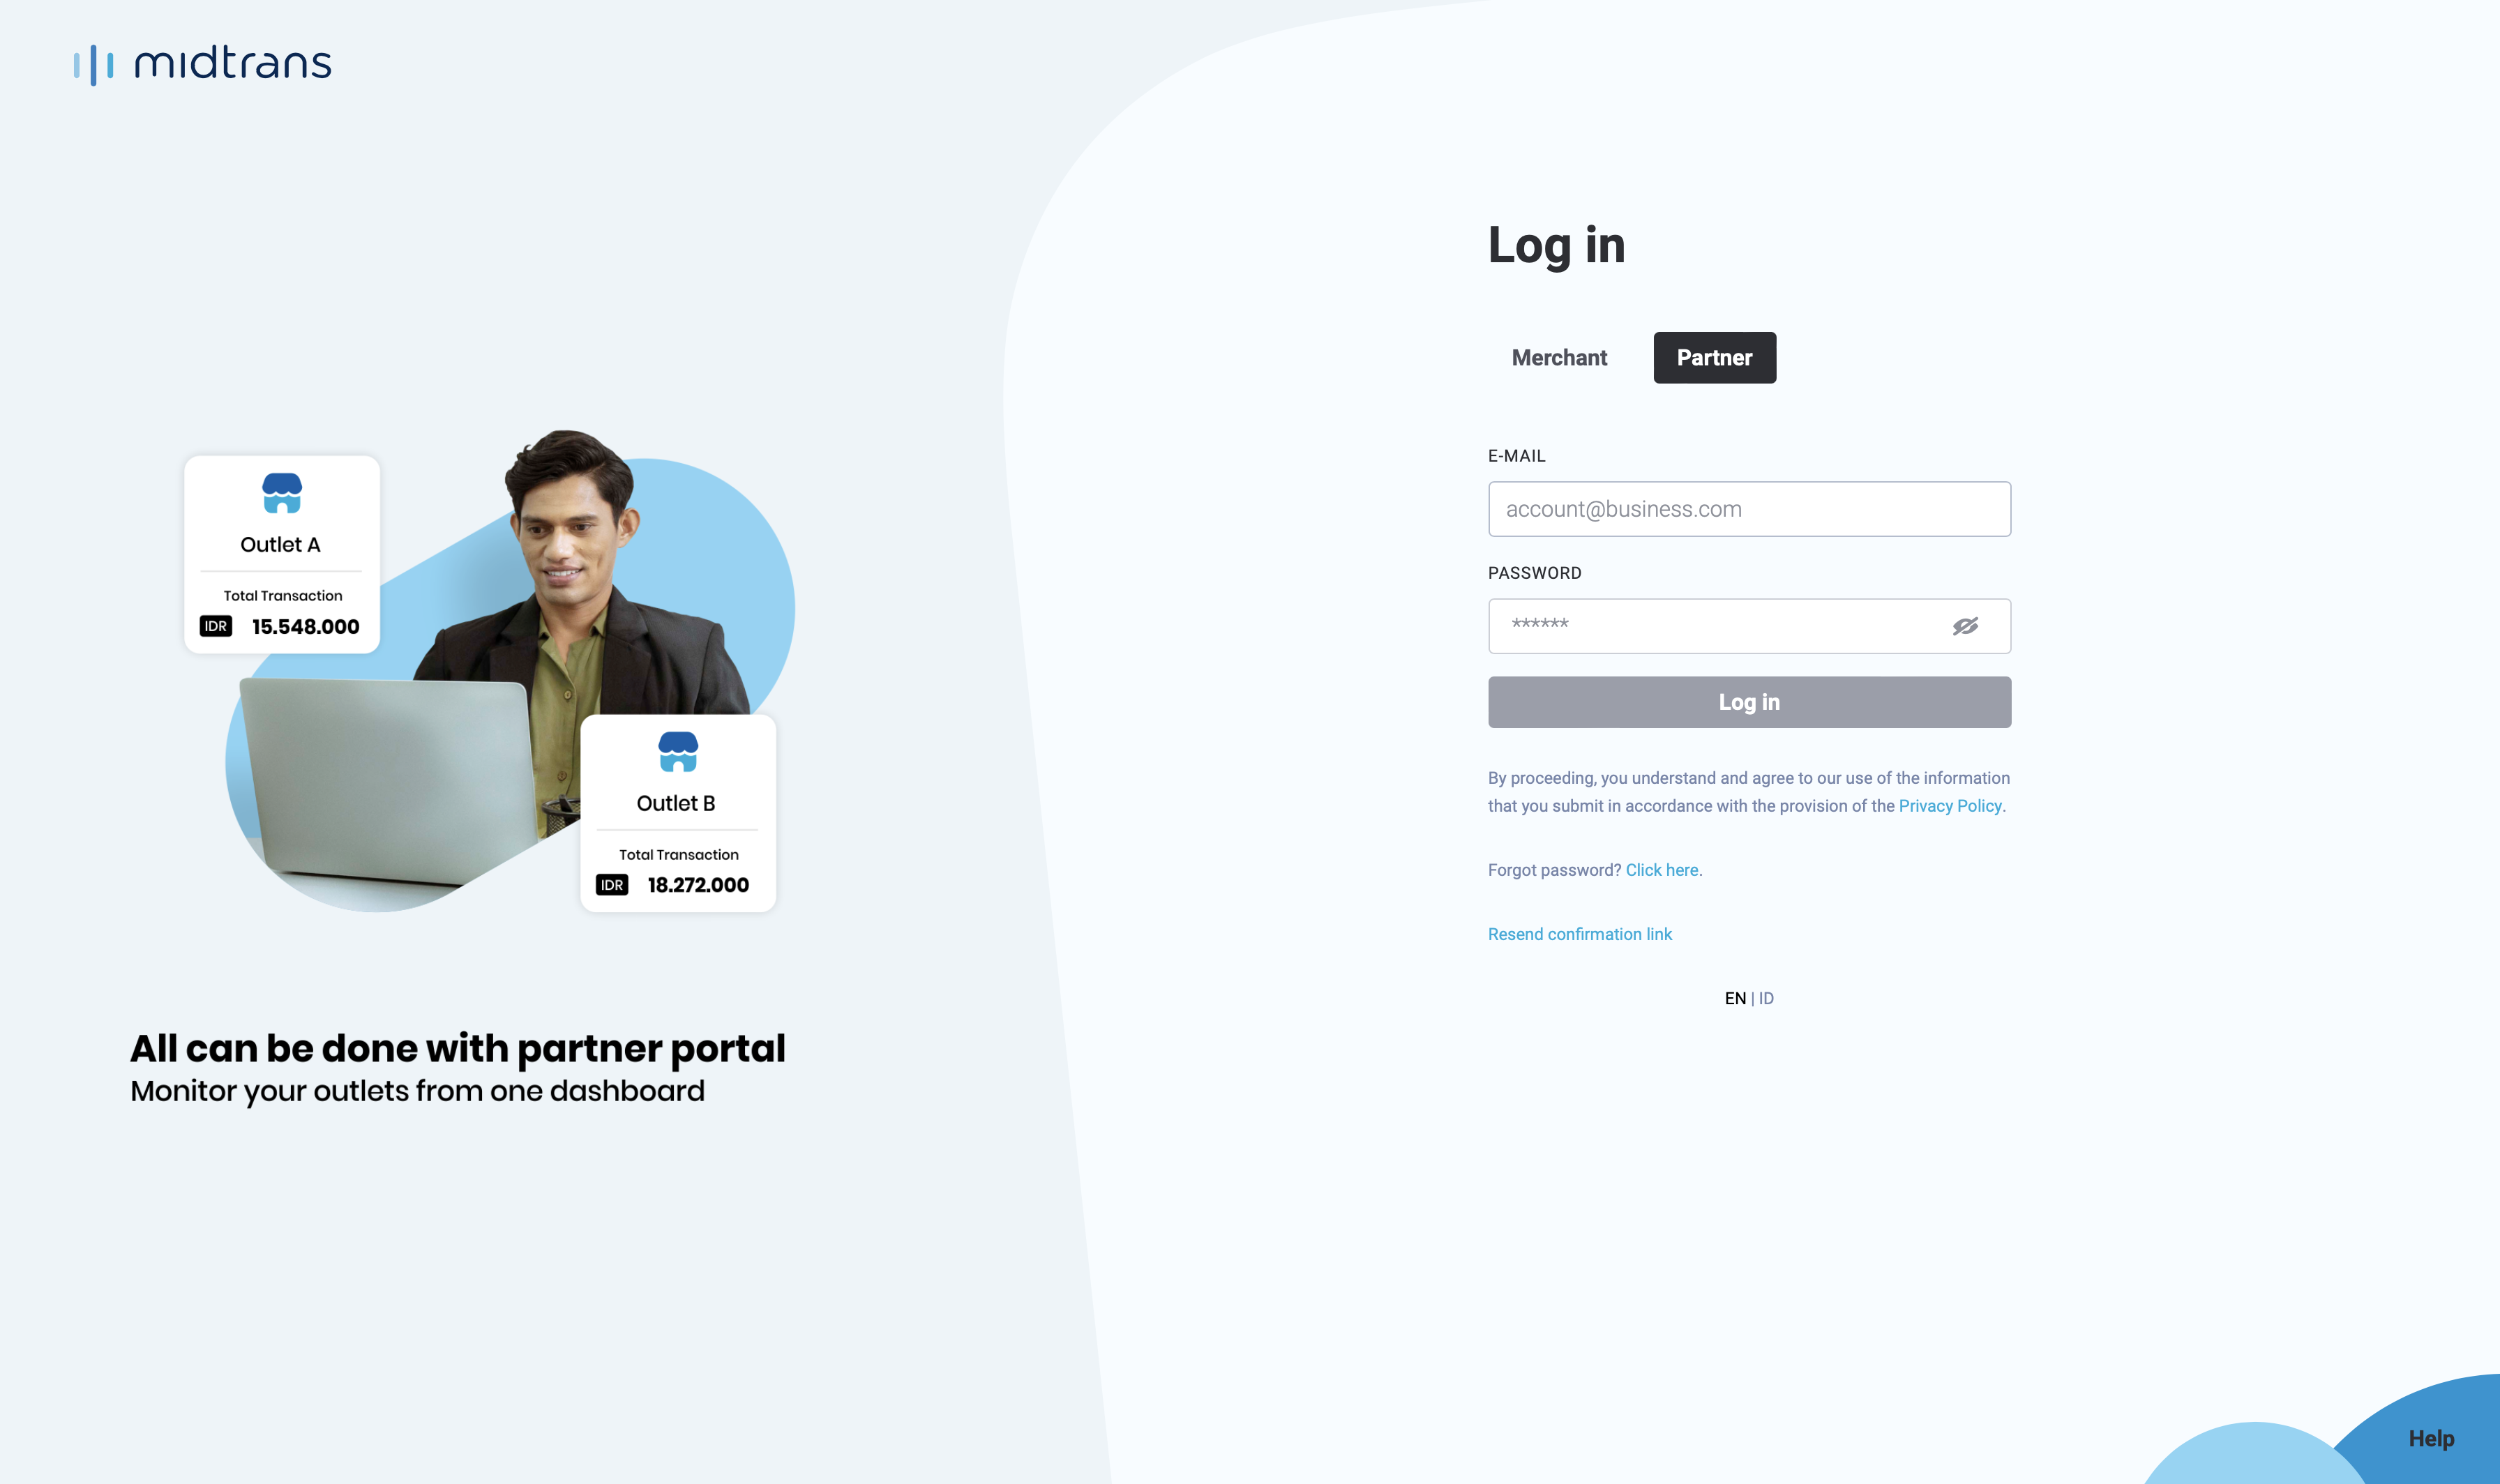
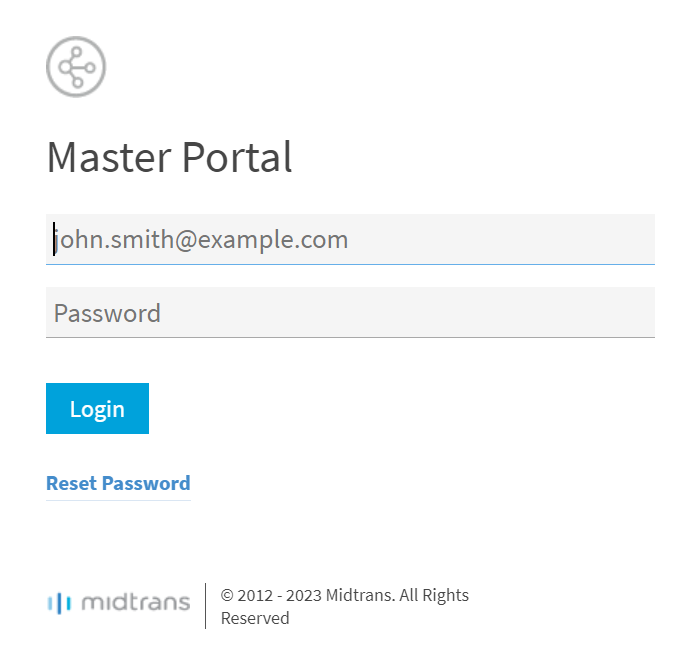
We’ll soon deprecate the partner / master portal https://app.midtrans.com/partners/login in 2023 and move all of the previous dashboard functionality to Midtrans Dashboard.
Multi-outlet merchants can now access it through dashboard.midtrans.com and choose login as a Partner.
How to login to the Merchant Administration Portal - Partner / Multi-outlet for the first time?
For an existing master portal user, you can use the same email address you used before. Here are the steps that Merchants need to follow to trigger the migration (only for the first time).
Note 📝If your email address is being used to login for partner and merchant, then the same password will apply for both. You don't have to reset the password.
-
Click on this link ↗.
-
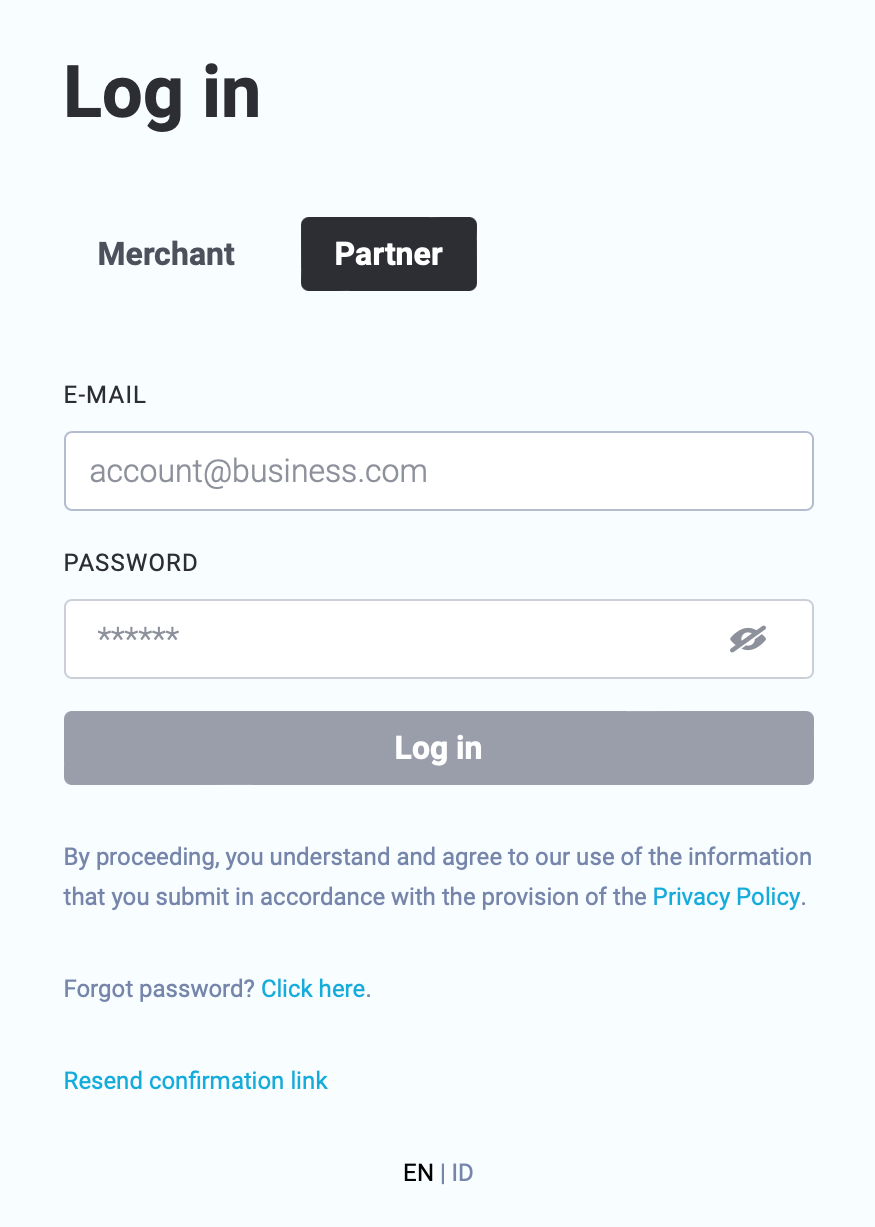
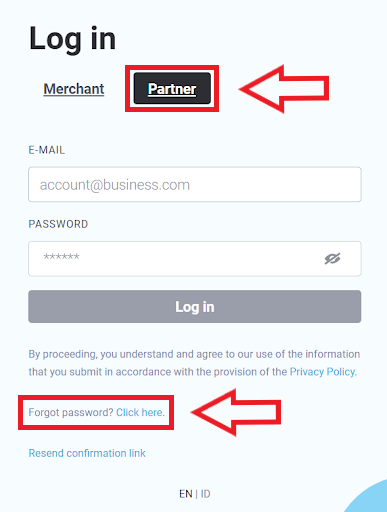
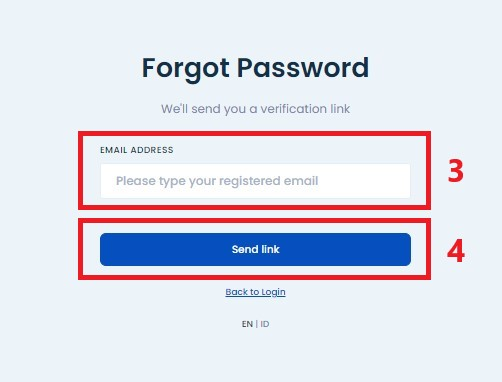
Select Partner and click Forgot password?
-
Type your registered email.
-
Click Send link.
-
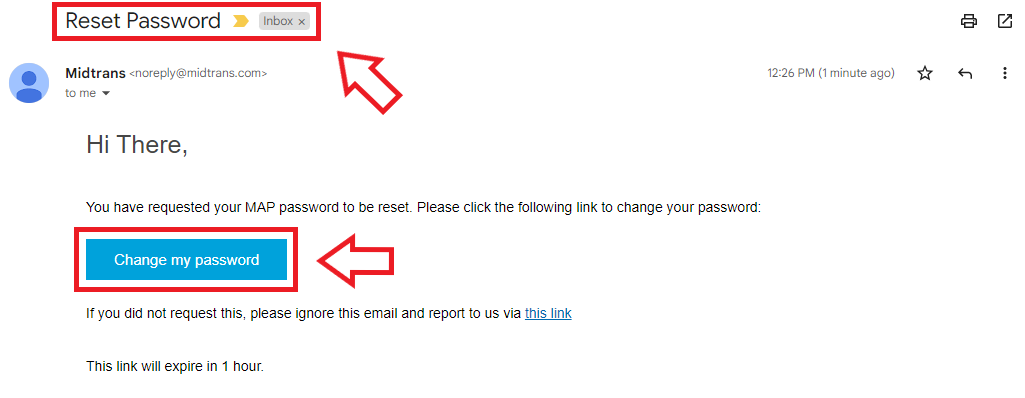
You’ll get a reset password email to create a new password. Email should be received within five minutes.

-
Check your email with this subject "Reset Password", and then click "Change my password".
-
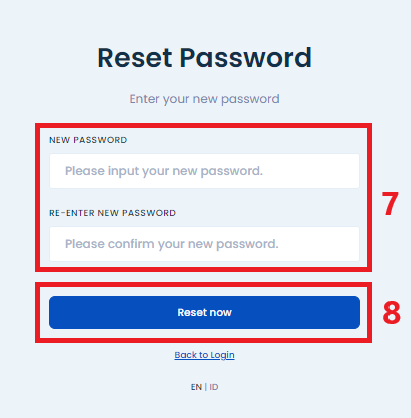
Enter your new password and then re-enter your new password.
-
Click "Reset now".
-
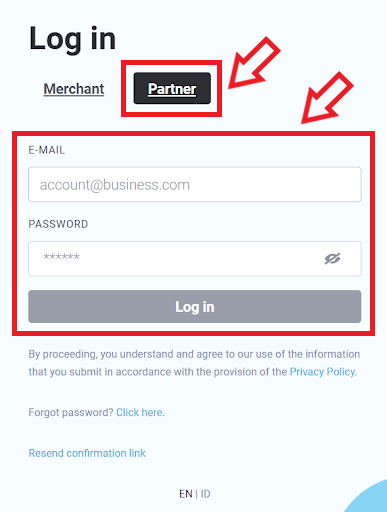
You will be redirected to the Login ↗ page upon clicking Reset now.
-
Select Partner, input your registered email into the email address field, your new password into the password field, and then click "Log in".
-
The migration process has been completed and ready to use.
If you still encounter an error or difficulties during migration or login to your new dashboard, please contact our support team through this link ↗.
What you can find on the new dashboard?
You can find all of the previous features on the old dashboard, which are:
- Merchant List
- Merchant Management
- Transaction
- Withdrawal
- Edit Profile
- Dashboard
- User Management
- Activity Log
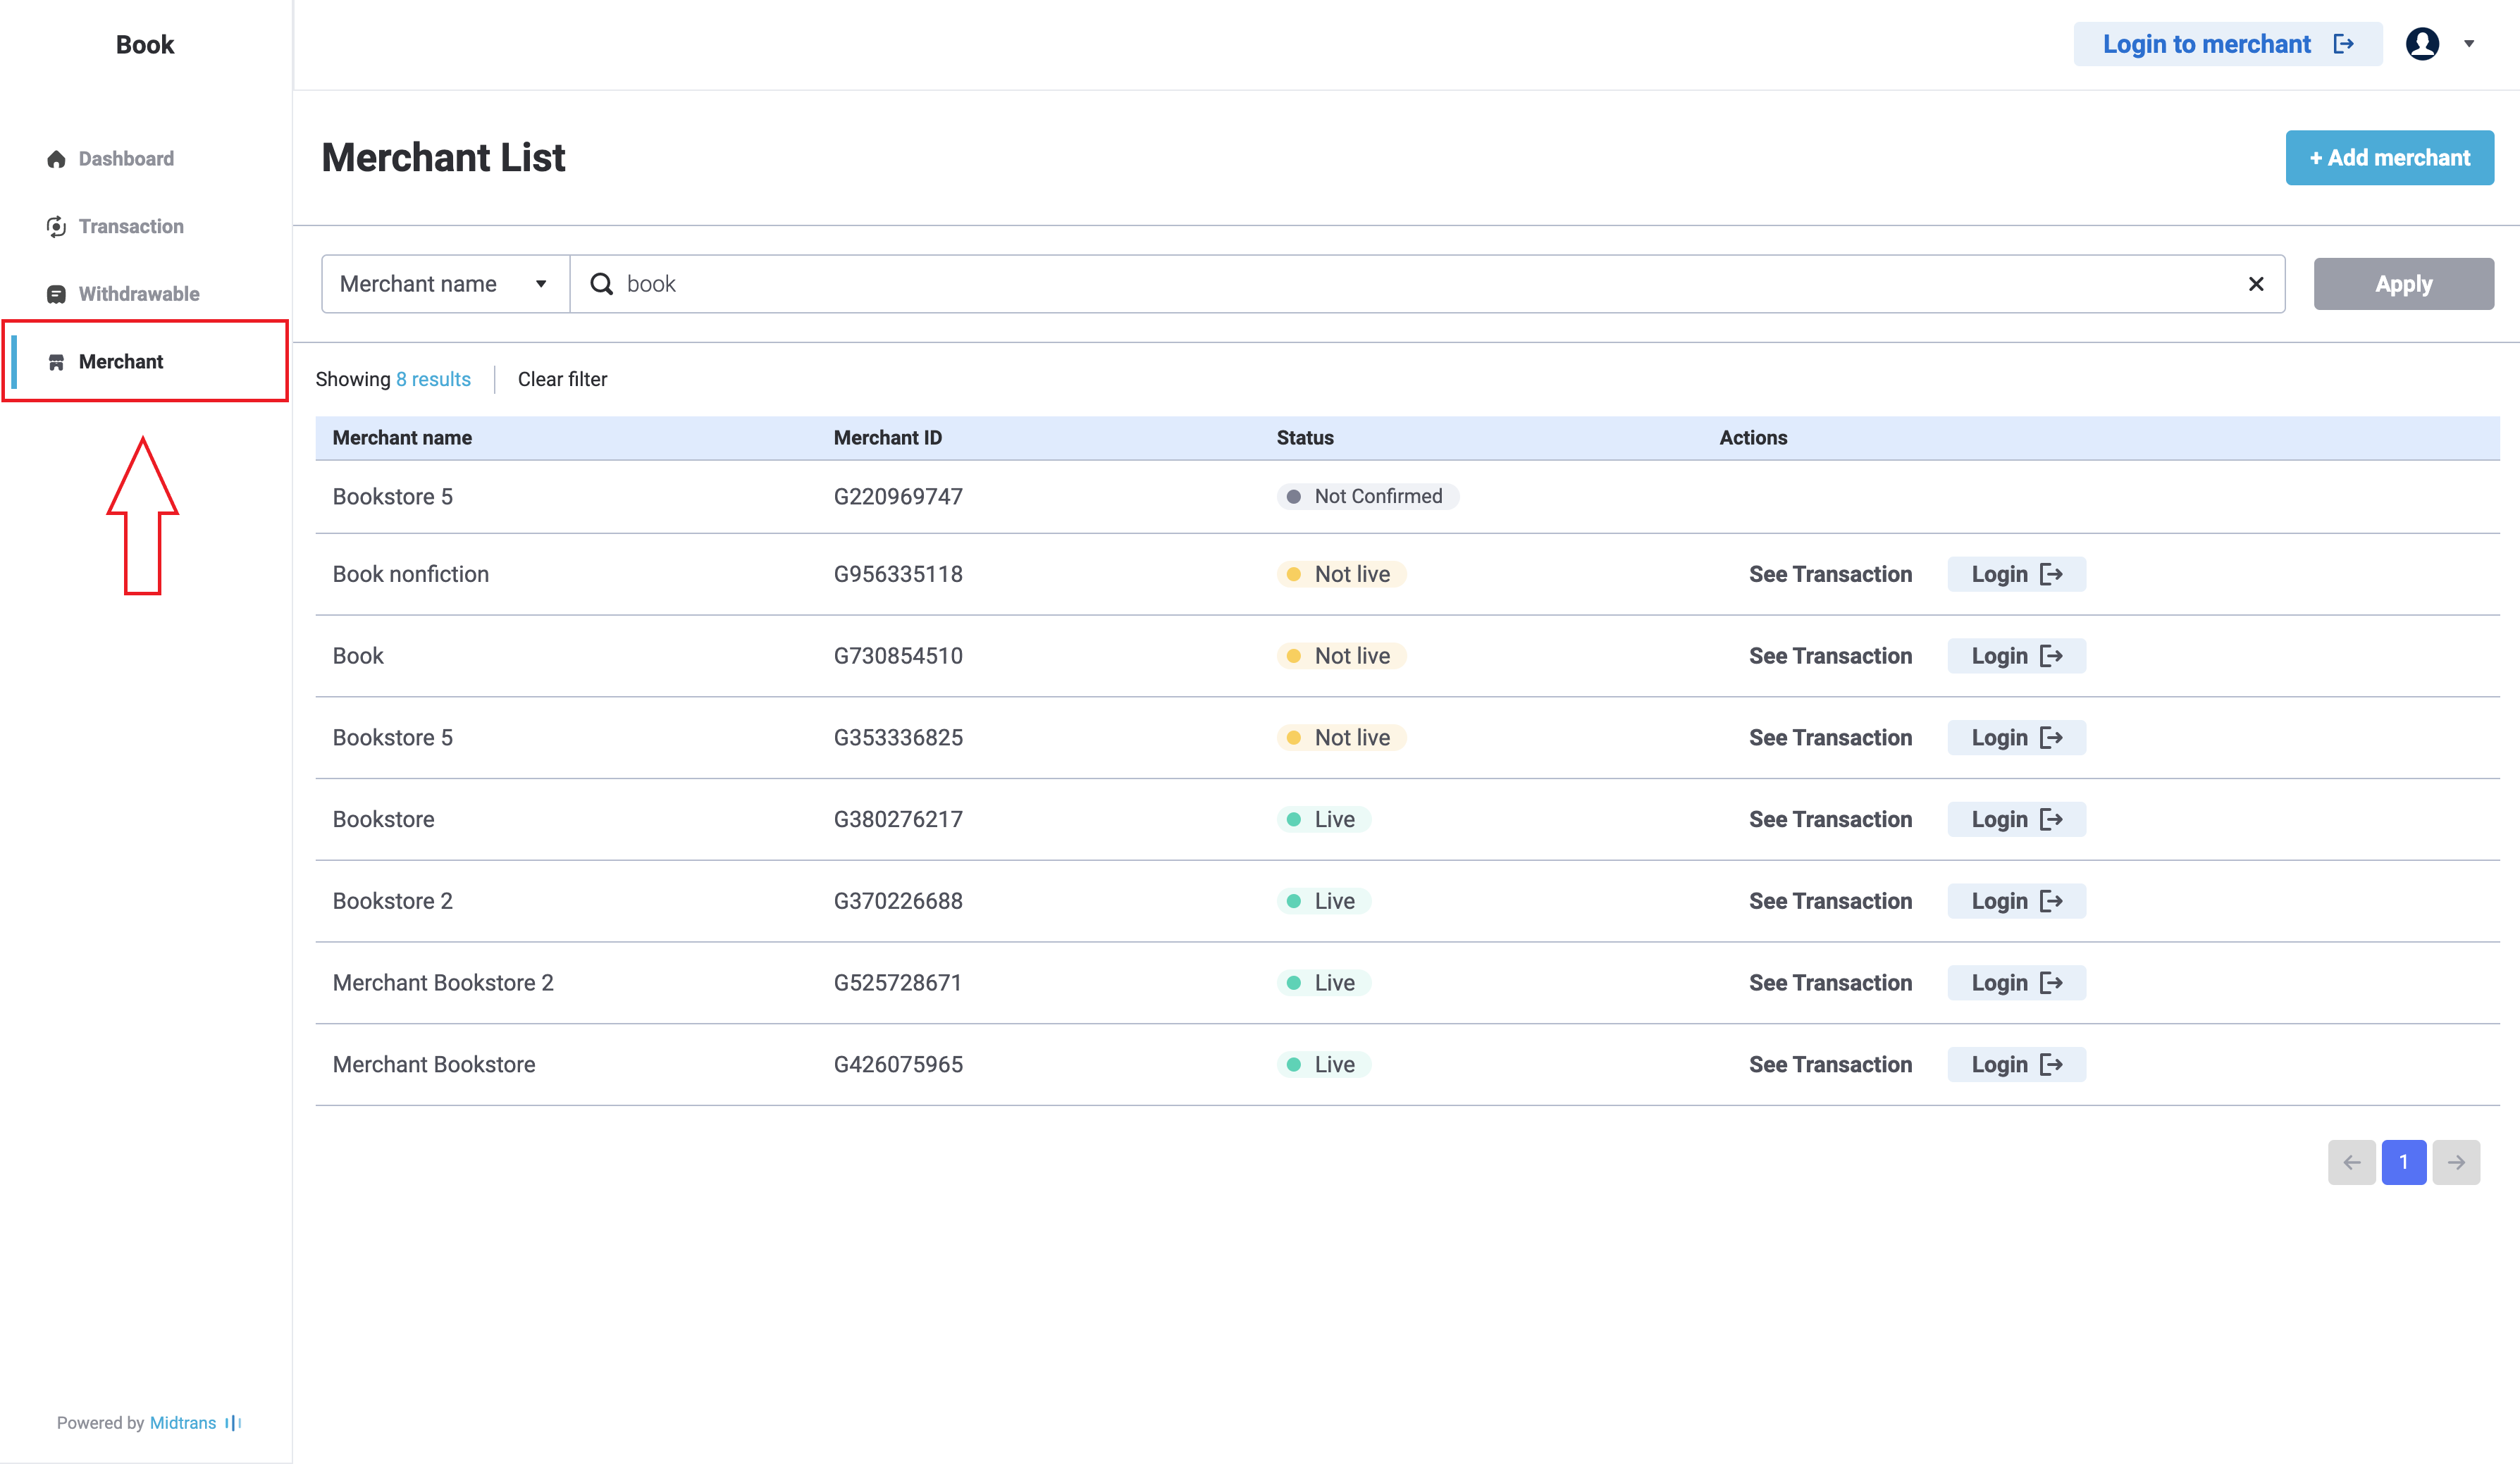
Merchant List
A. You can find all of your merchants on the Merchant list section.
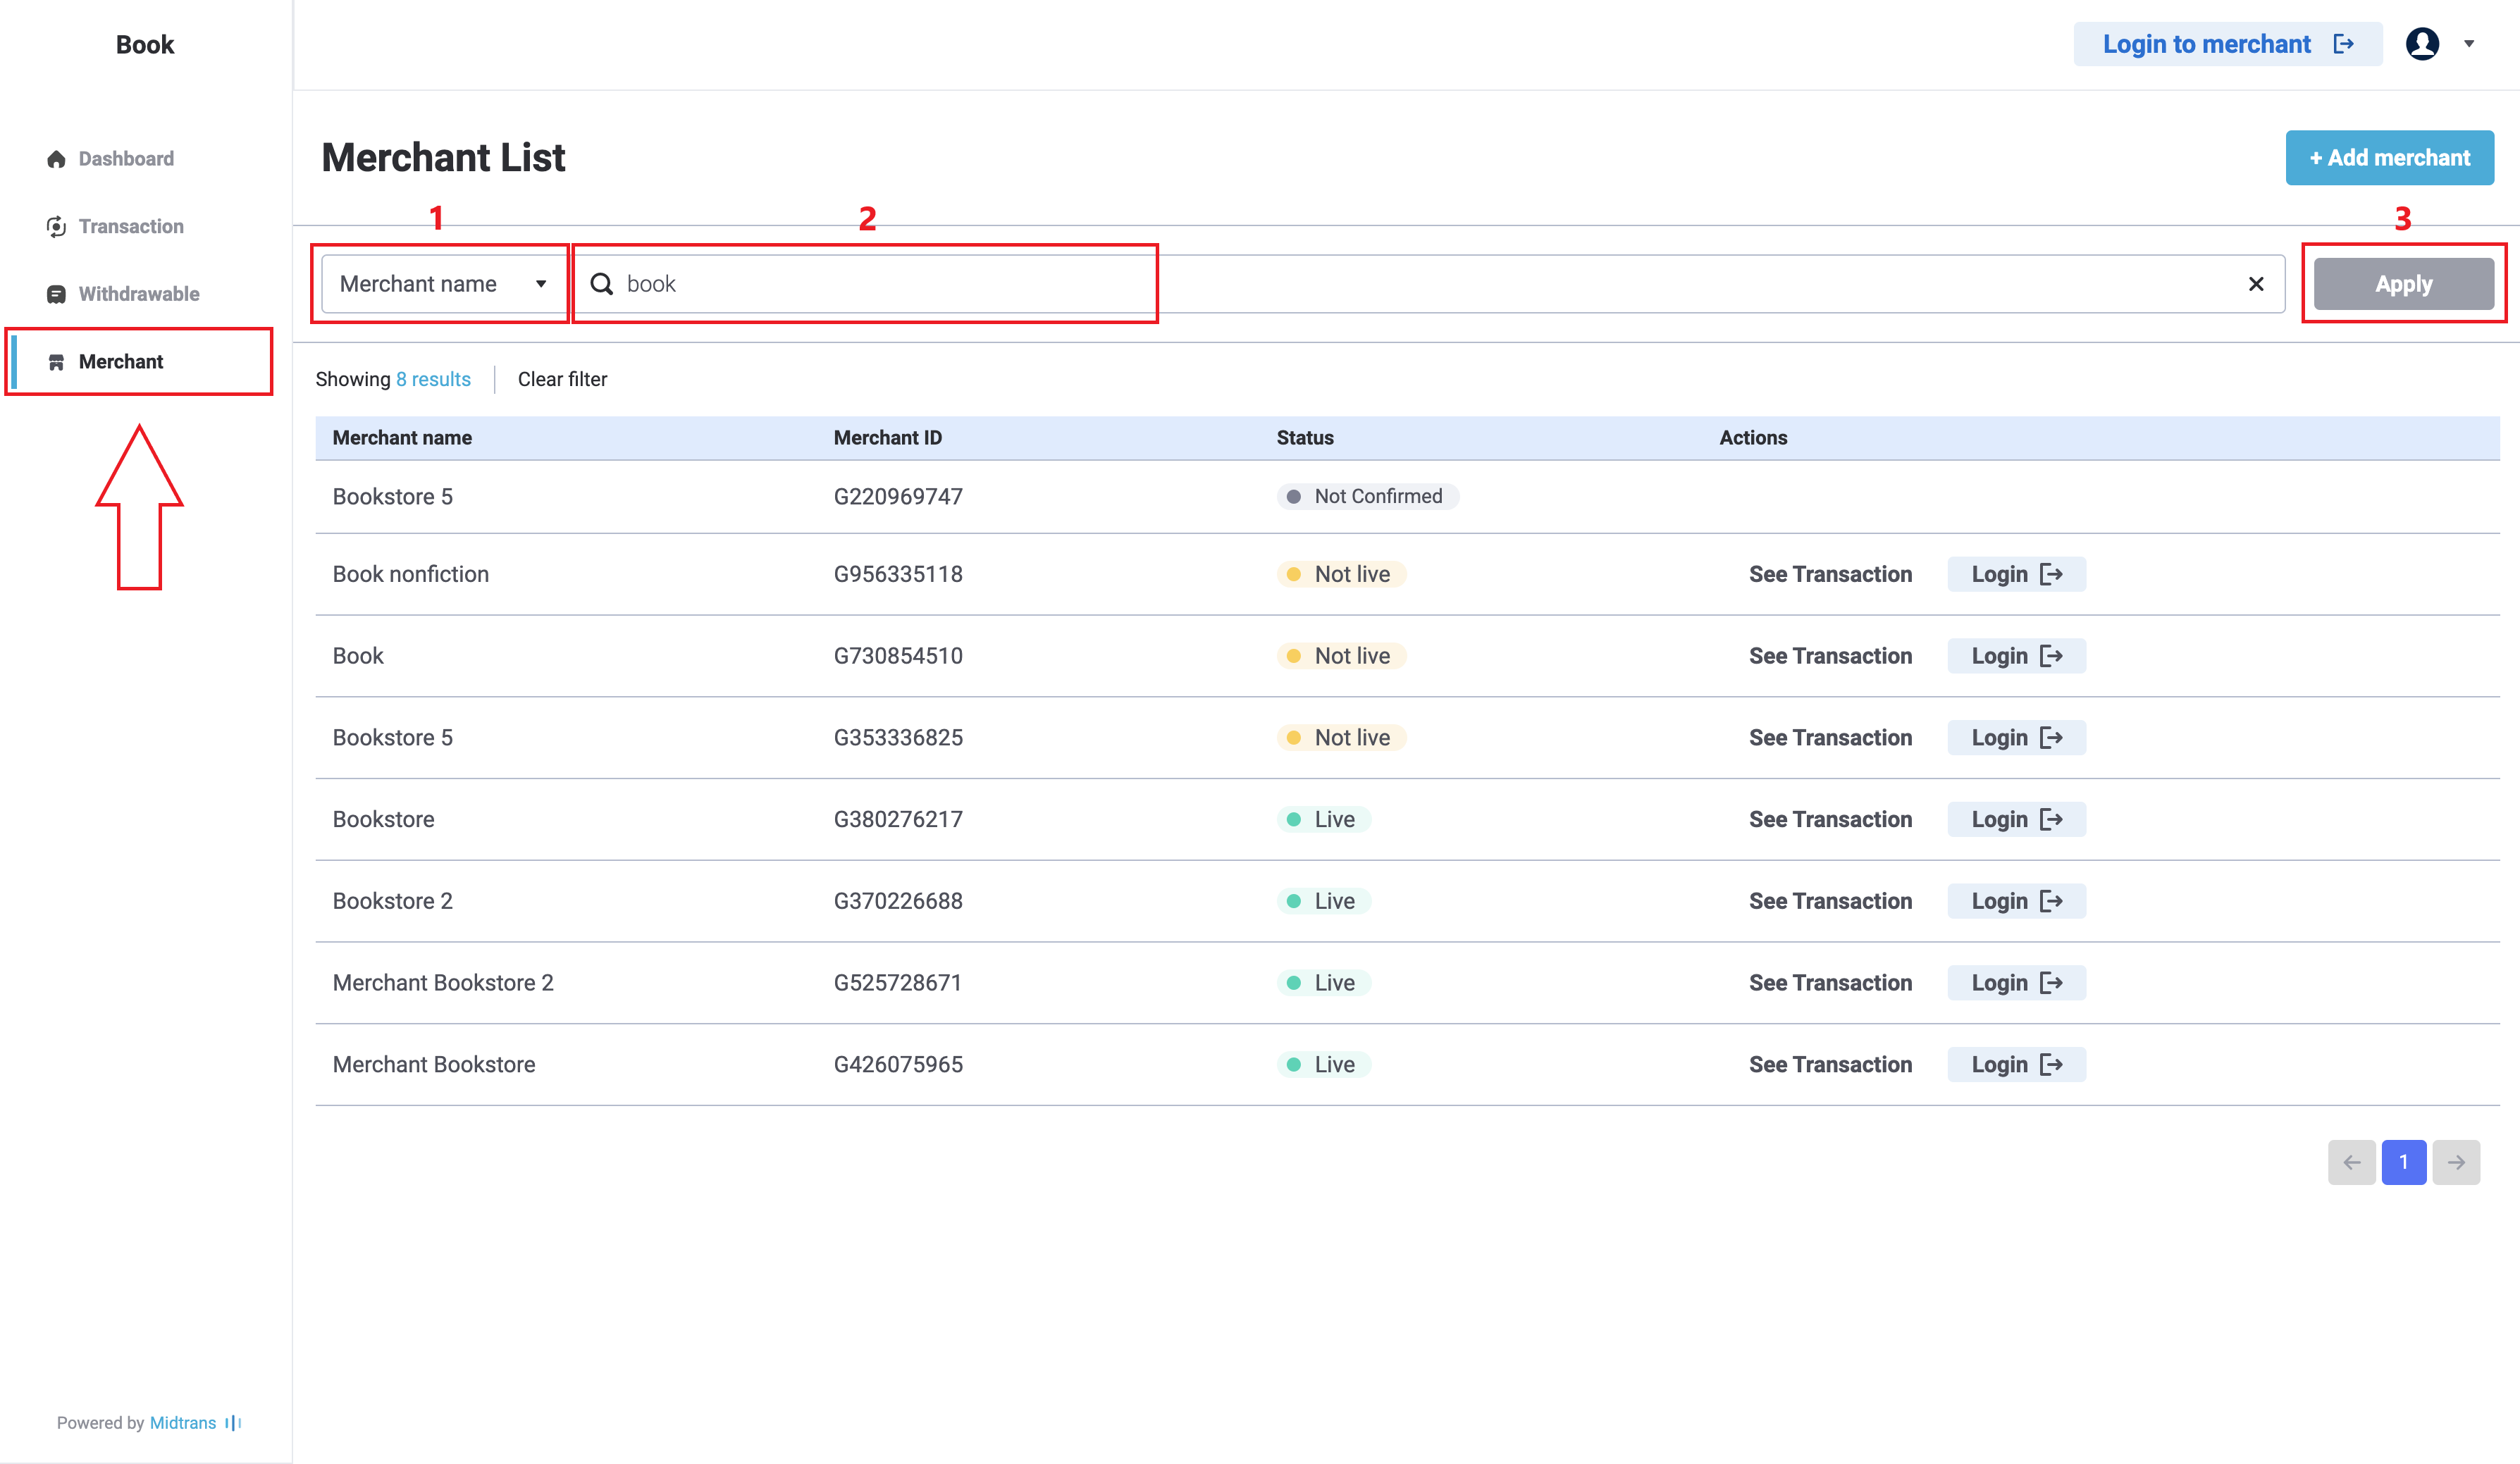
B. You can search a specific merchant using the search feature.
-
Click on the dropdown list, choose either Merchant name or Merchant ID.
-
Type your specific Merchant name or Merchant ID.
-
Click Apply.
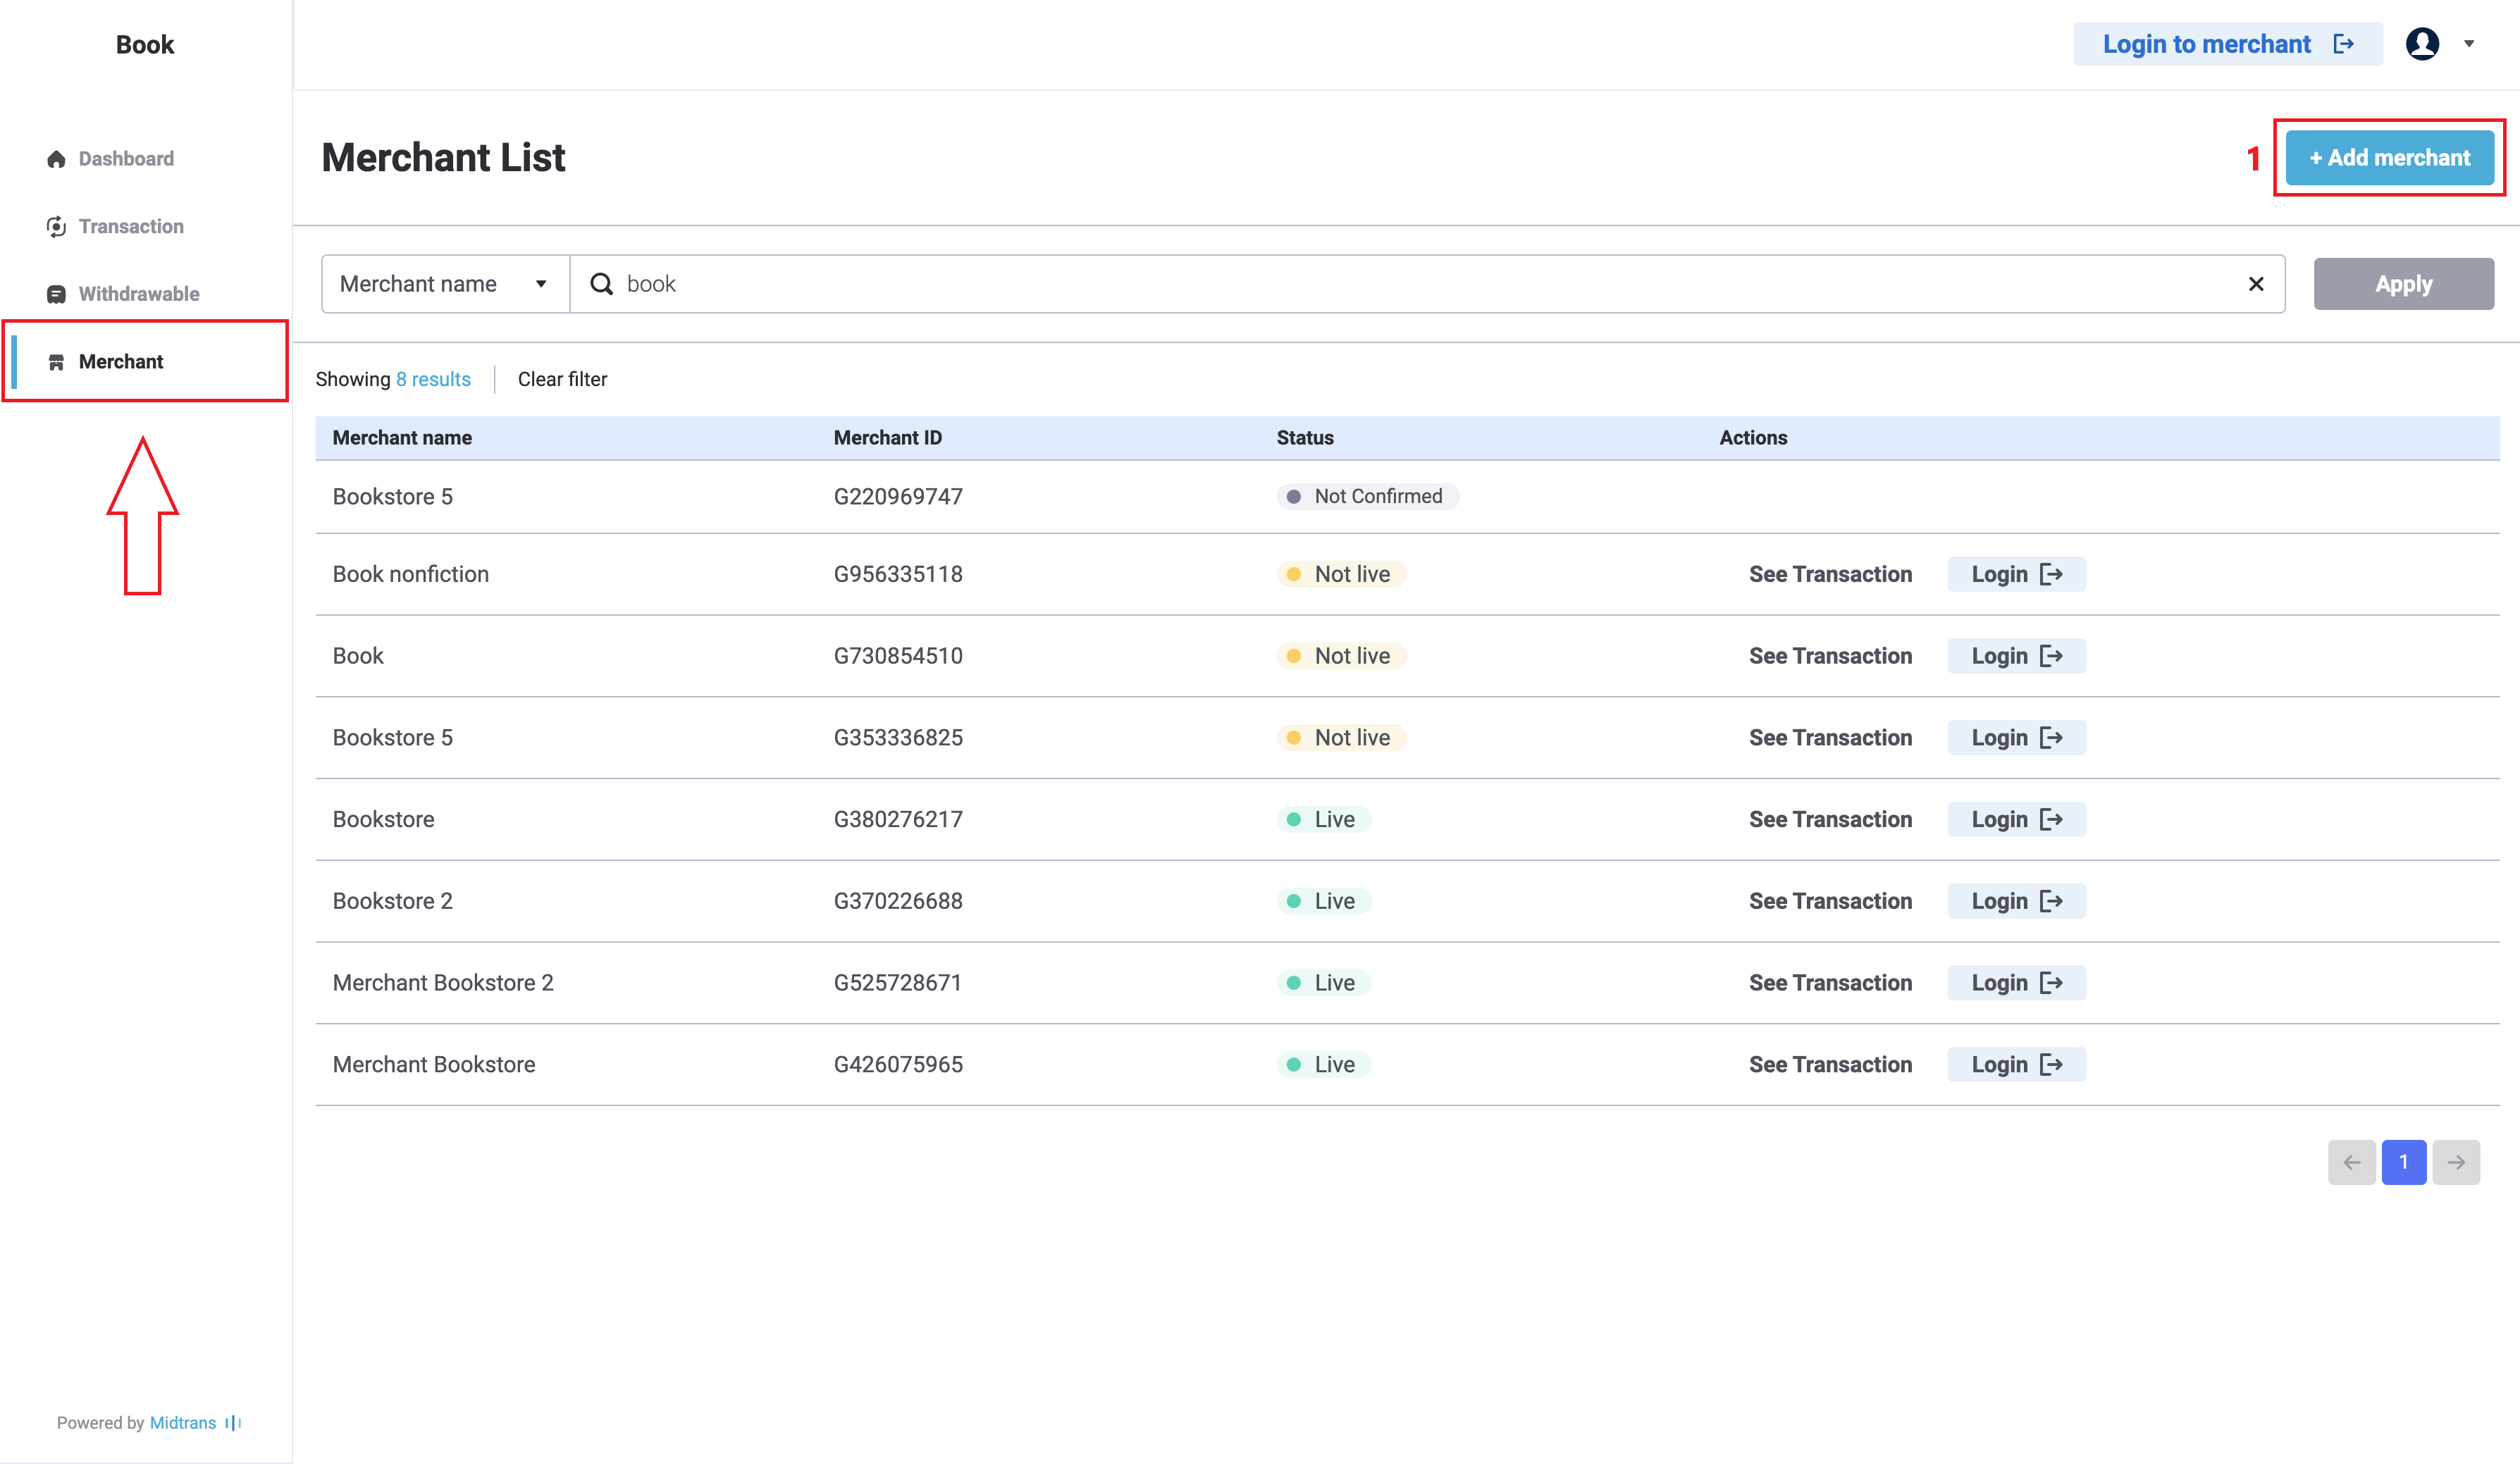
C. You can add Merchants who have not registered yet with Midtrans (only Admin can do this).
-
Click on the + Add merchant.
-
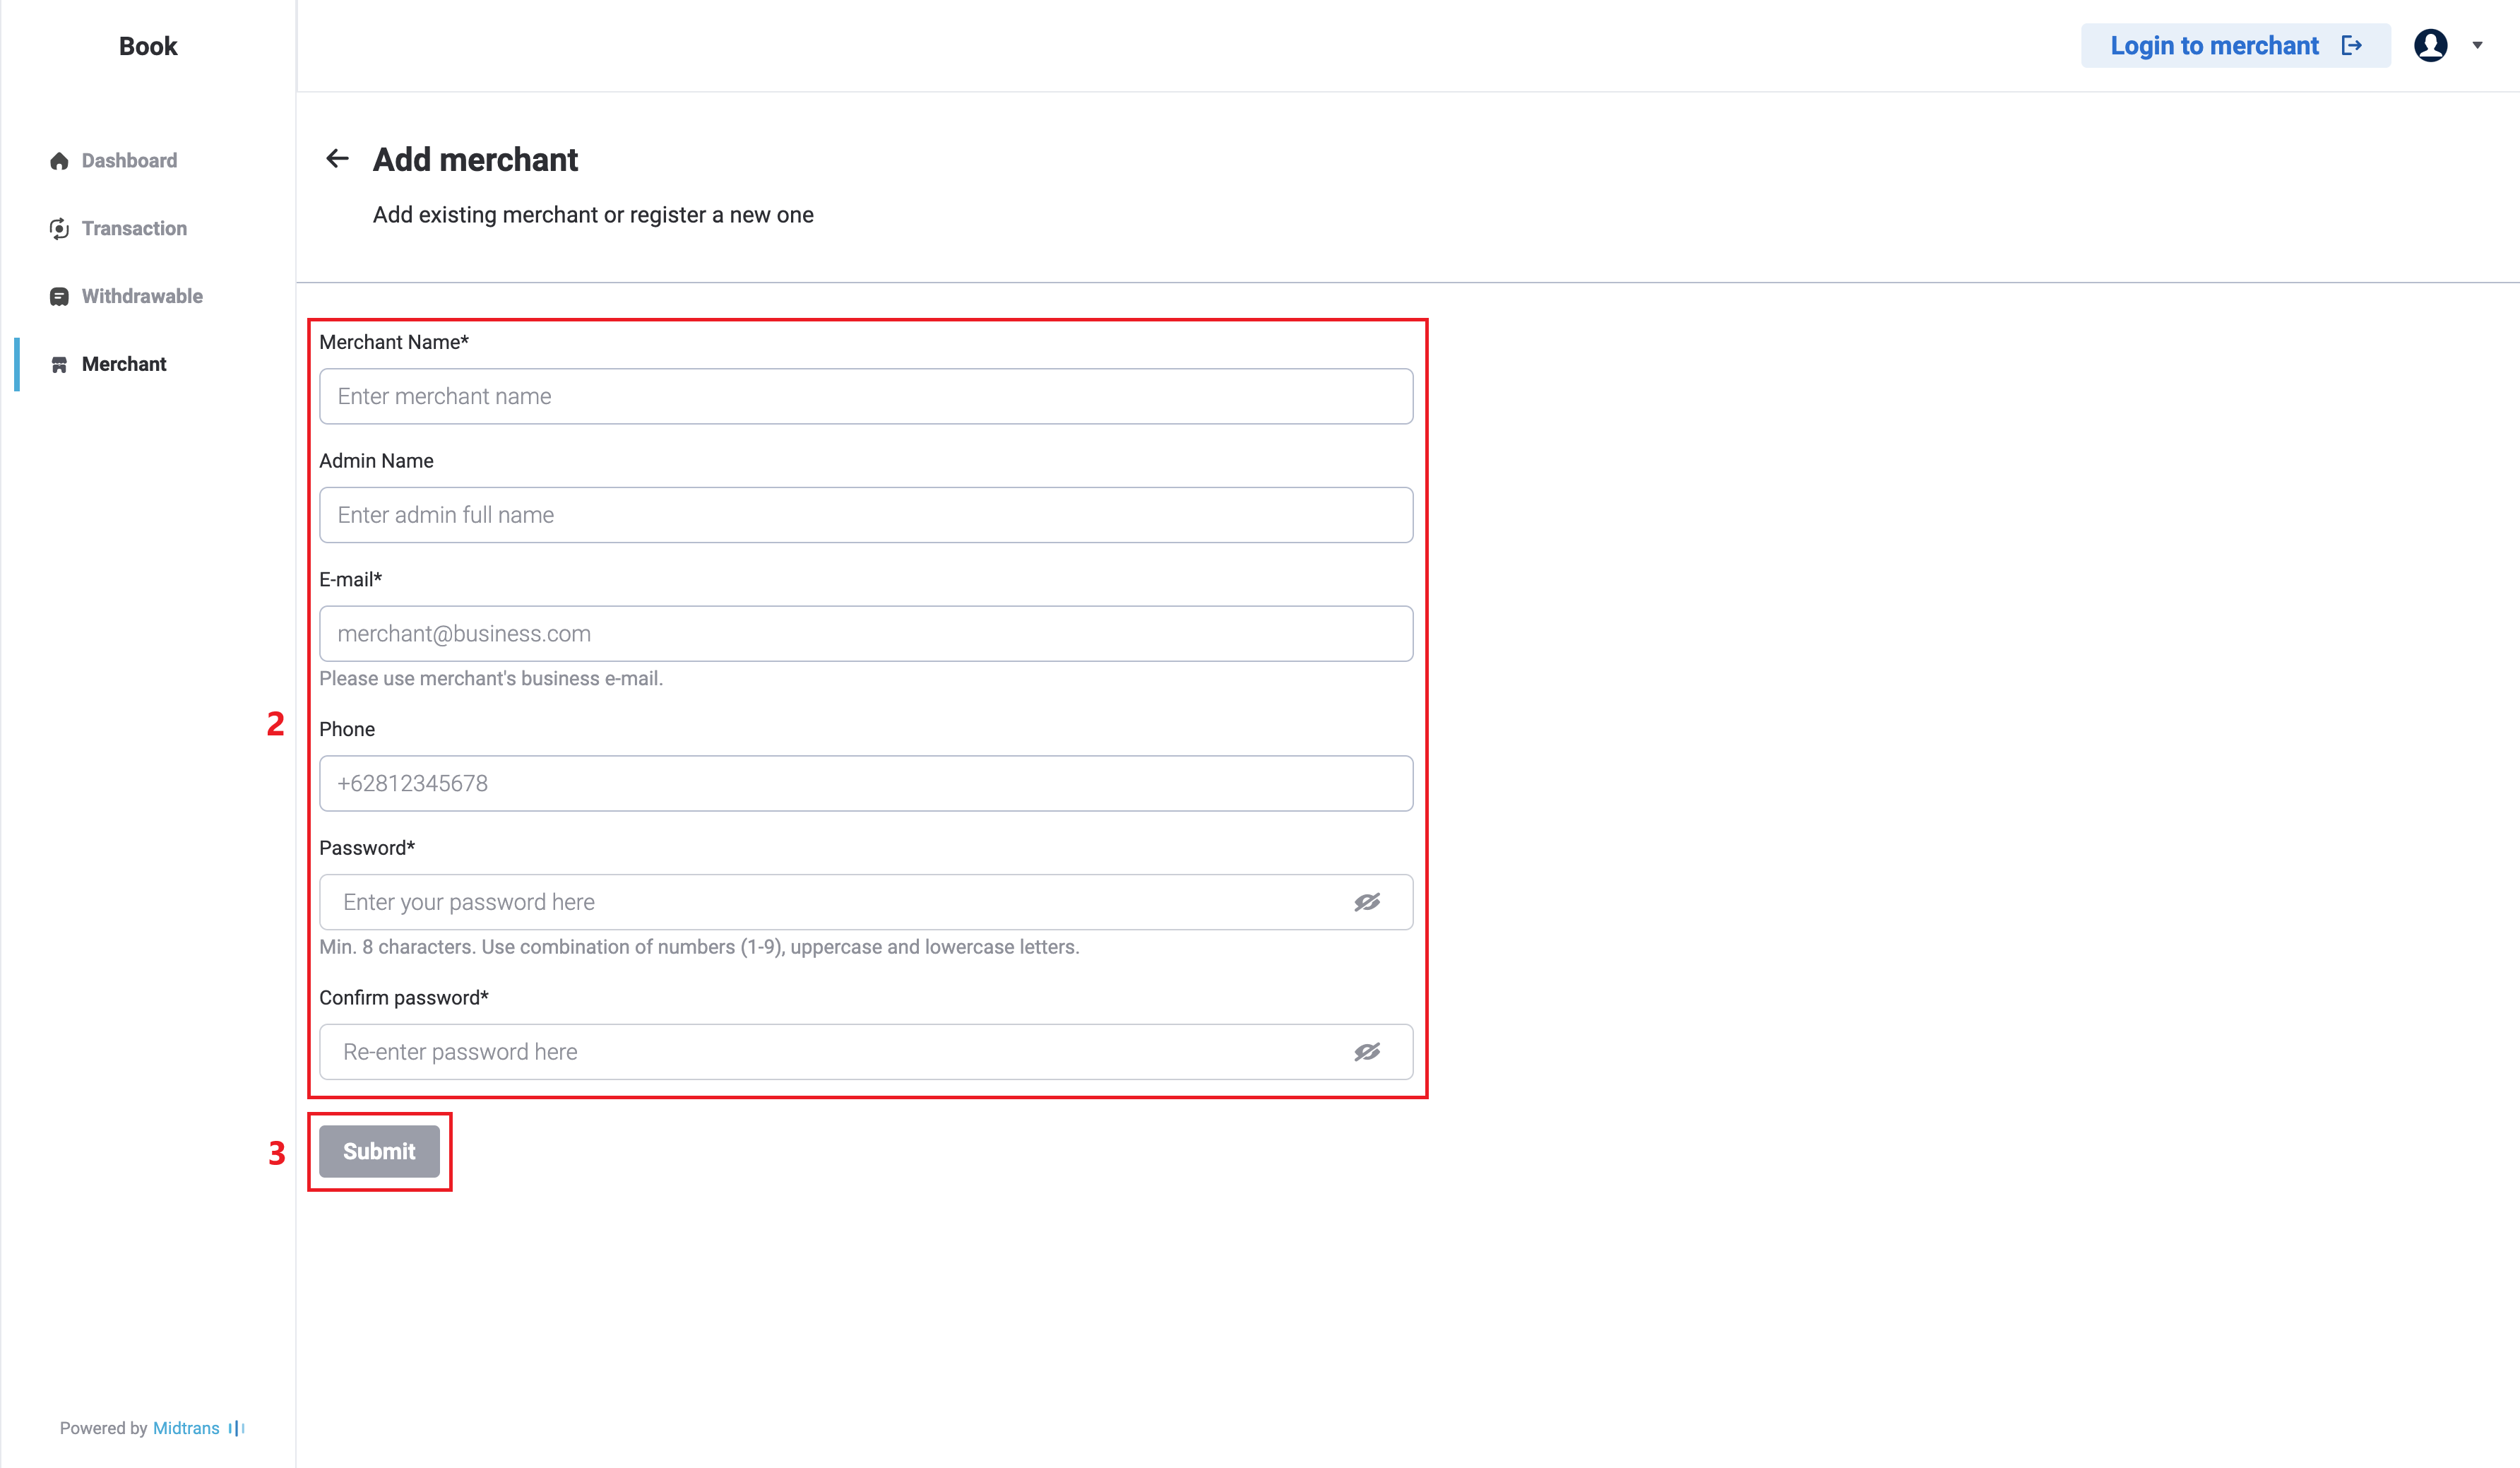
Fill in the form.
-
Click Submit.
D. You can also login to your merchant’s dashboard which you aren’t able to do on the previous dashboard.
- Click Login on the specific merchant that you need.
Tips 💡You can also click Login to merchant on the top right of your dashboard to login to a specific merchant without needing to go to the Merchant list section.
-
You are now entering your specific merchant dashboard.
Merchant Management
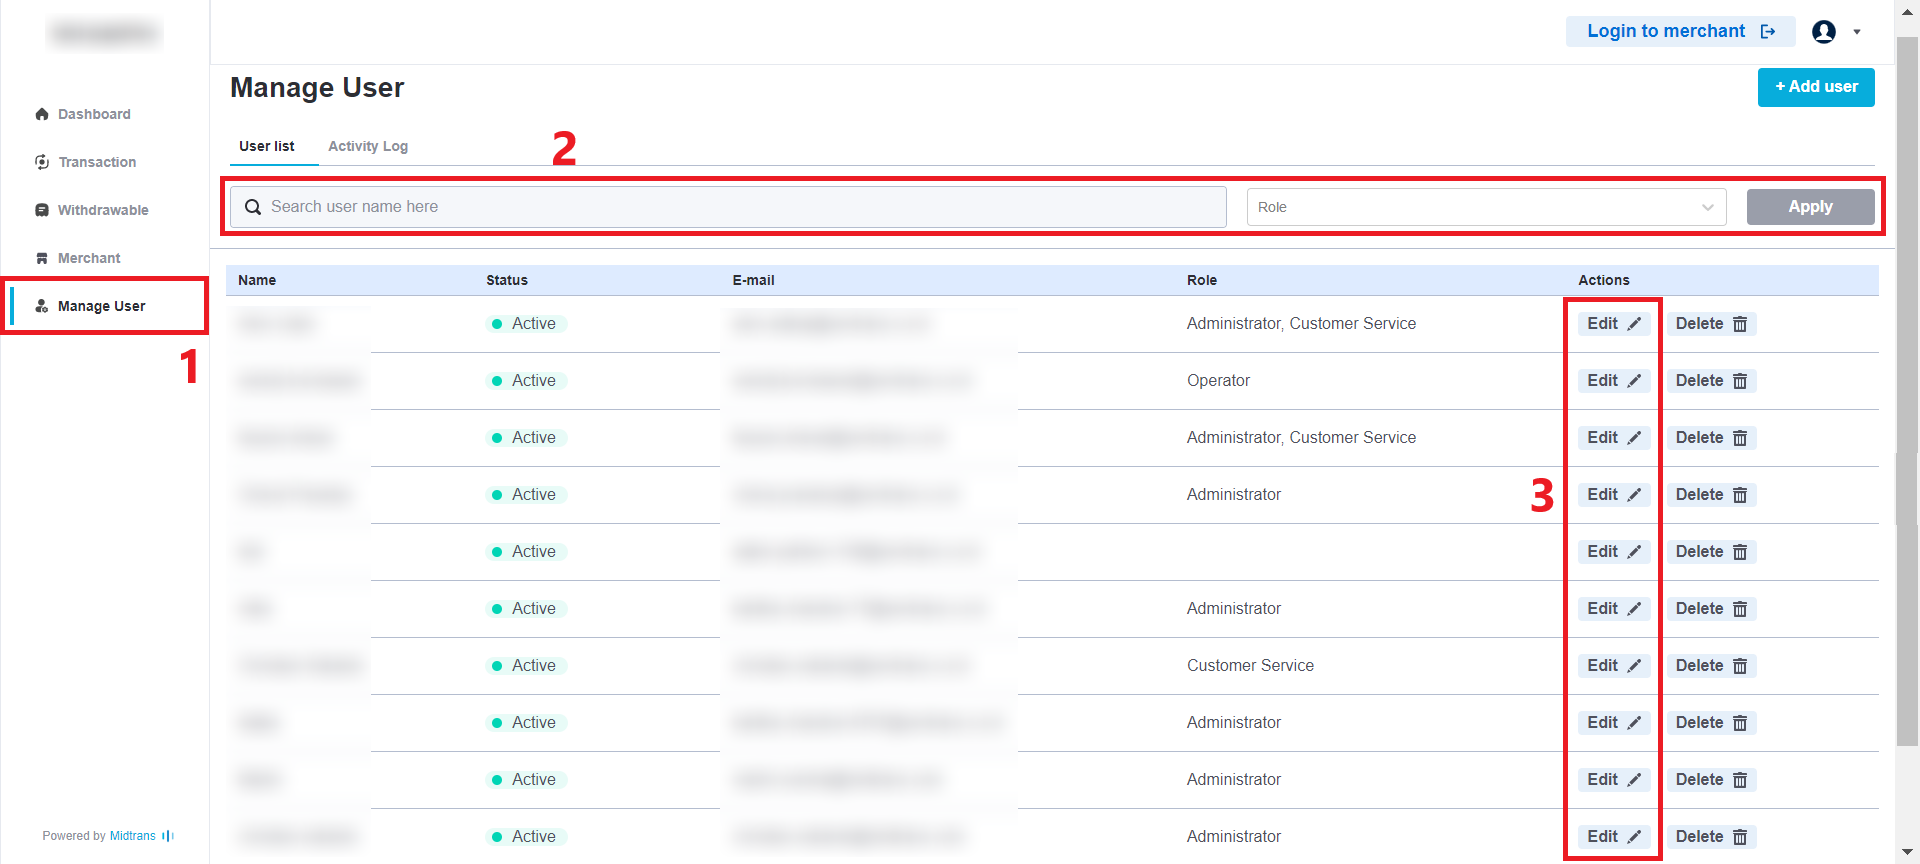
If your role is an Admin, you have a function to edit roles & assigned merchants. Here, you can change which role is assigned to a merchant.
-
Click Manage User.
-
Type User name and click Apply or simply select from the list.
-
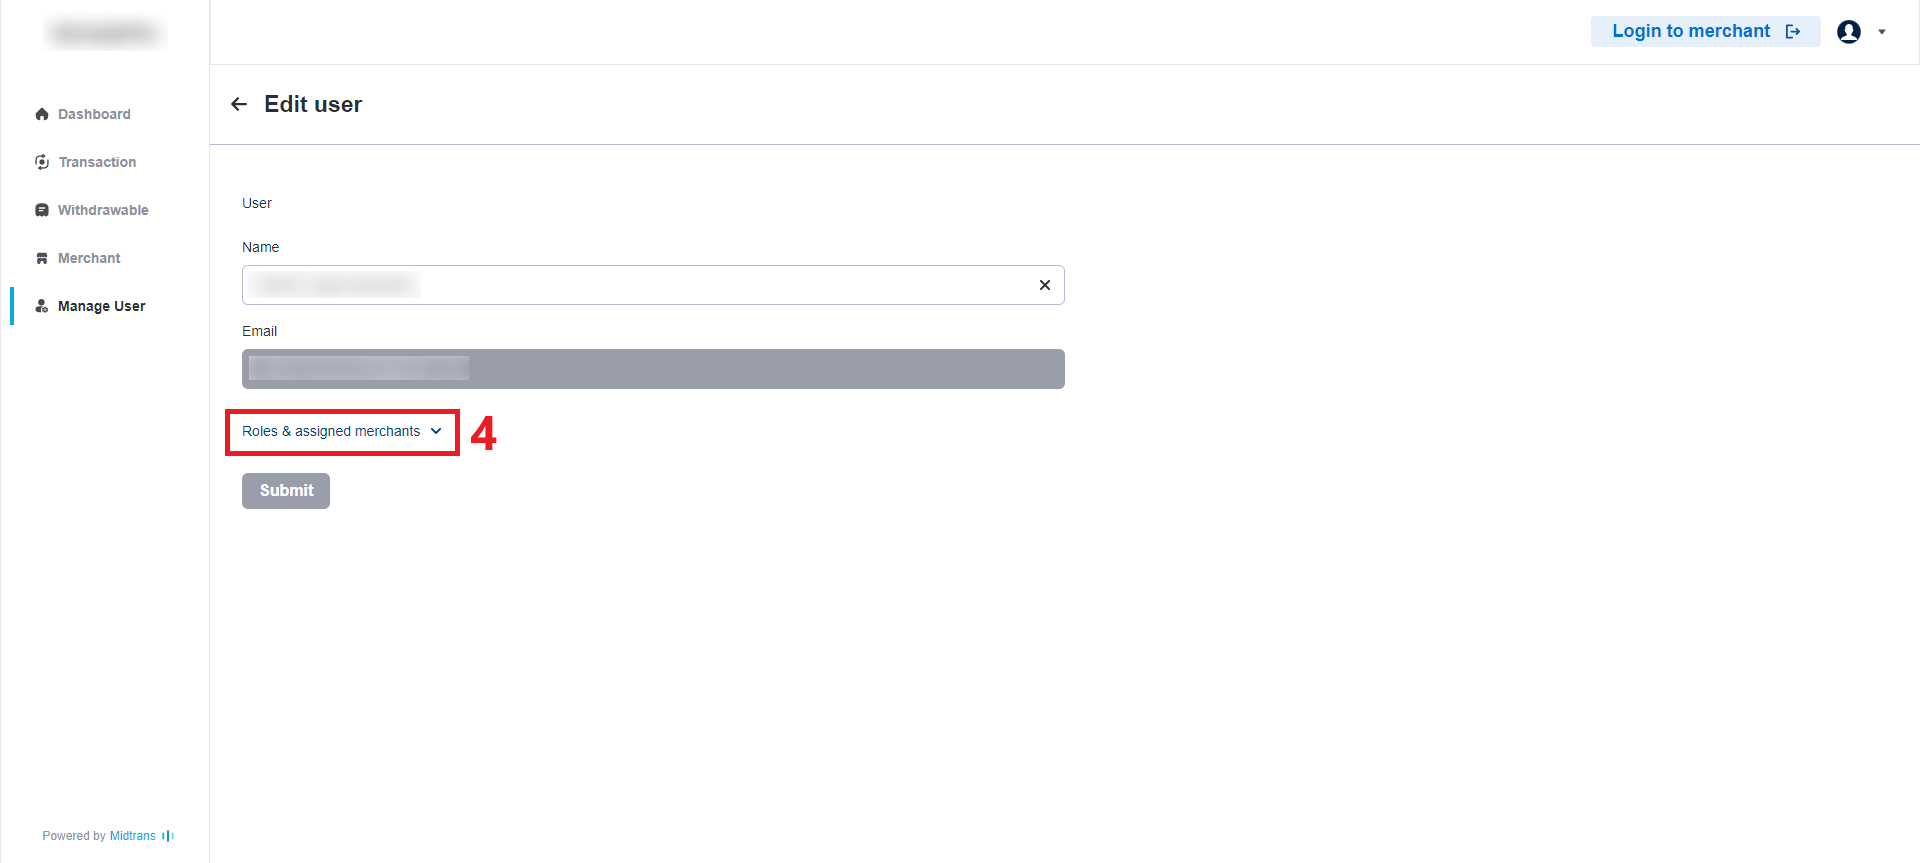
Click Edit.
-
Click on the dropdown list.
-
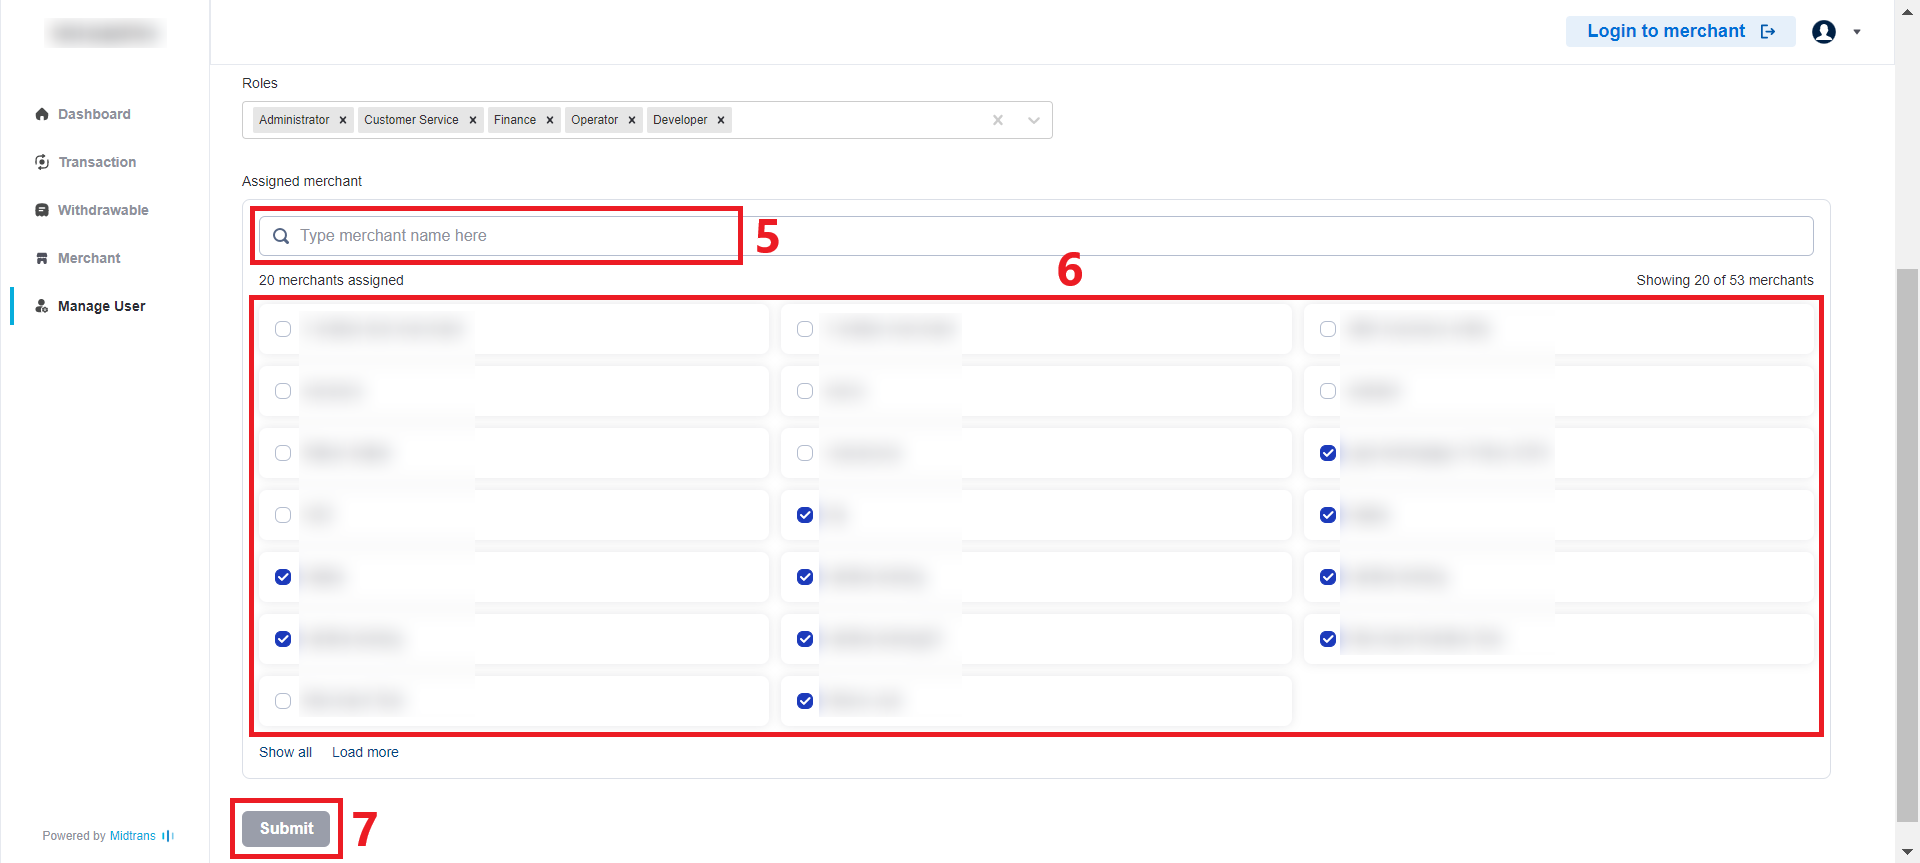
Type the merchant name or simply select from the list.
-
Click on the checkbox to assigned or unassigned merchant.
-
Click Submit.
Note 📝If a user is not assigned to one (or more) merchants, then that user will not be able to see the merchant in the Dashboard, even if the role is Admin.
For example, there is user X and merchants A, B, and C. Then, user X is assigned to merchants A and C but is not assigned to merchant B, so merchant X can only be able to see merchants A and C but will not be able to see merchant B.
Transaction
On the new dashboard, you still be able to see the Transaction Summary for each of your merchants and sort them if you want!
A. You can see the overall volume and total transactions for each of the merchants.
B. You can search a specific merchant using the search feature.
-
Click on the dropdown list, choose either Merchant name or Merchant ID.
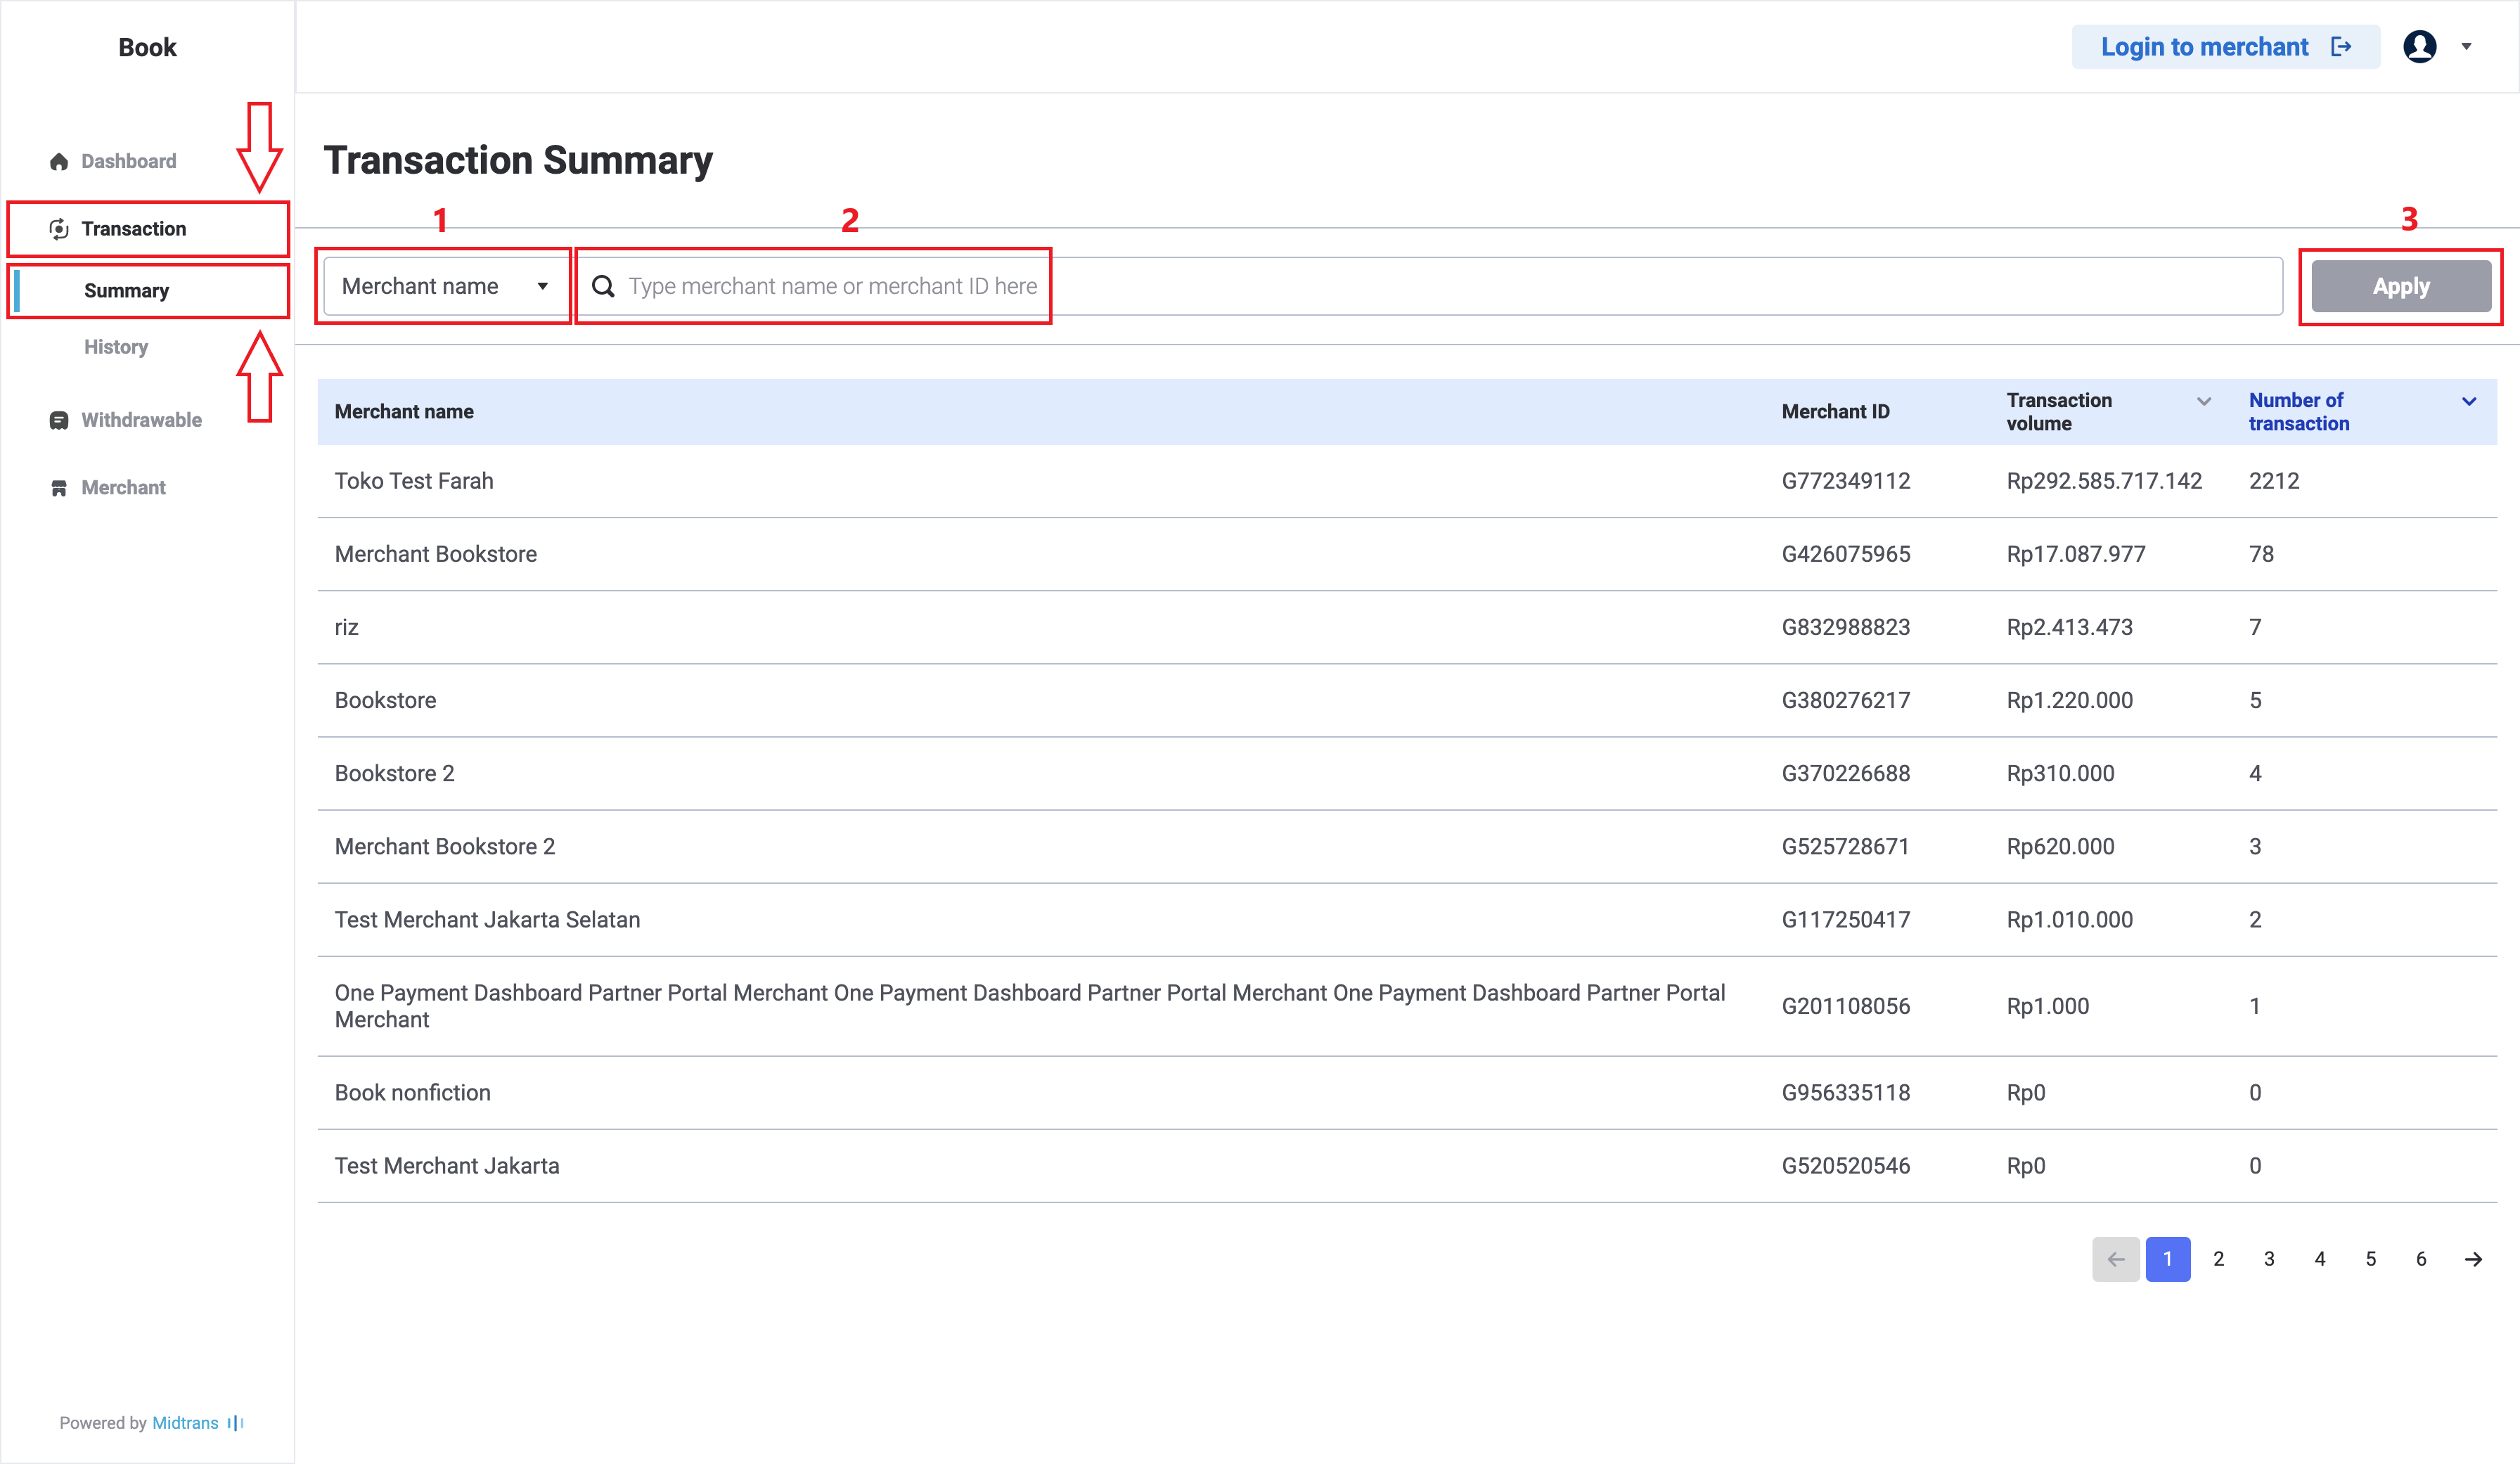
-
Type your specific Merchant name or Merchant ID.
-
Click Apply.
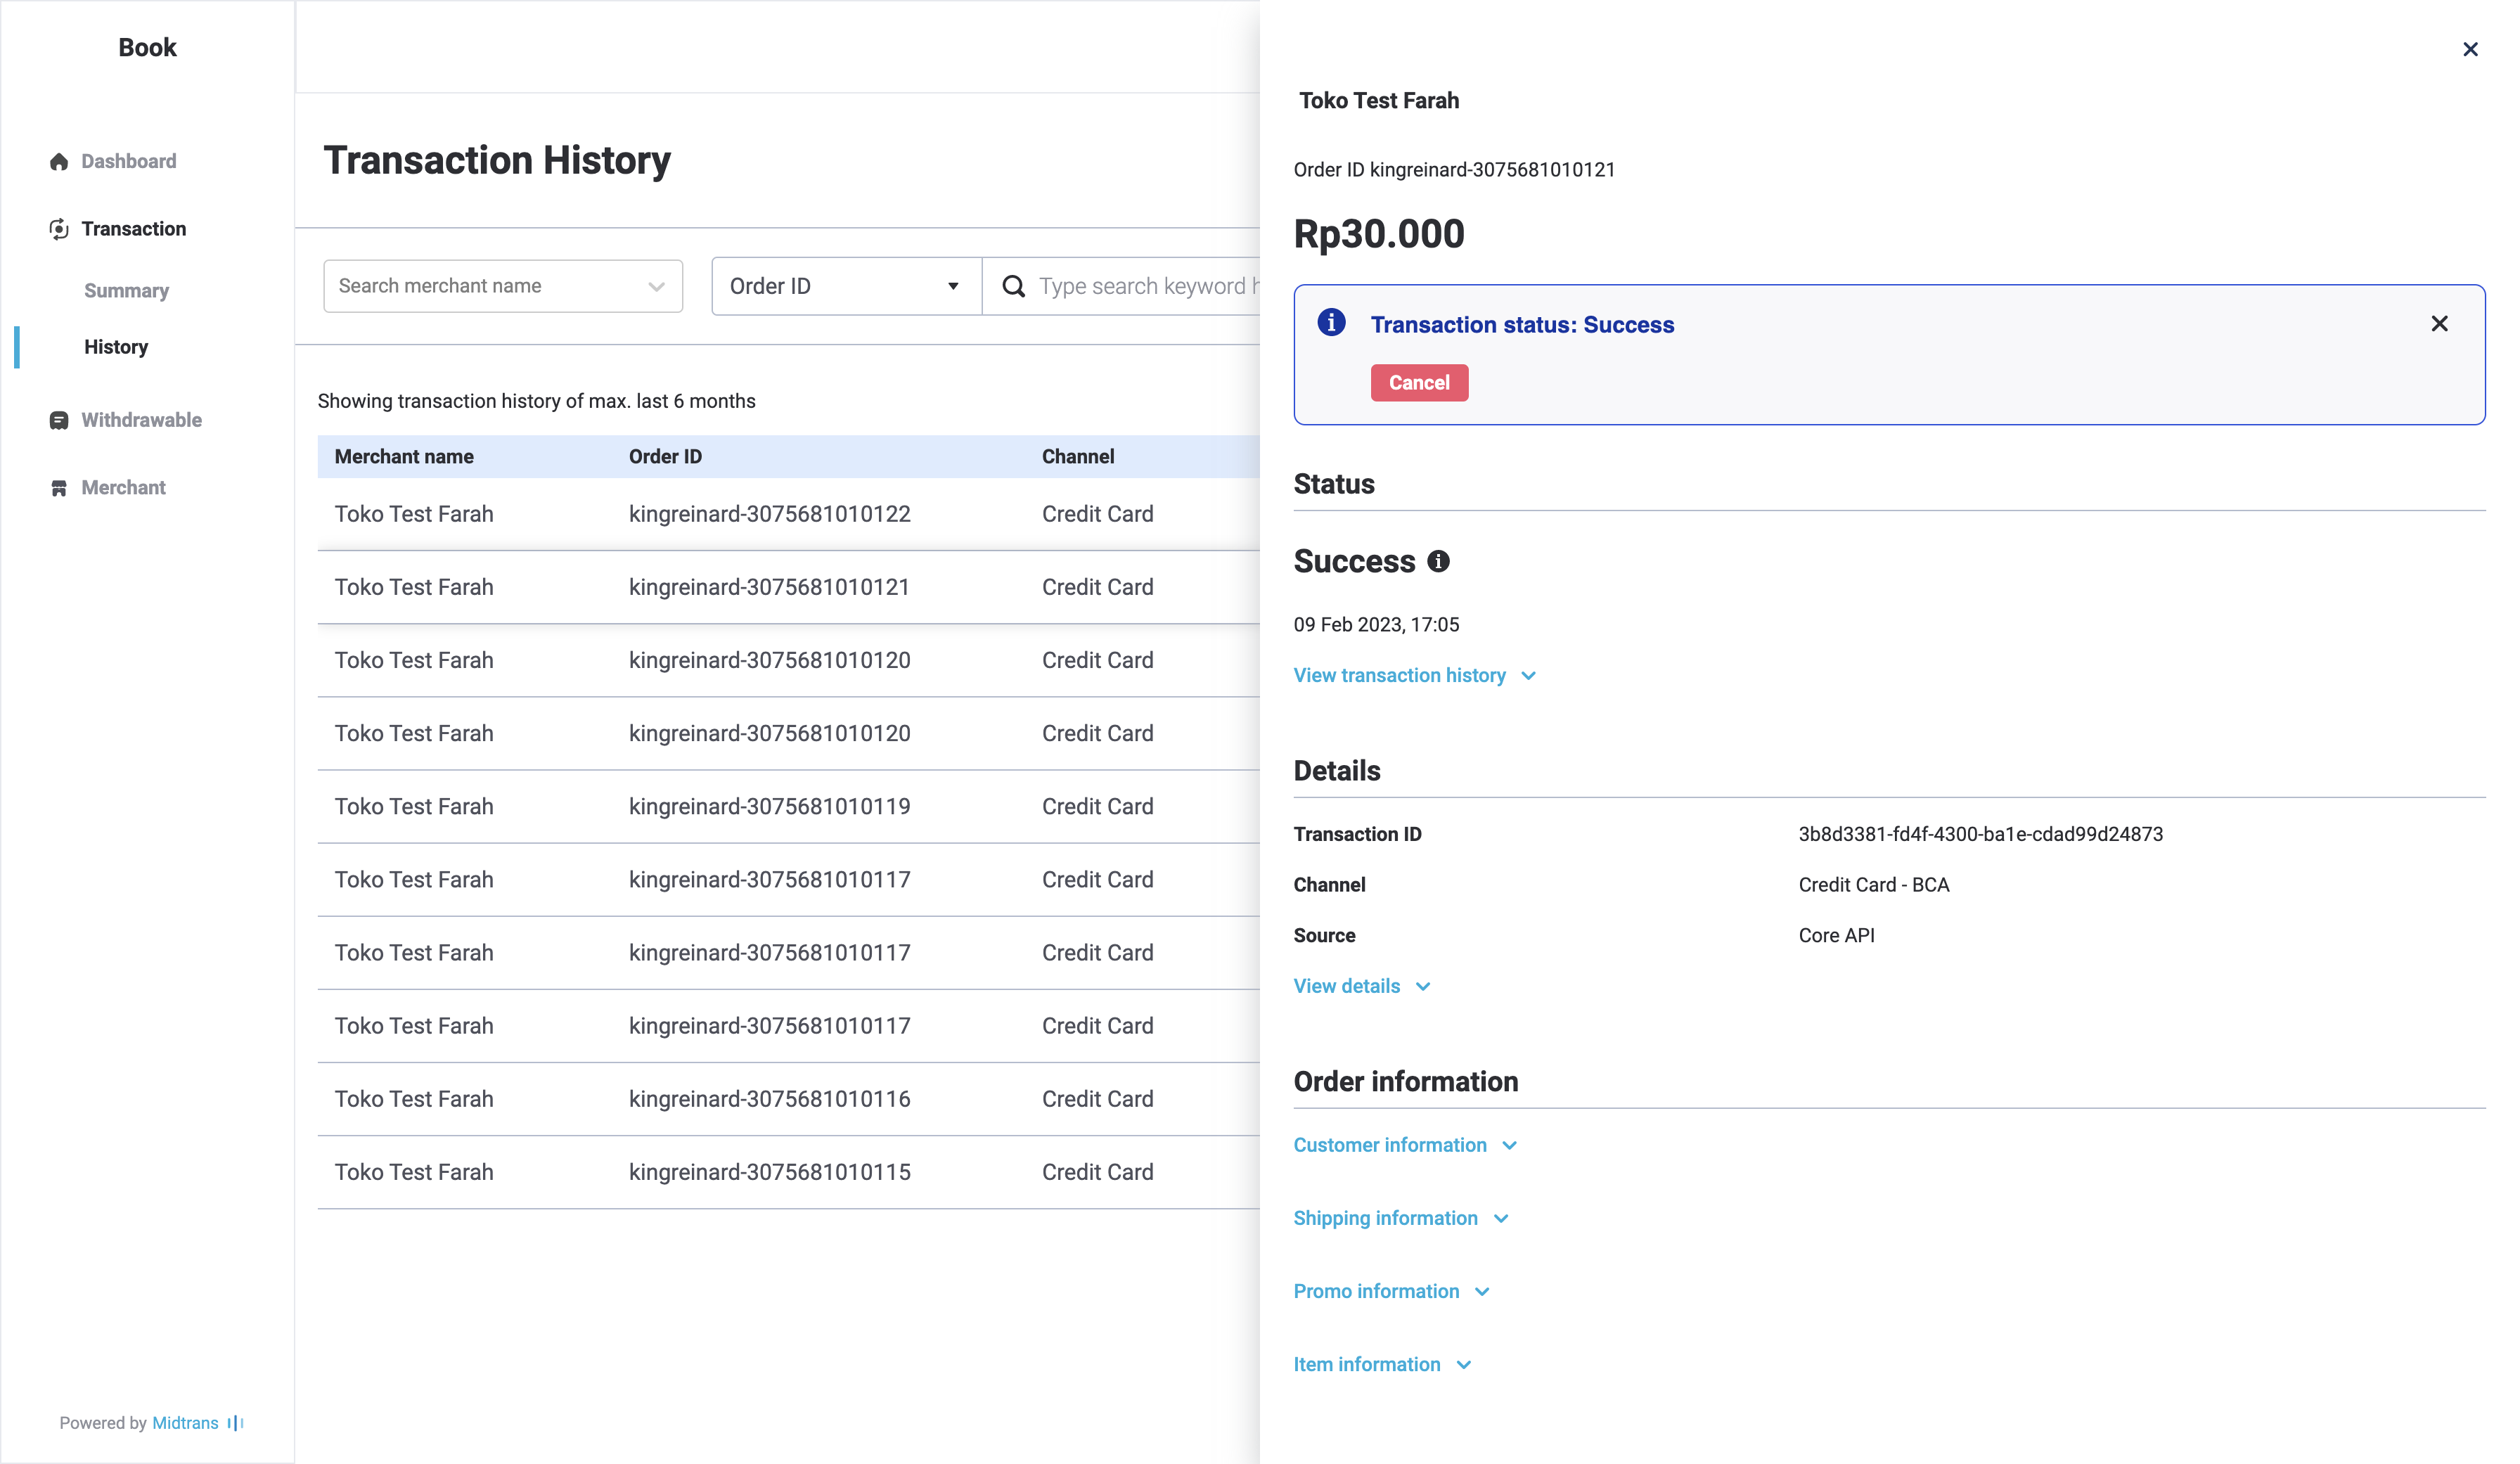
On the Transaction History, you can see day by day and all of the transaction details across all of your merchants!
A. You can search for specific merchant’s transactions
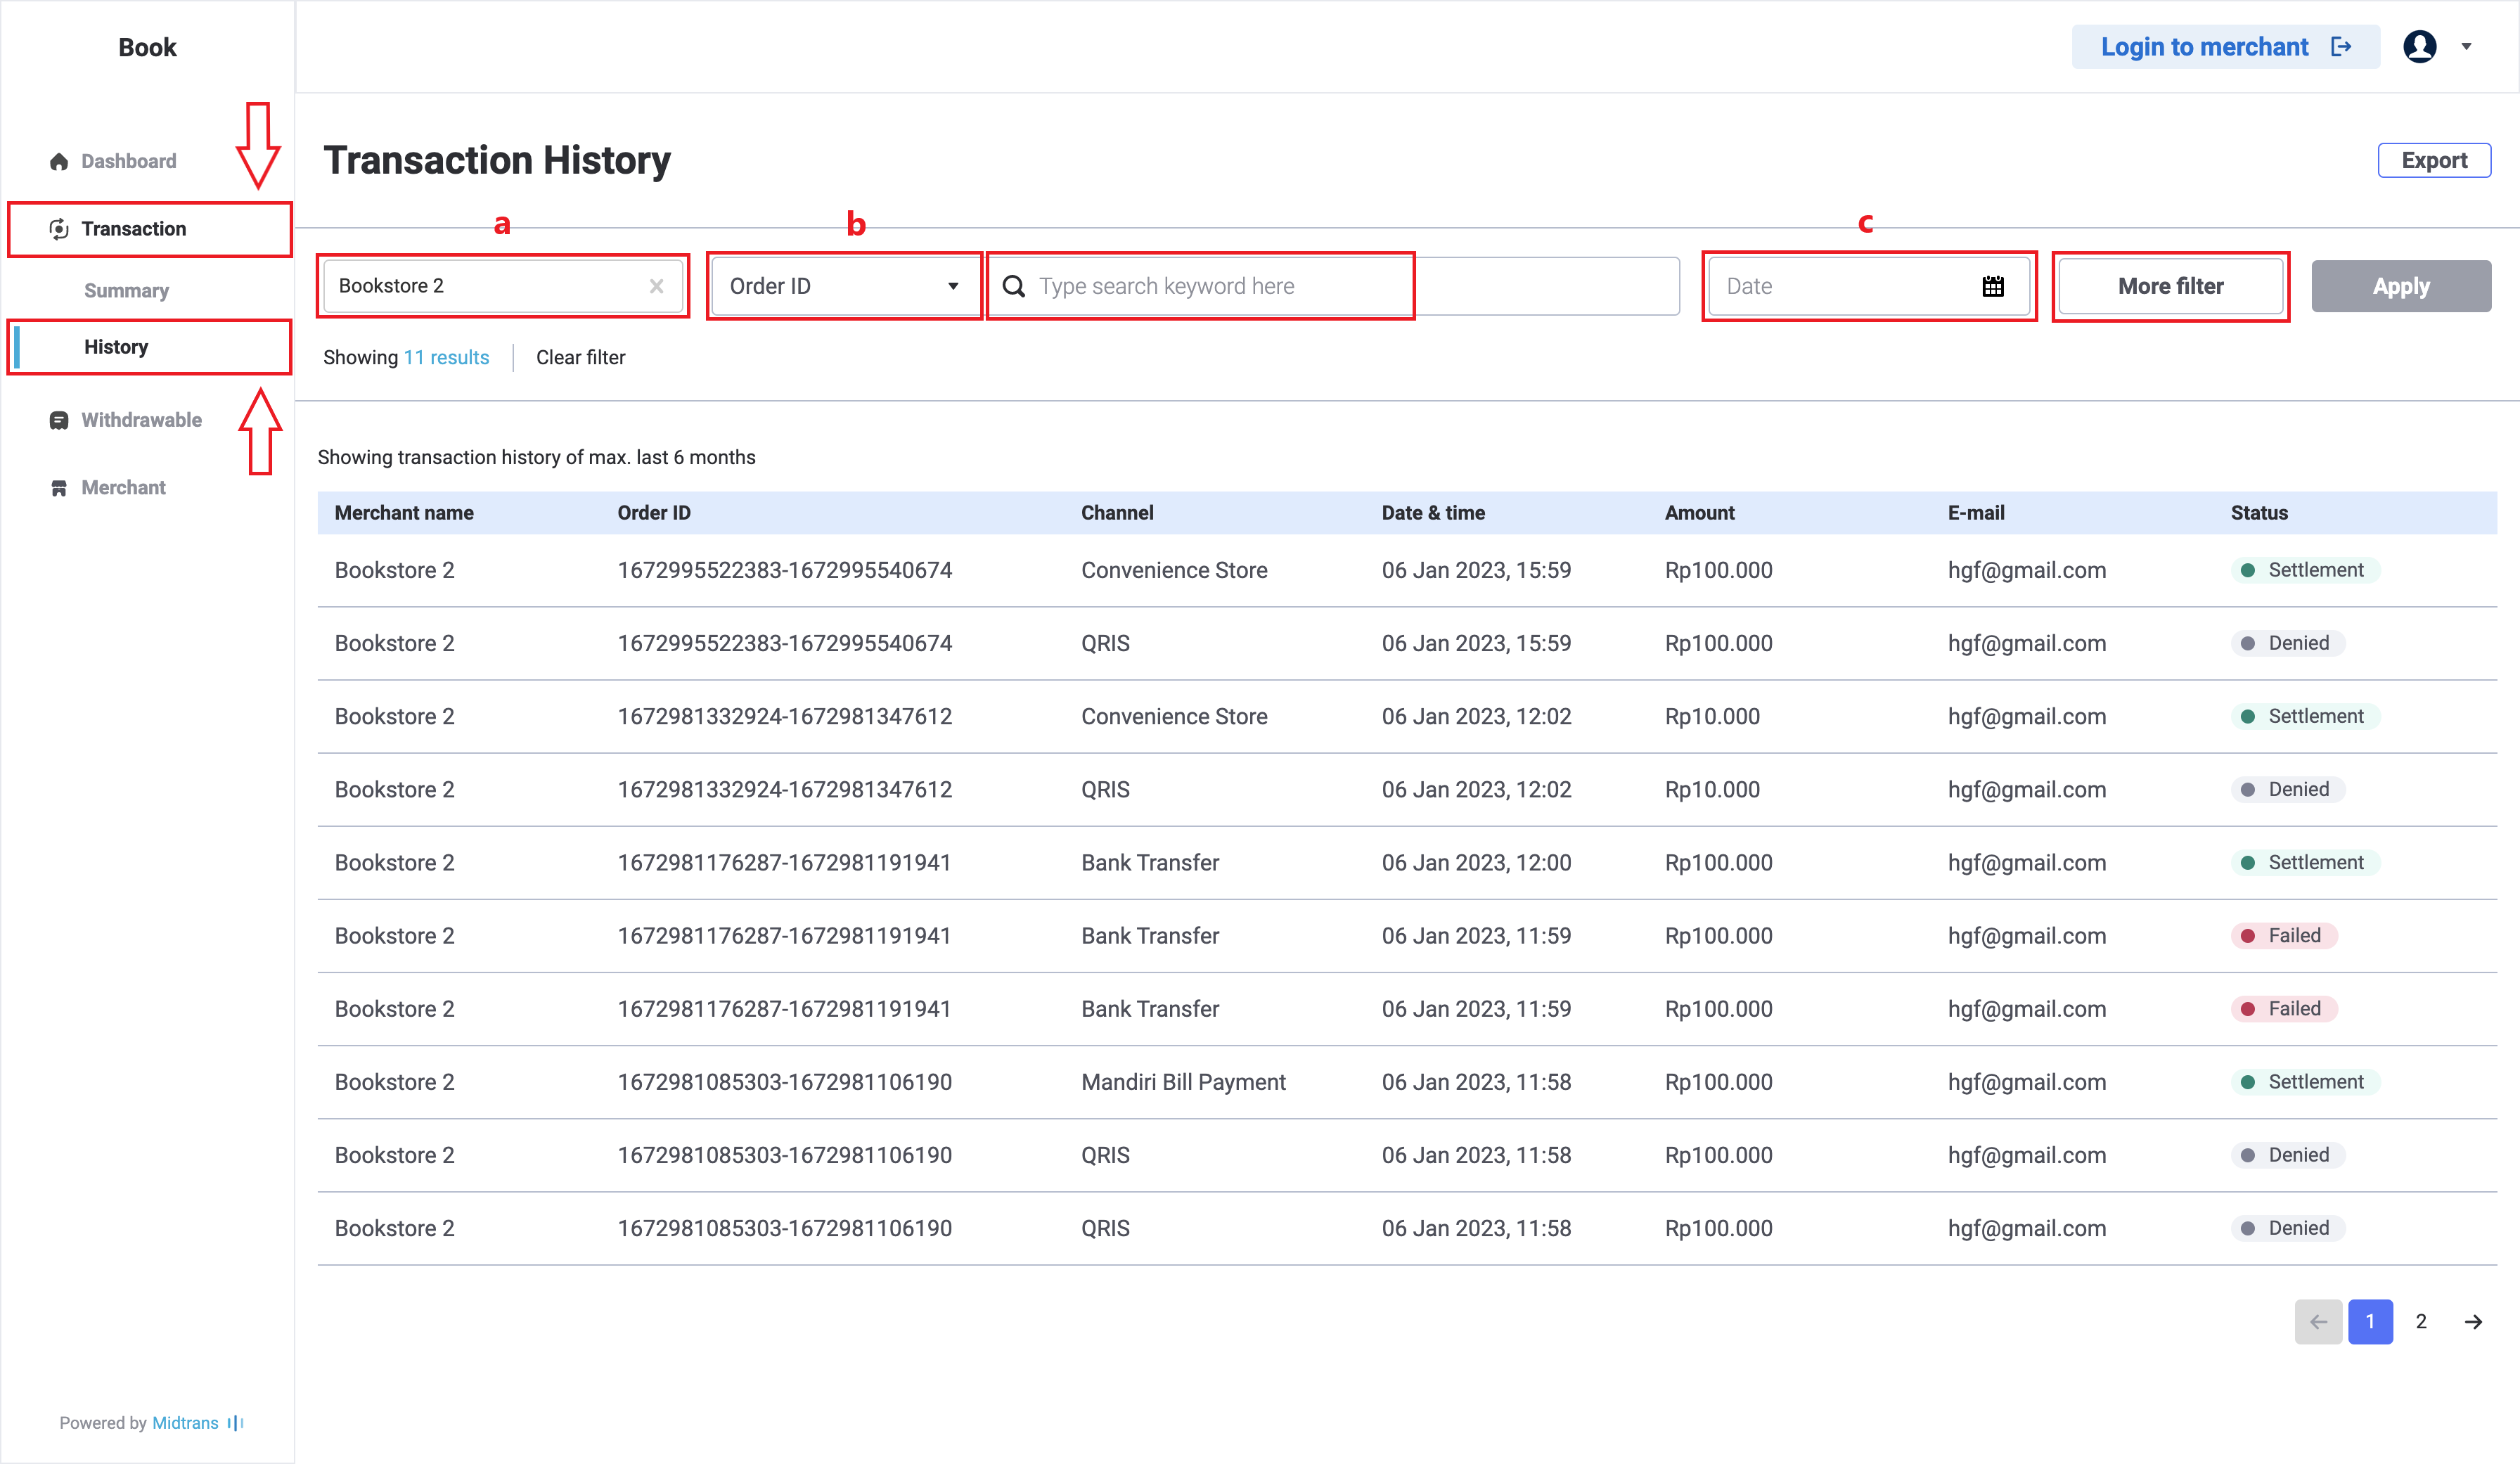
B. You can also search by Order ID.
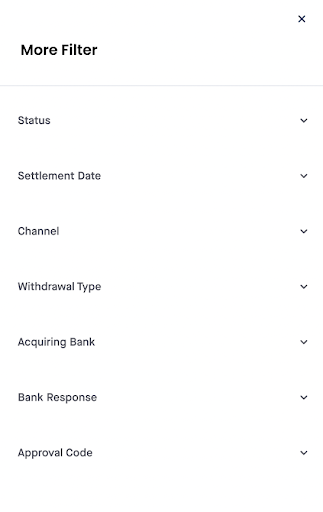
C. You can filter using date and many others.
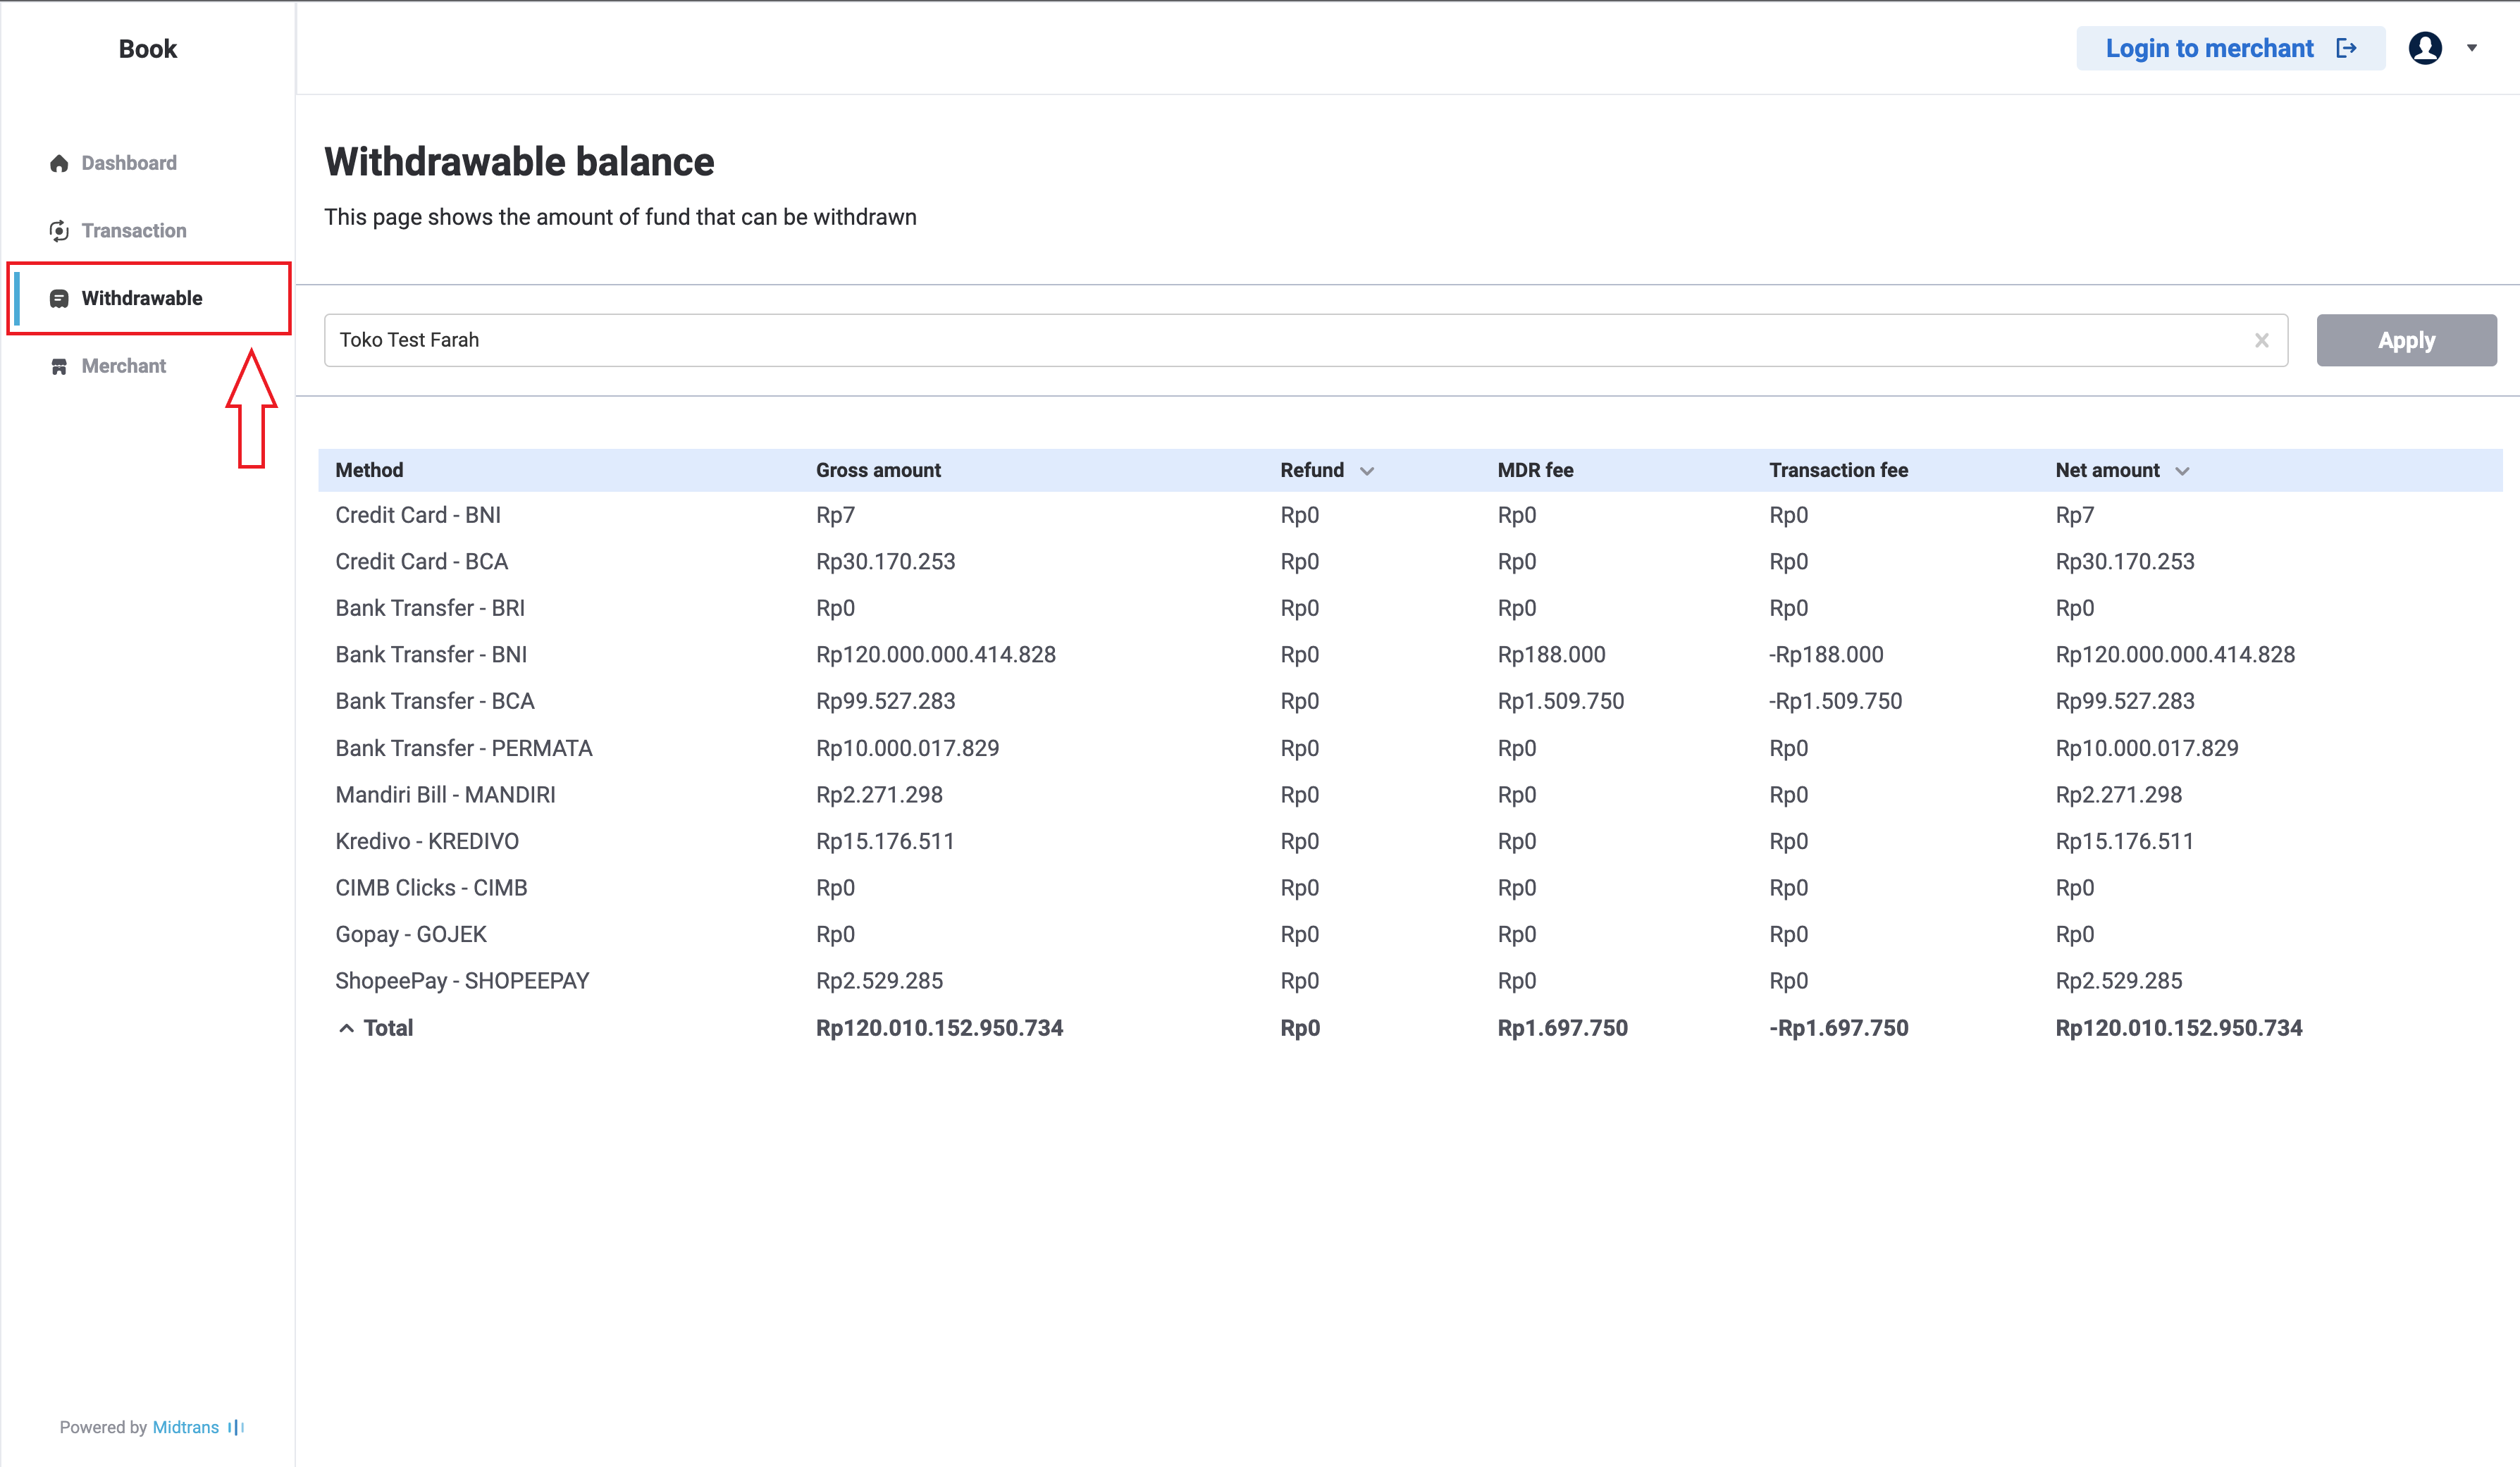
Withdrawal
On the withdrawal menu, you can find all of the withdrawal summary for each merchant you have and it’s being summarized per payment method. You can find its gross amount, refunded amount, its fee, and the net amount!
A. You can find or search for a specific merchants by typing your desired merchants and click apply
Edit Profile
You can click on the edit profile on the top right of your dashboard. Here, you can change the name and password.
If your role is an Admin, you have a function to edit roles & assigned merchants. Here, you can change which role is assigned to a merchant.
-
Click on the dropdown list, choose the role.
-
Type the merchant name.
-
Choose the assigned merchant by clicking on the checkbox.
-
Click Submit.
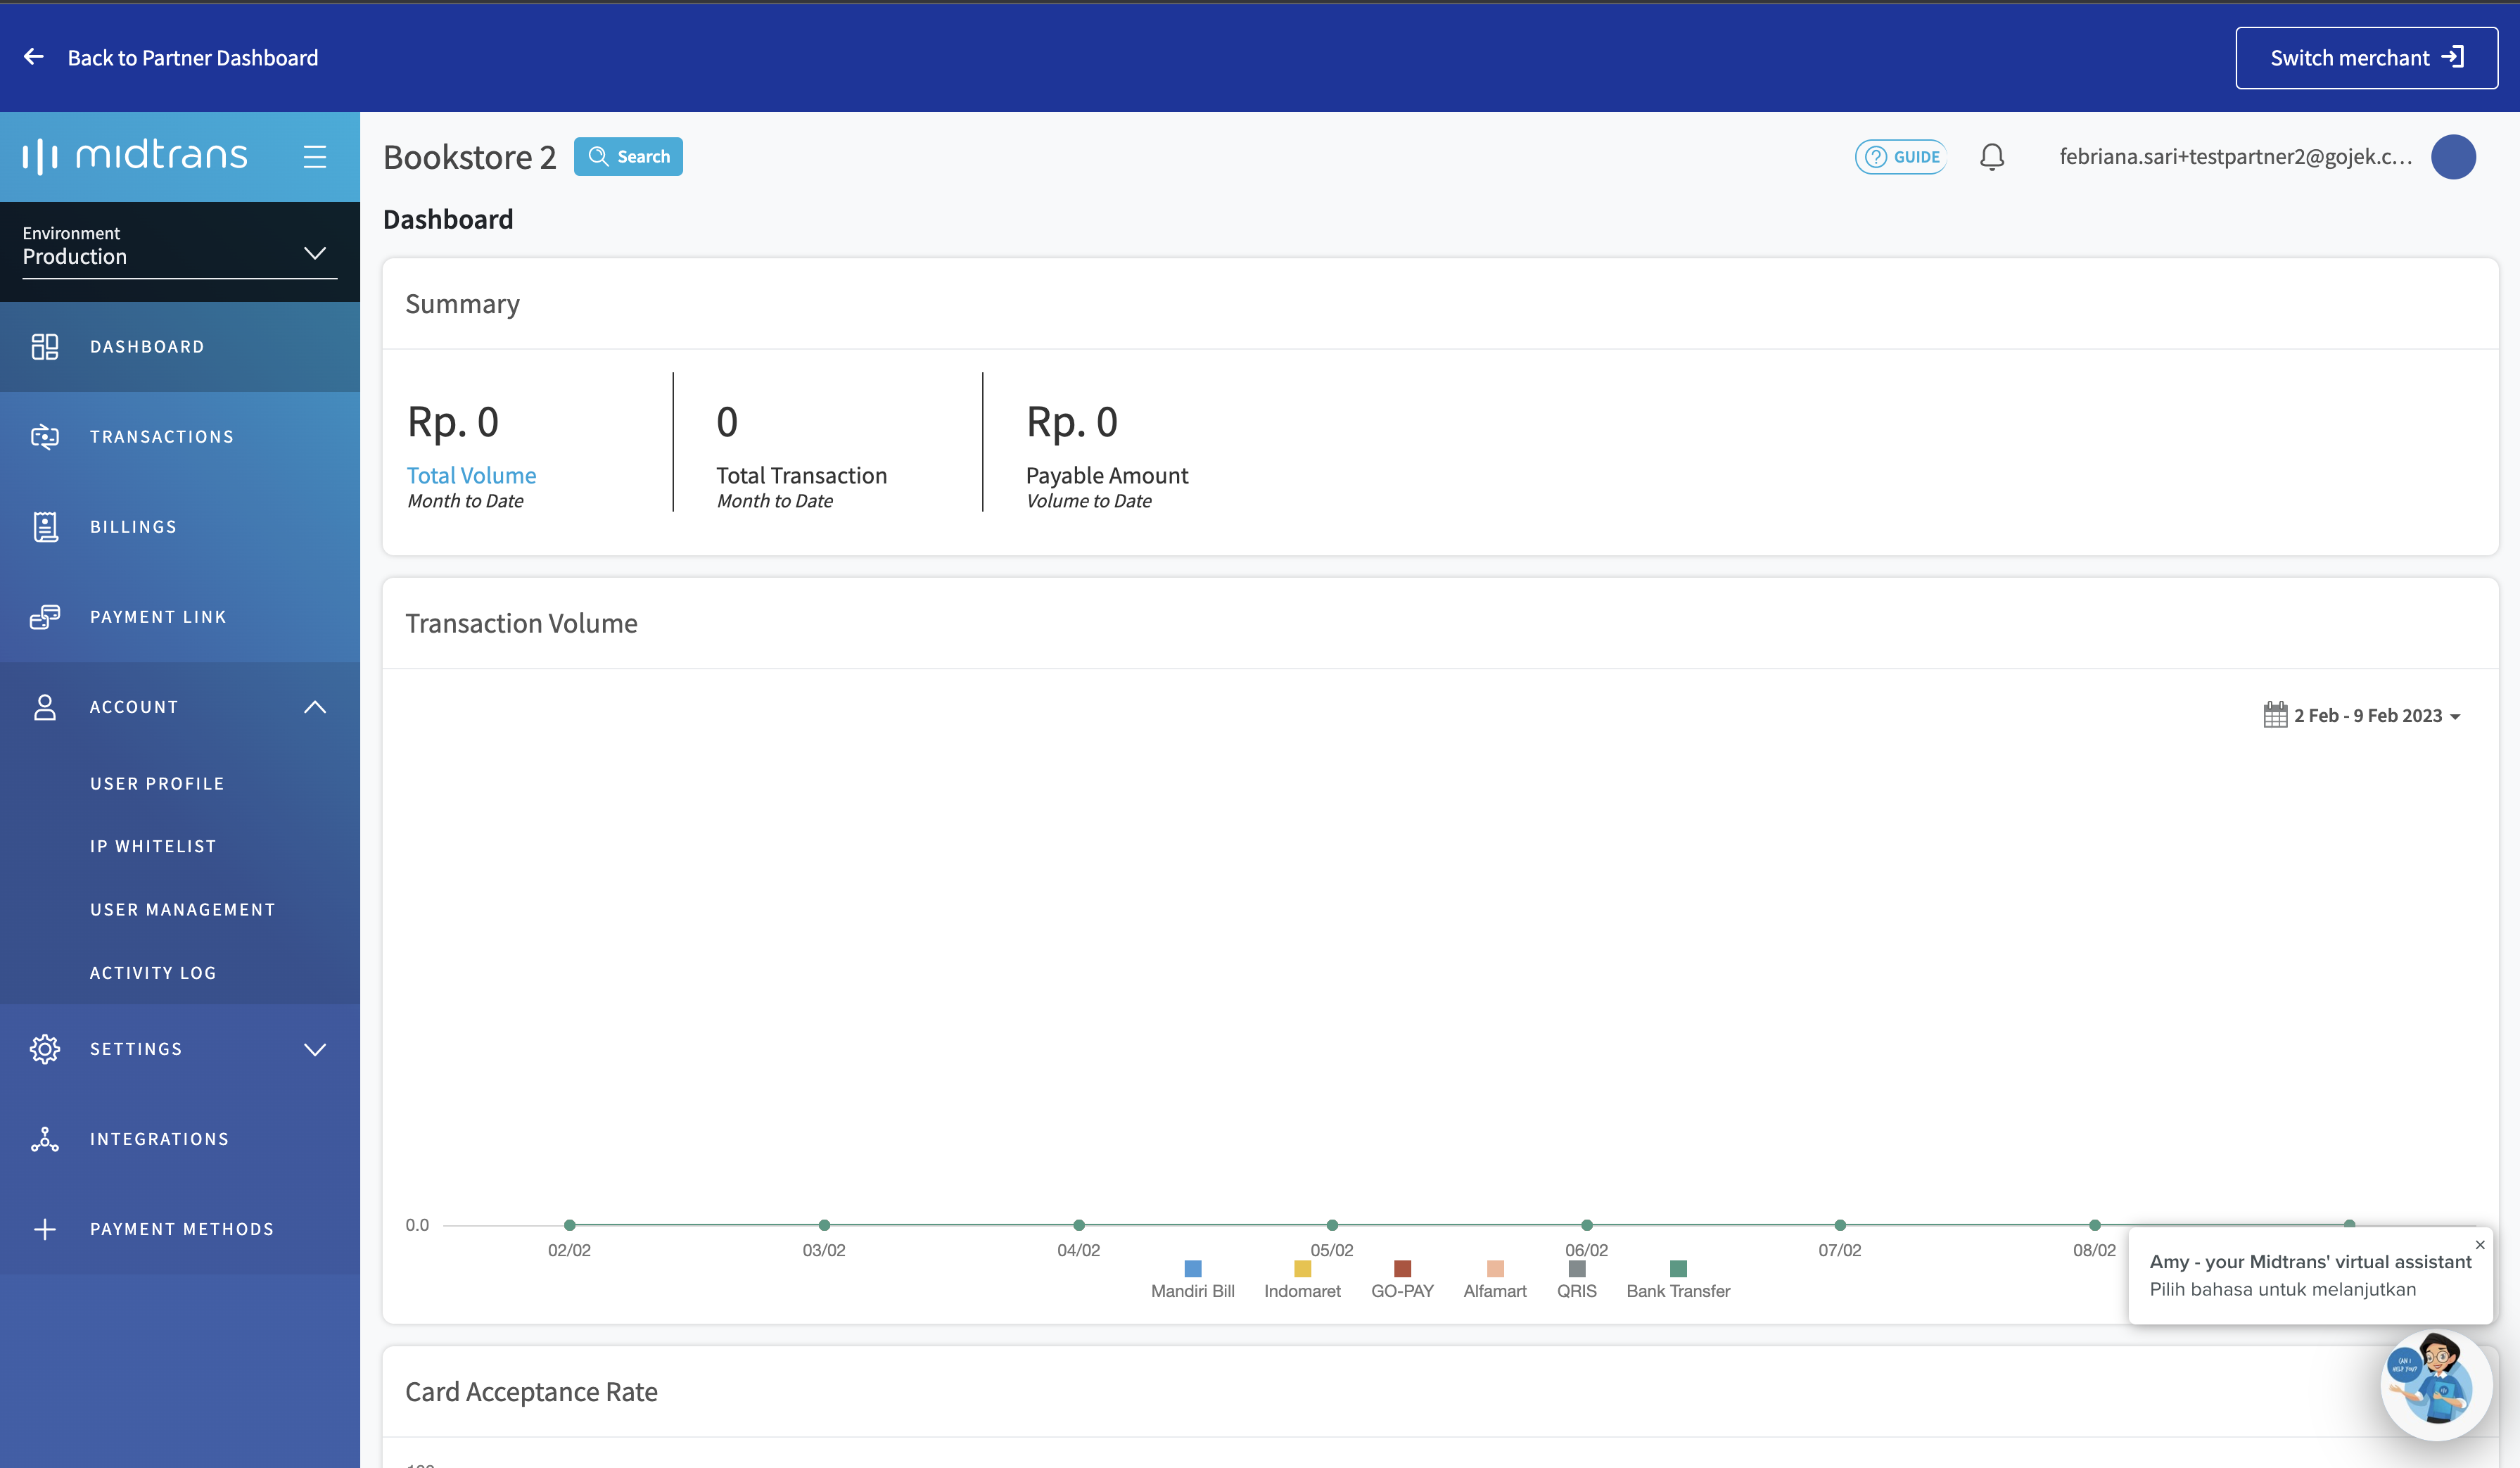
Dashboard
On the dashboard menu, you can actually see the overall and summary of what’s happening across all merchants. You can find total merchant assigned, total revenue, total transaction, and even a quick summary of the month.

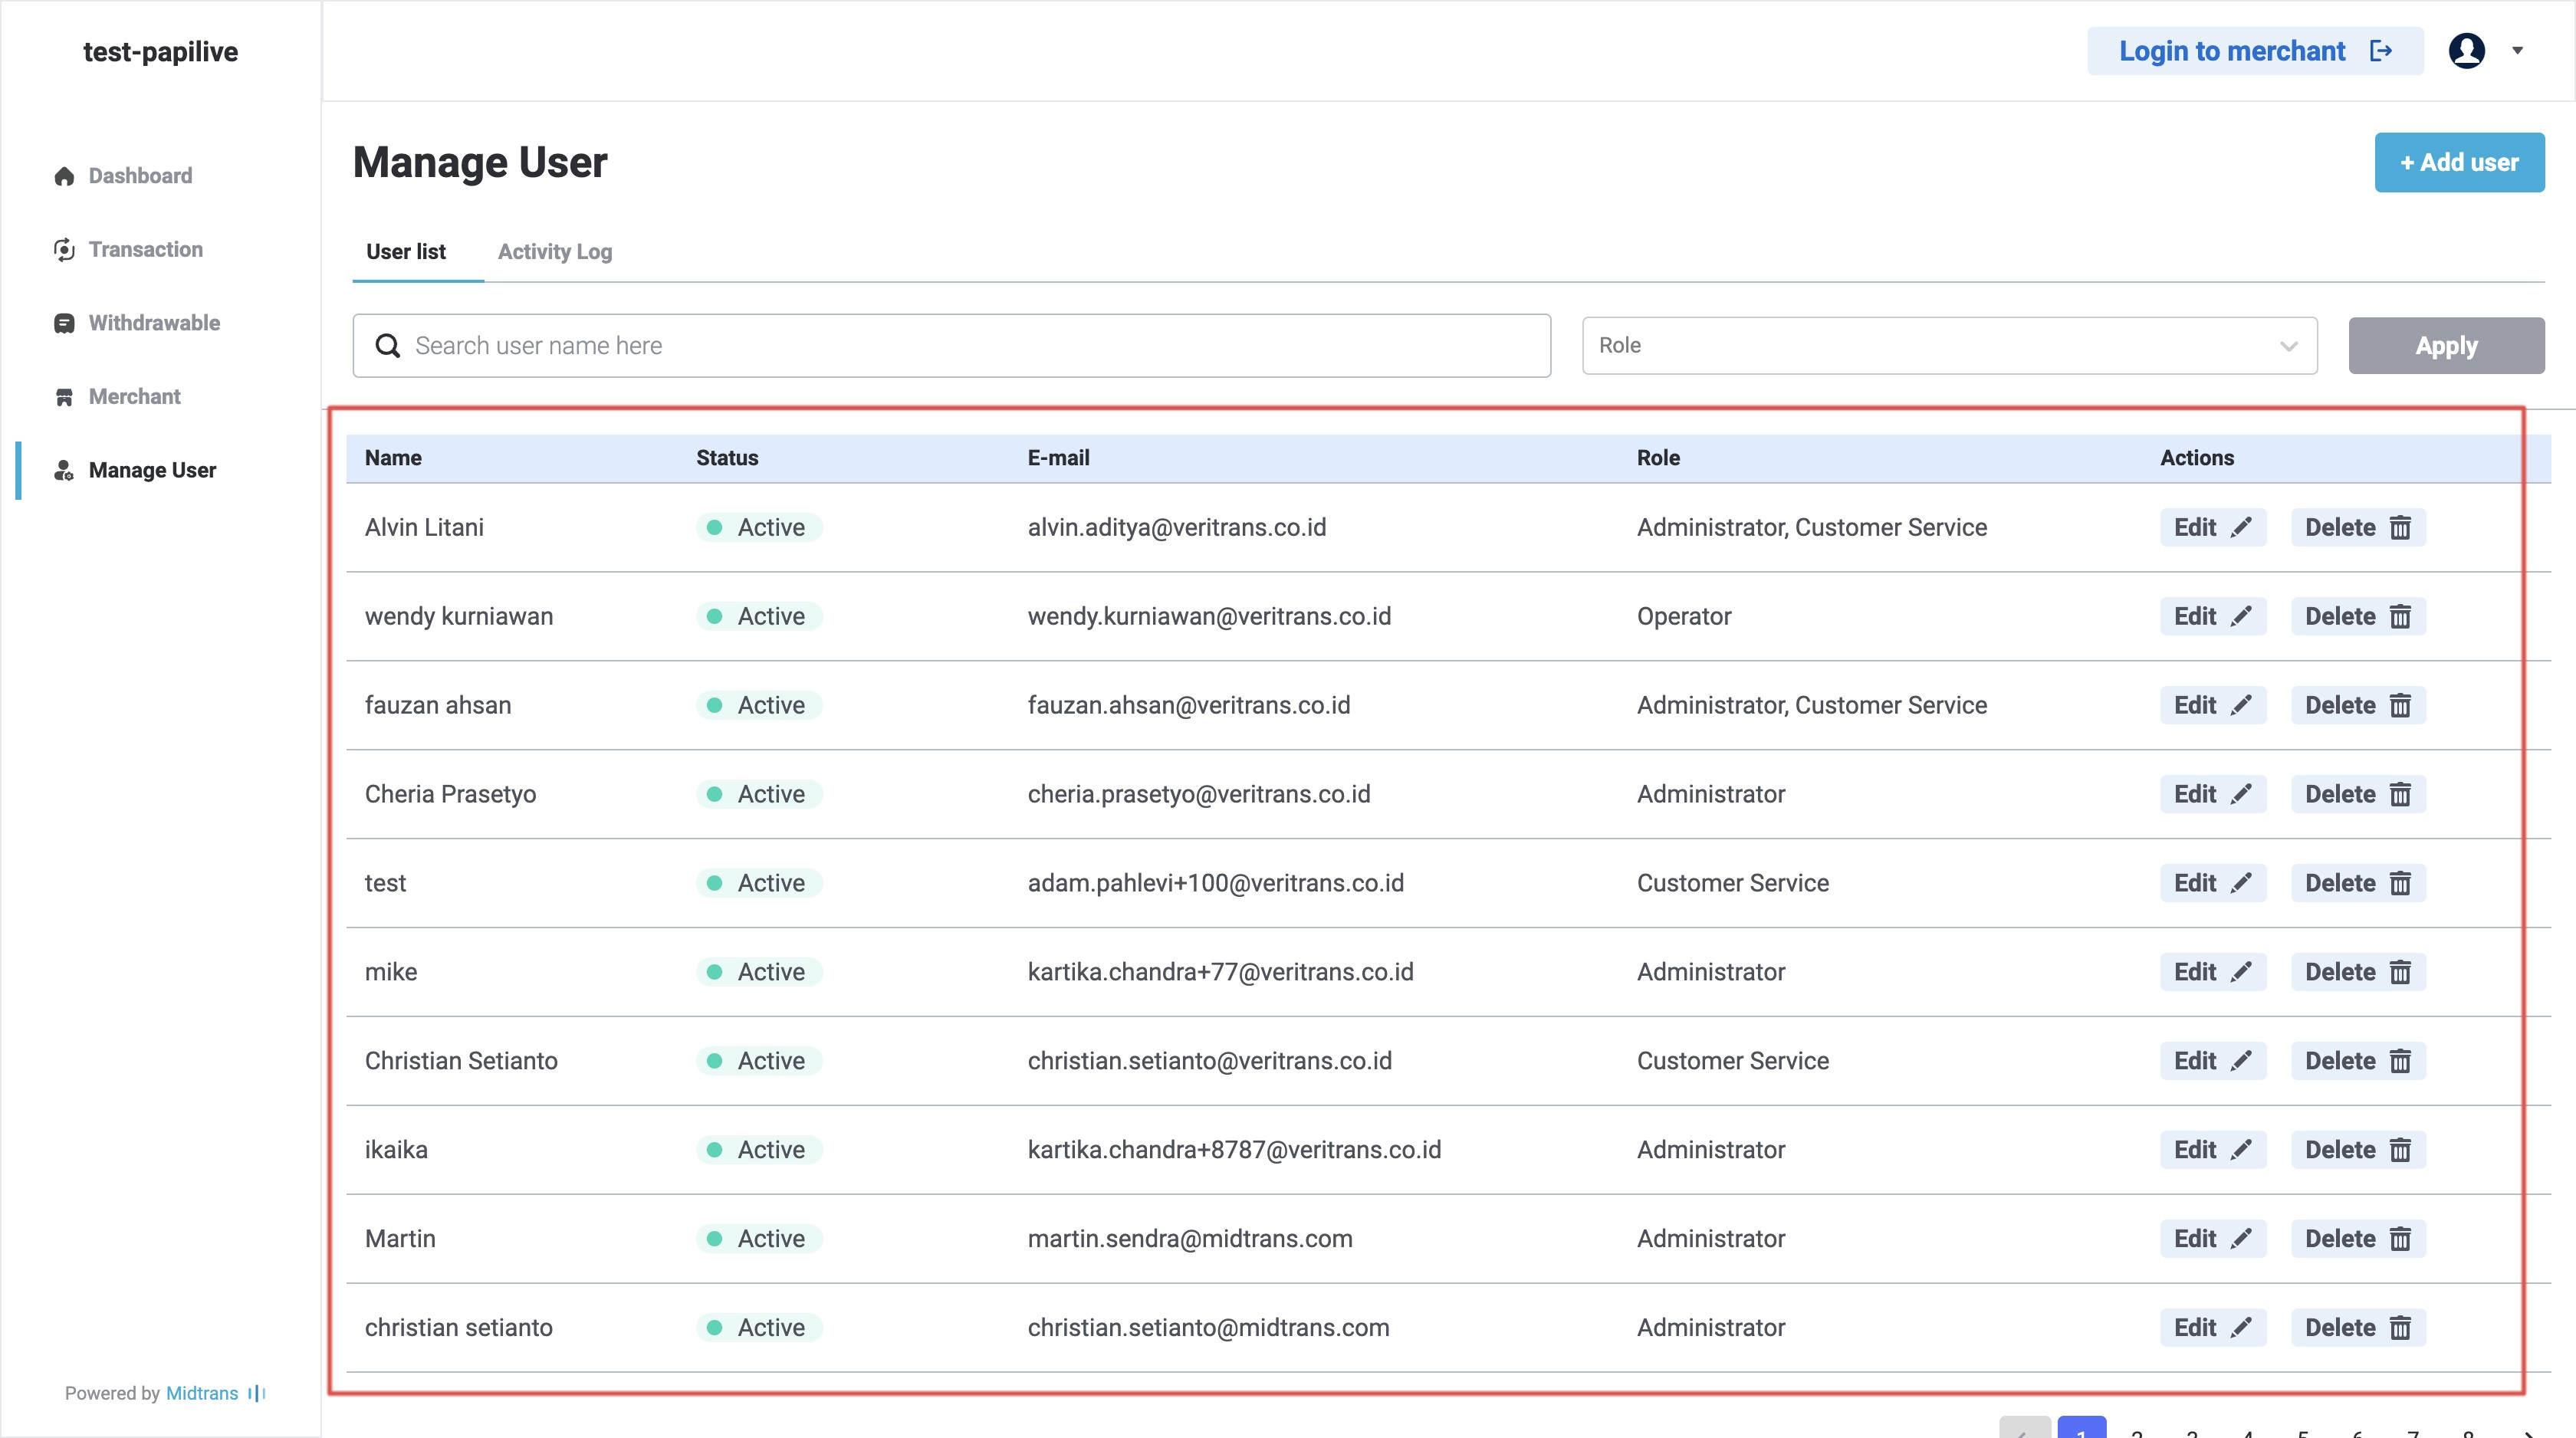
User Management
In Manage User, you can see the list of users of your partner. Here you can see the user name, account status, email, and their role (only Admin can access this page).
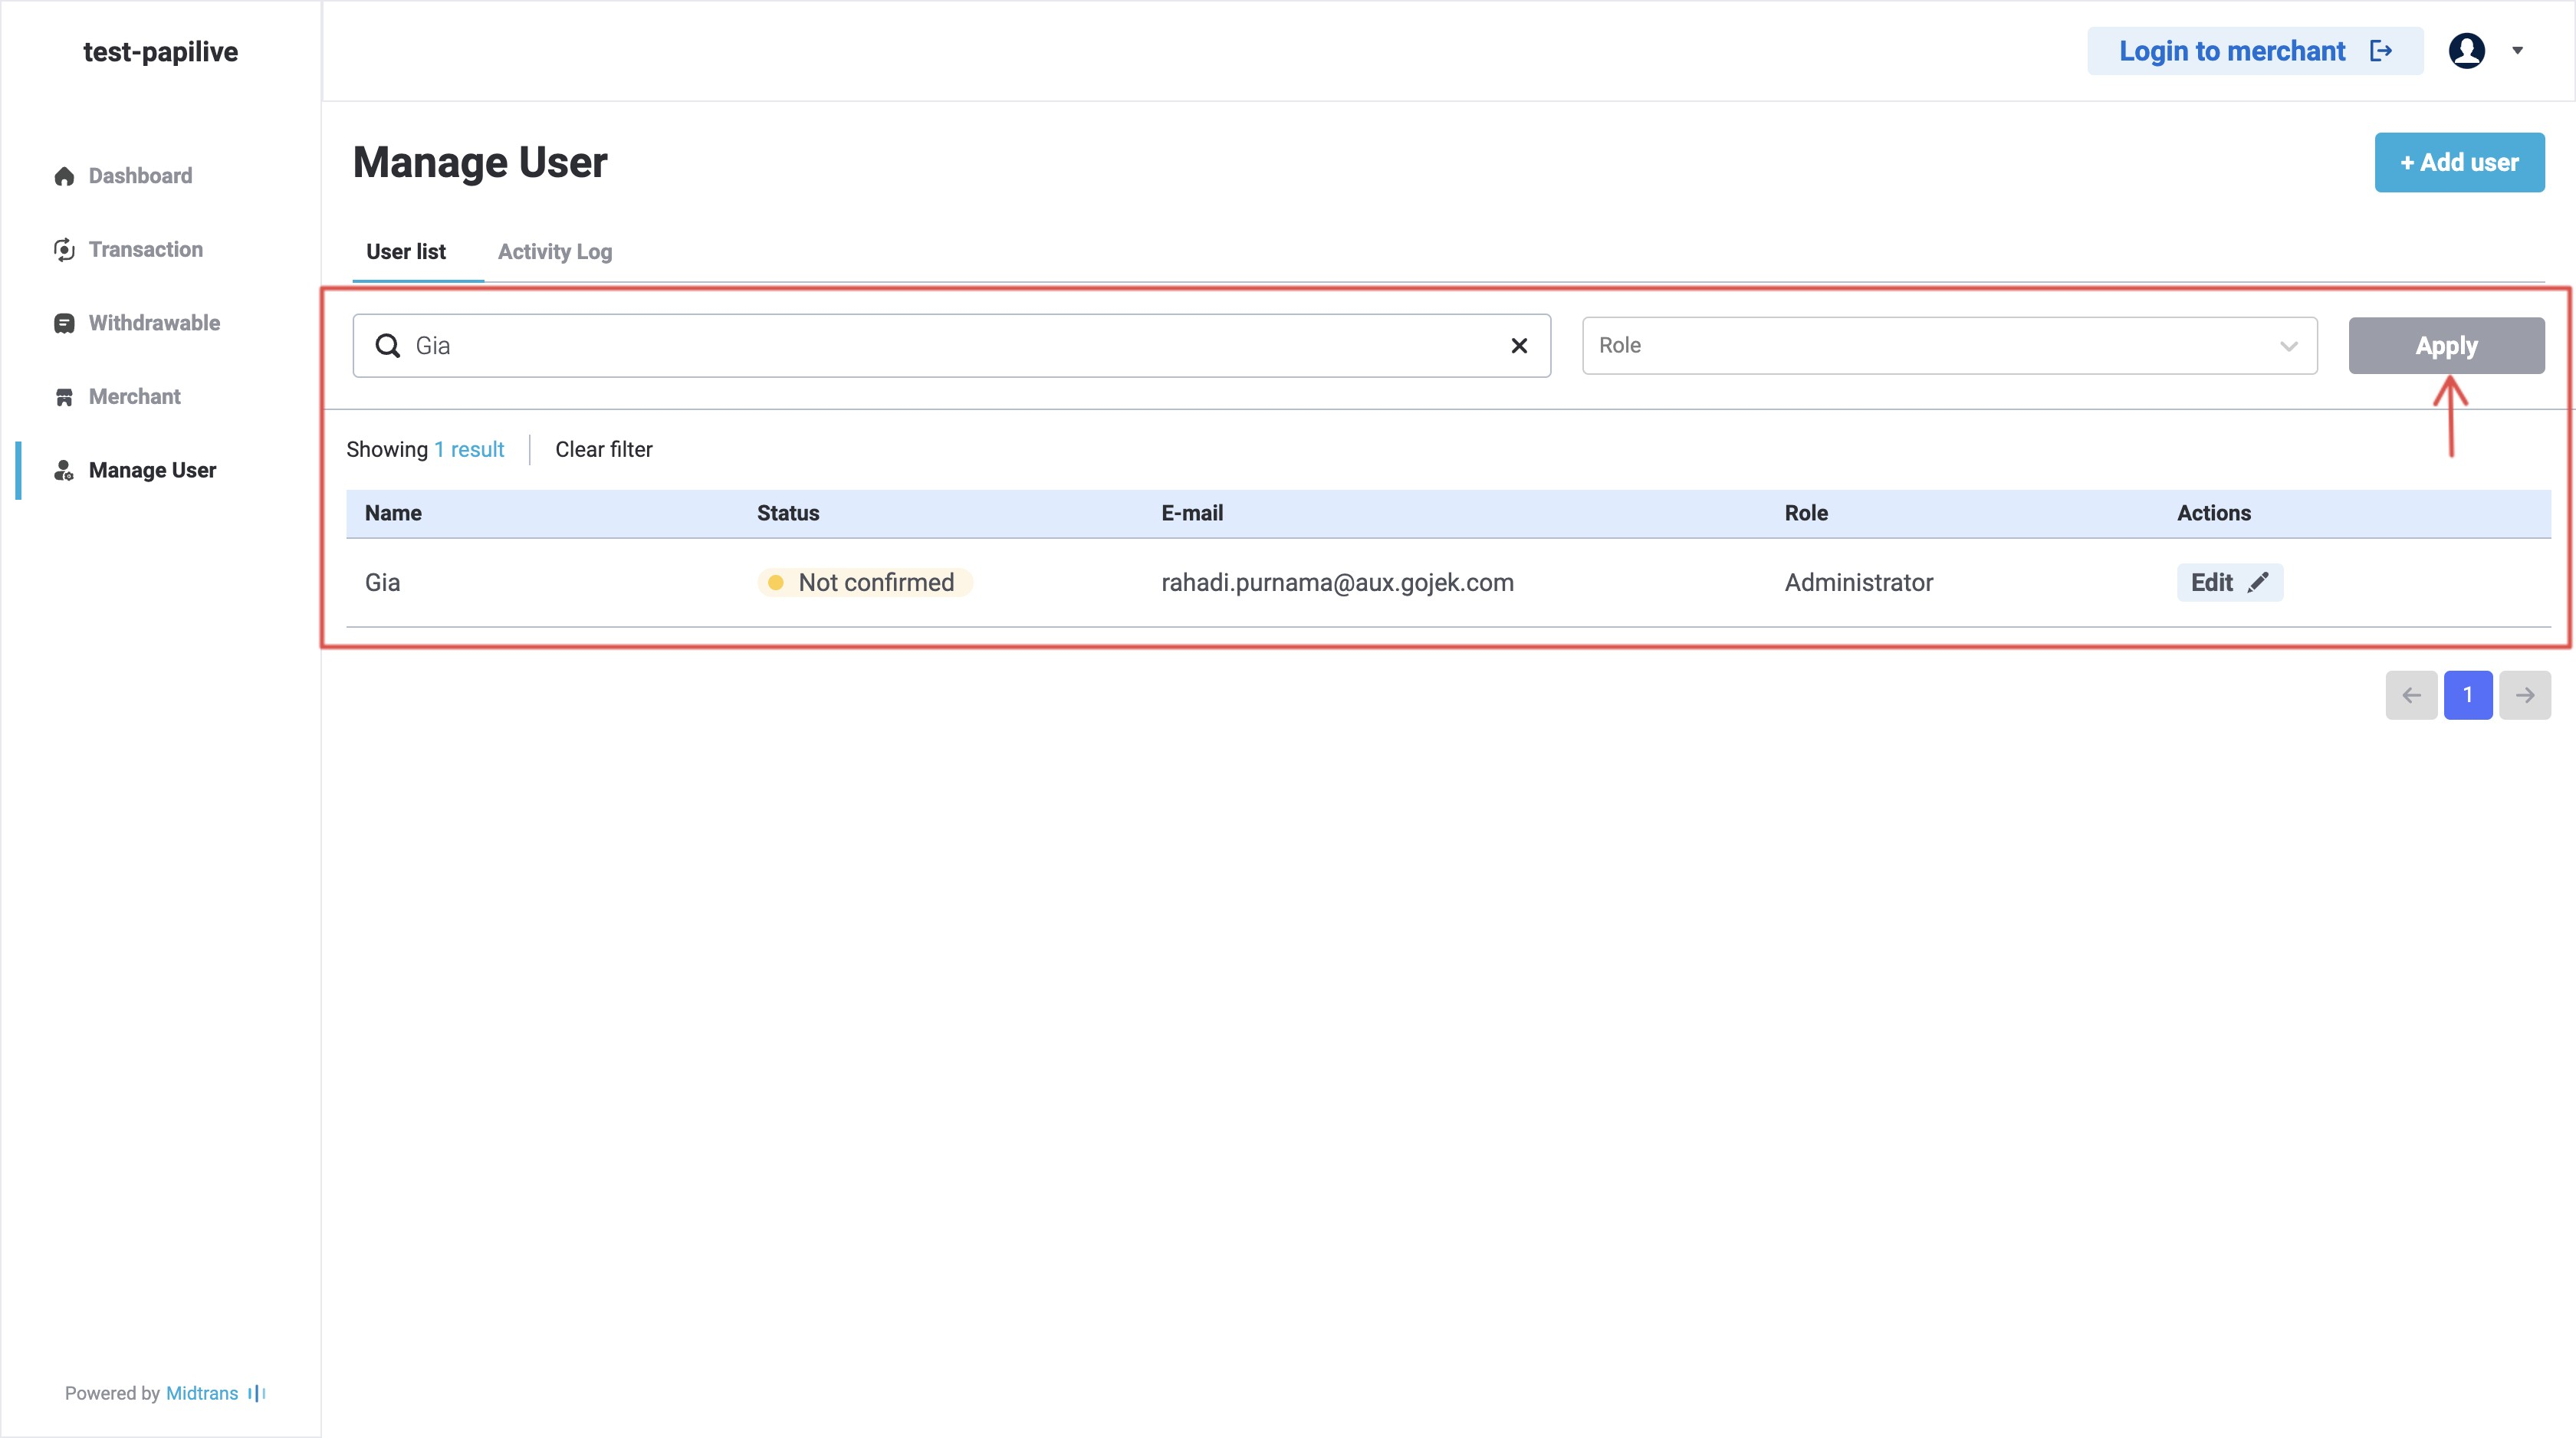
A. You can search users based on their name.
-
Select User list.
-
Type the user name.
-
Click Apply.
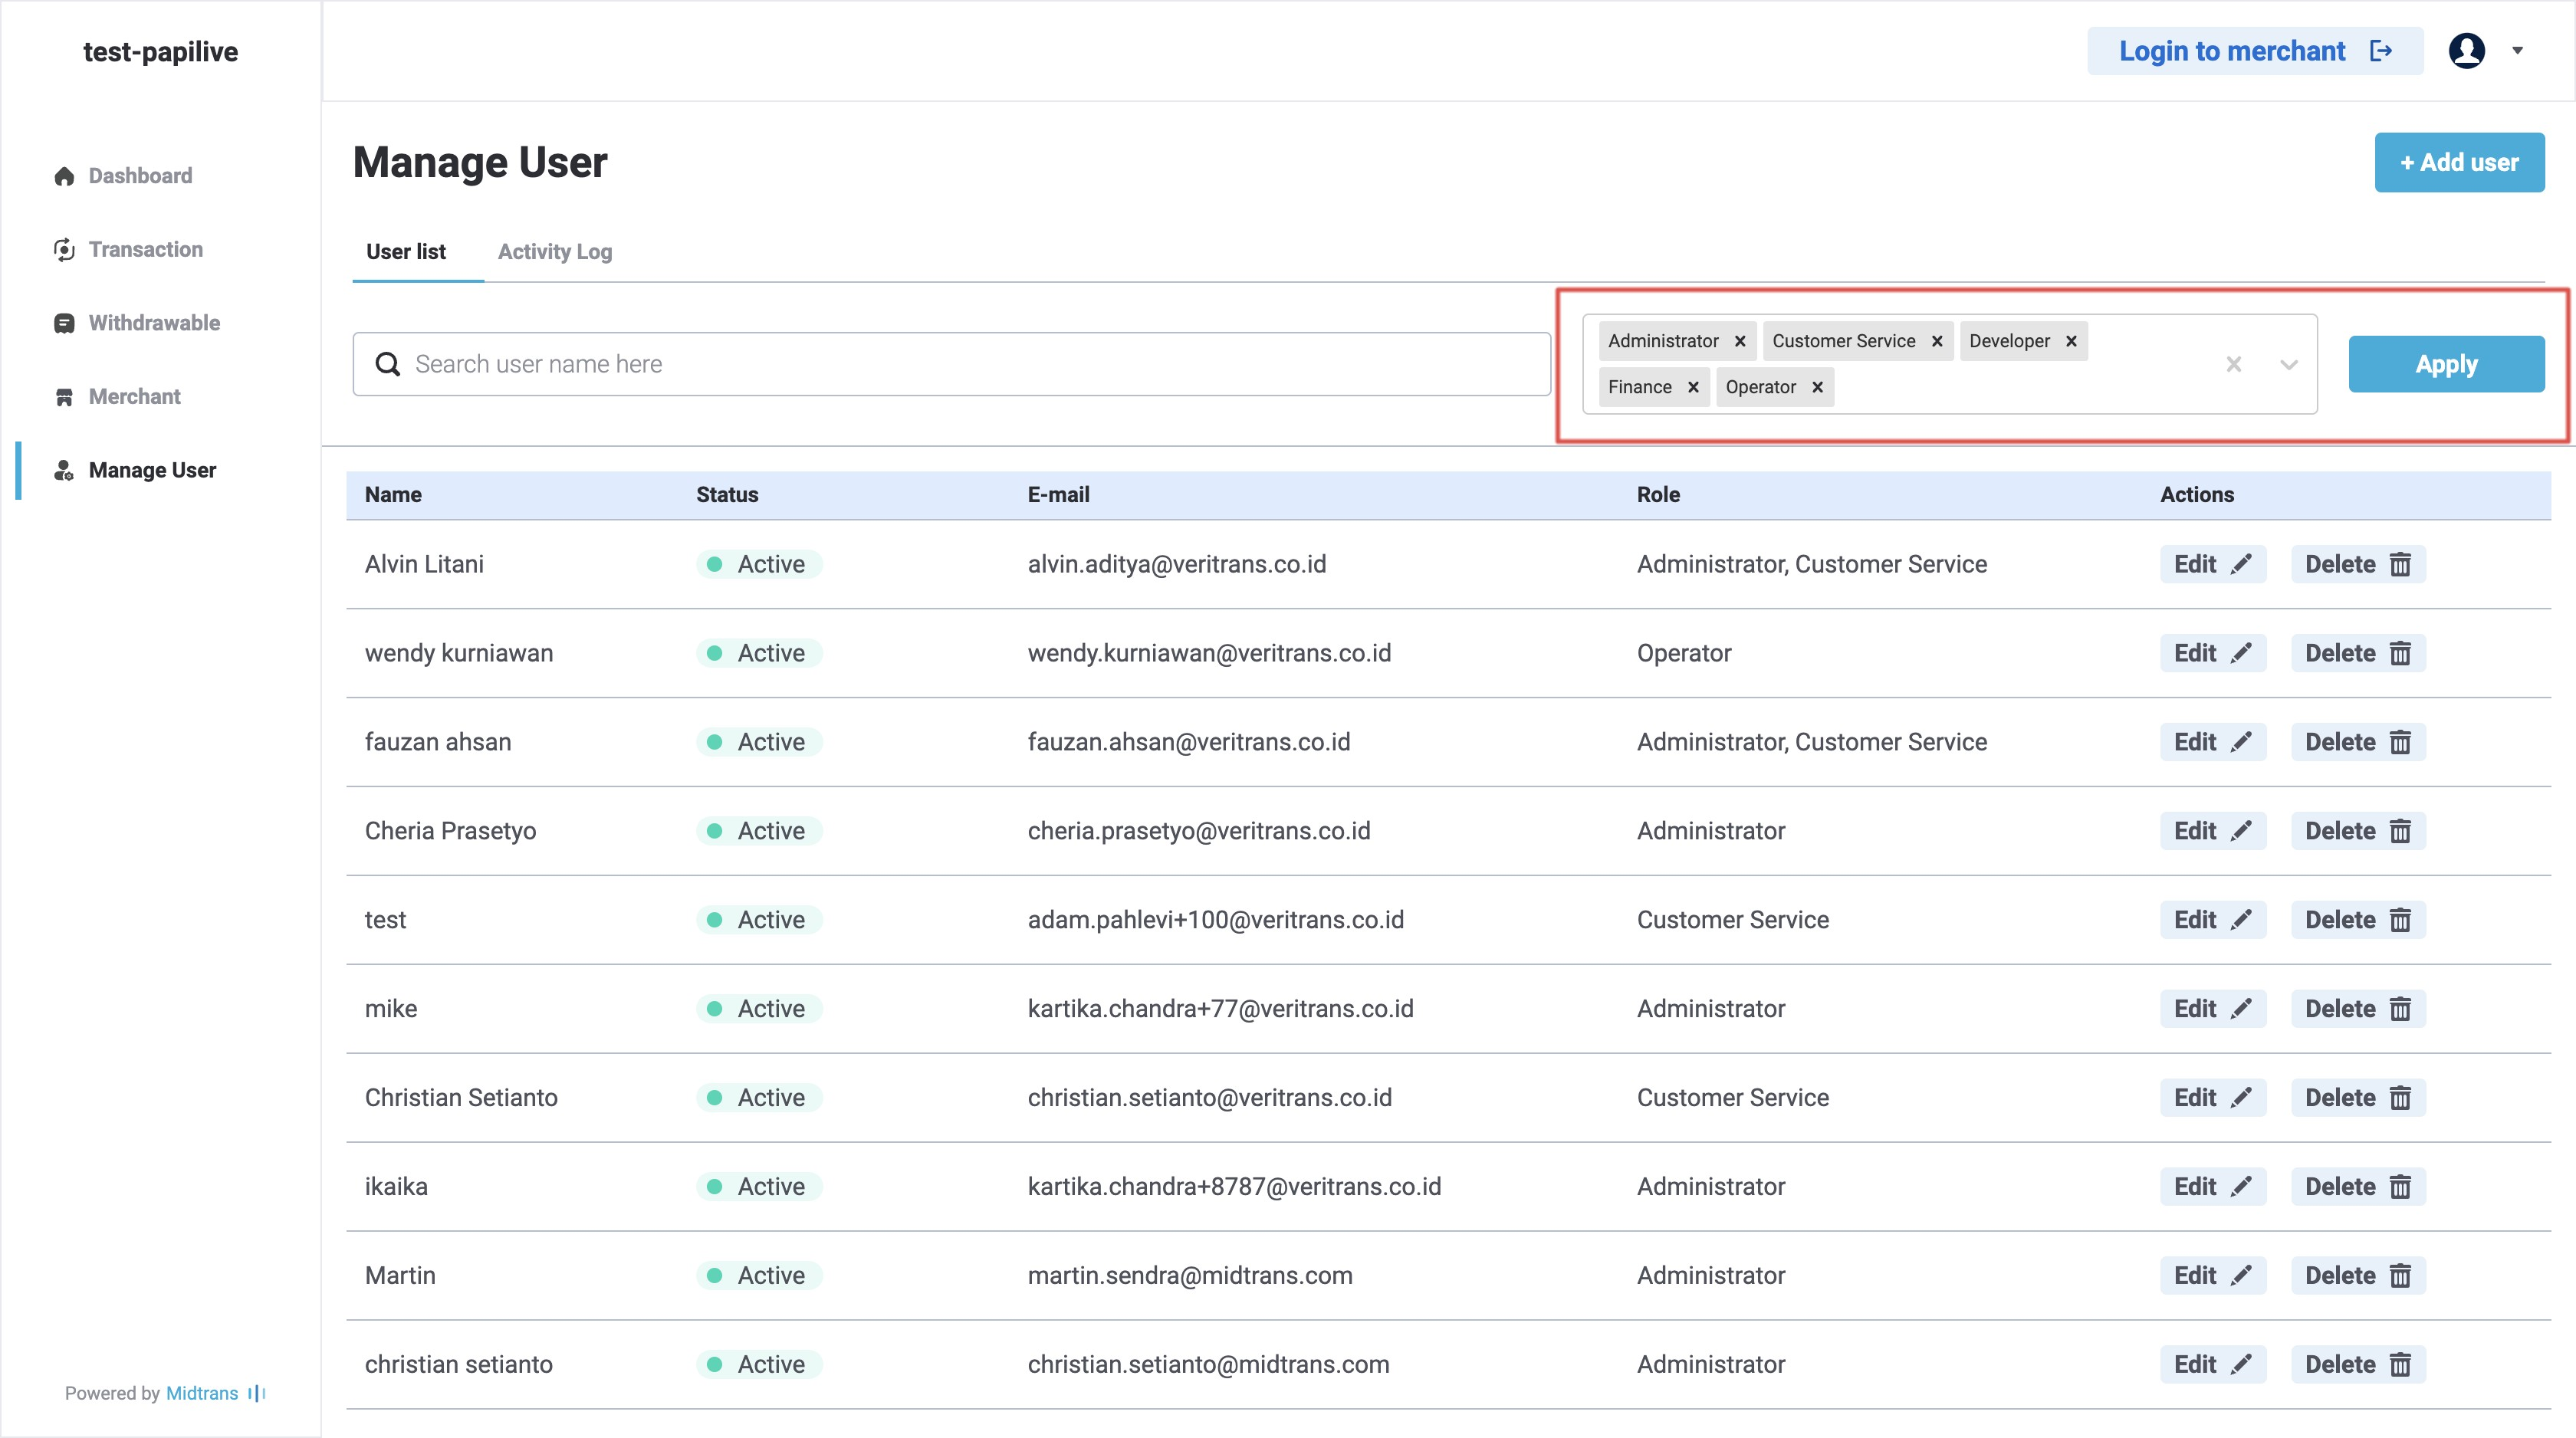
B. You can search users based on their roles.
-
Select User list.
-
Click on the dropdown list, choose the role.
-
Click Apply.
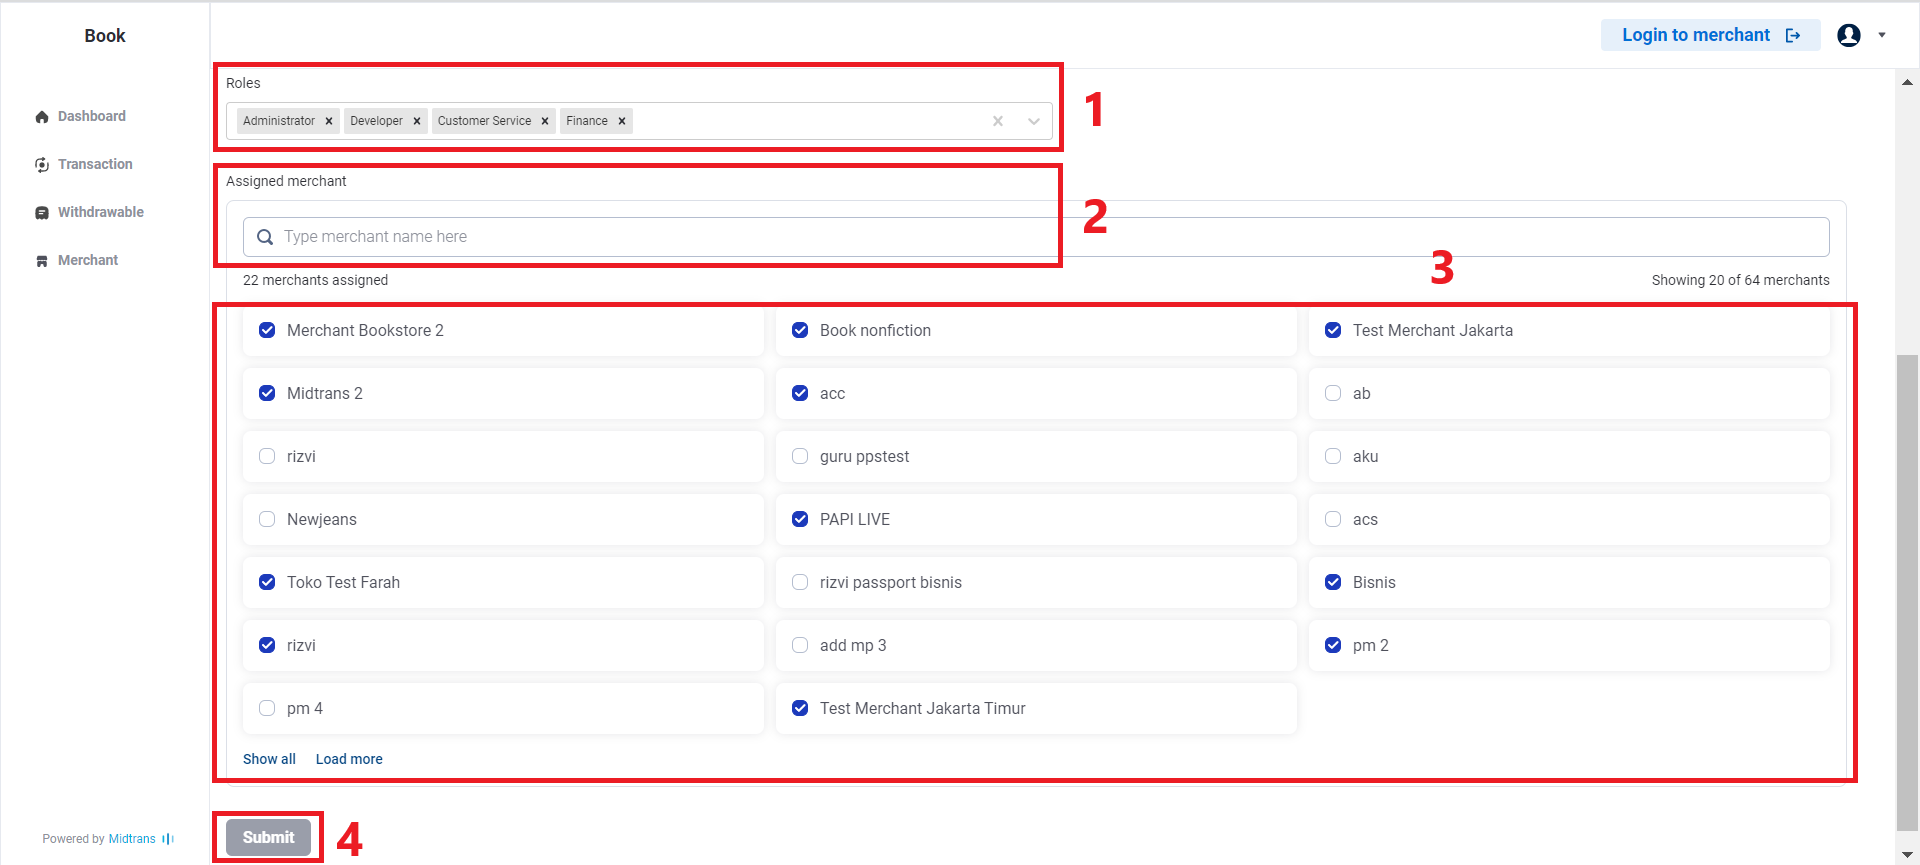
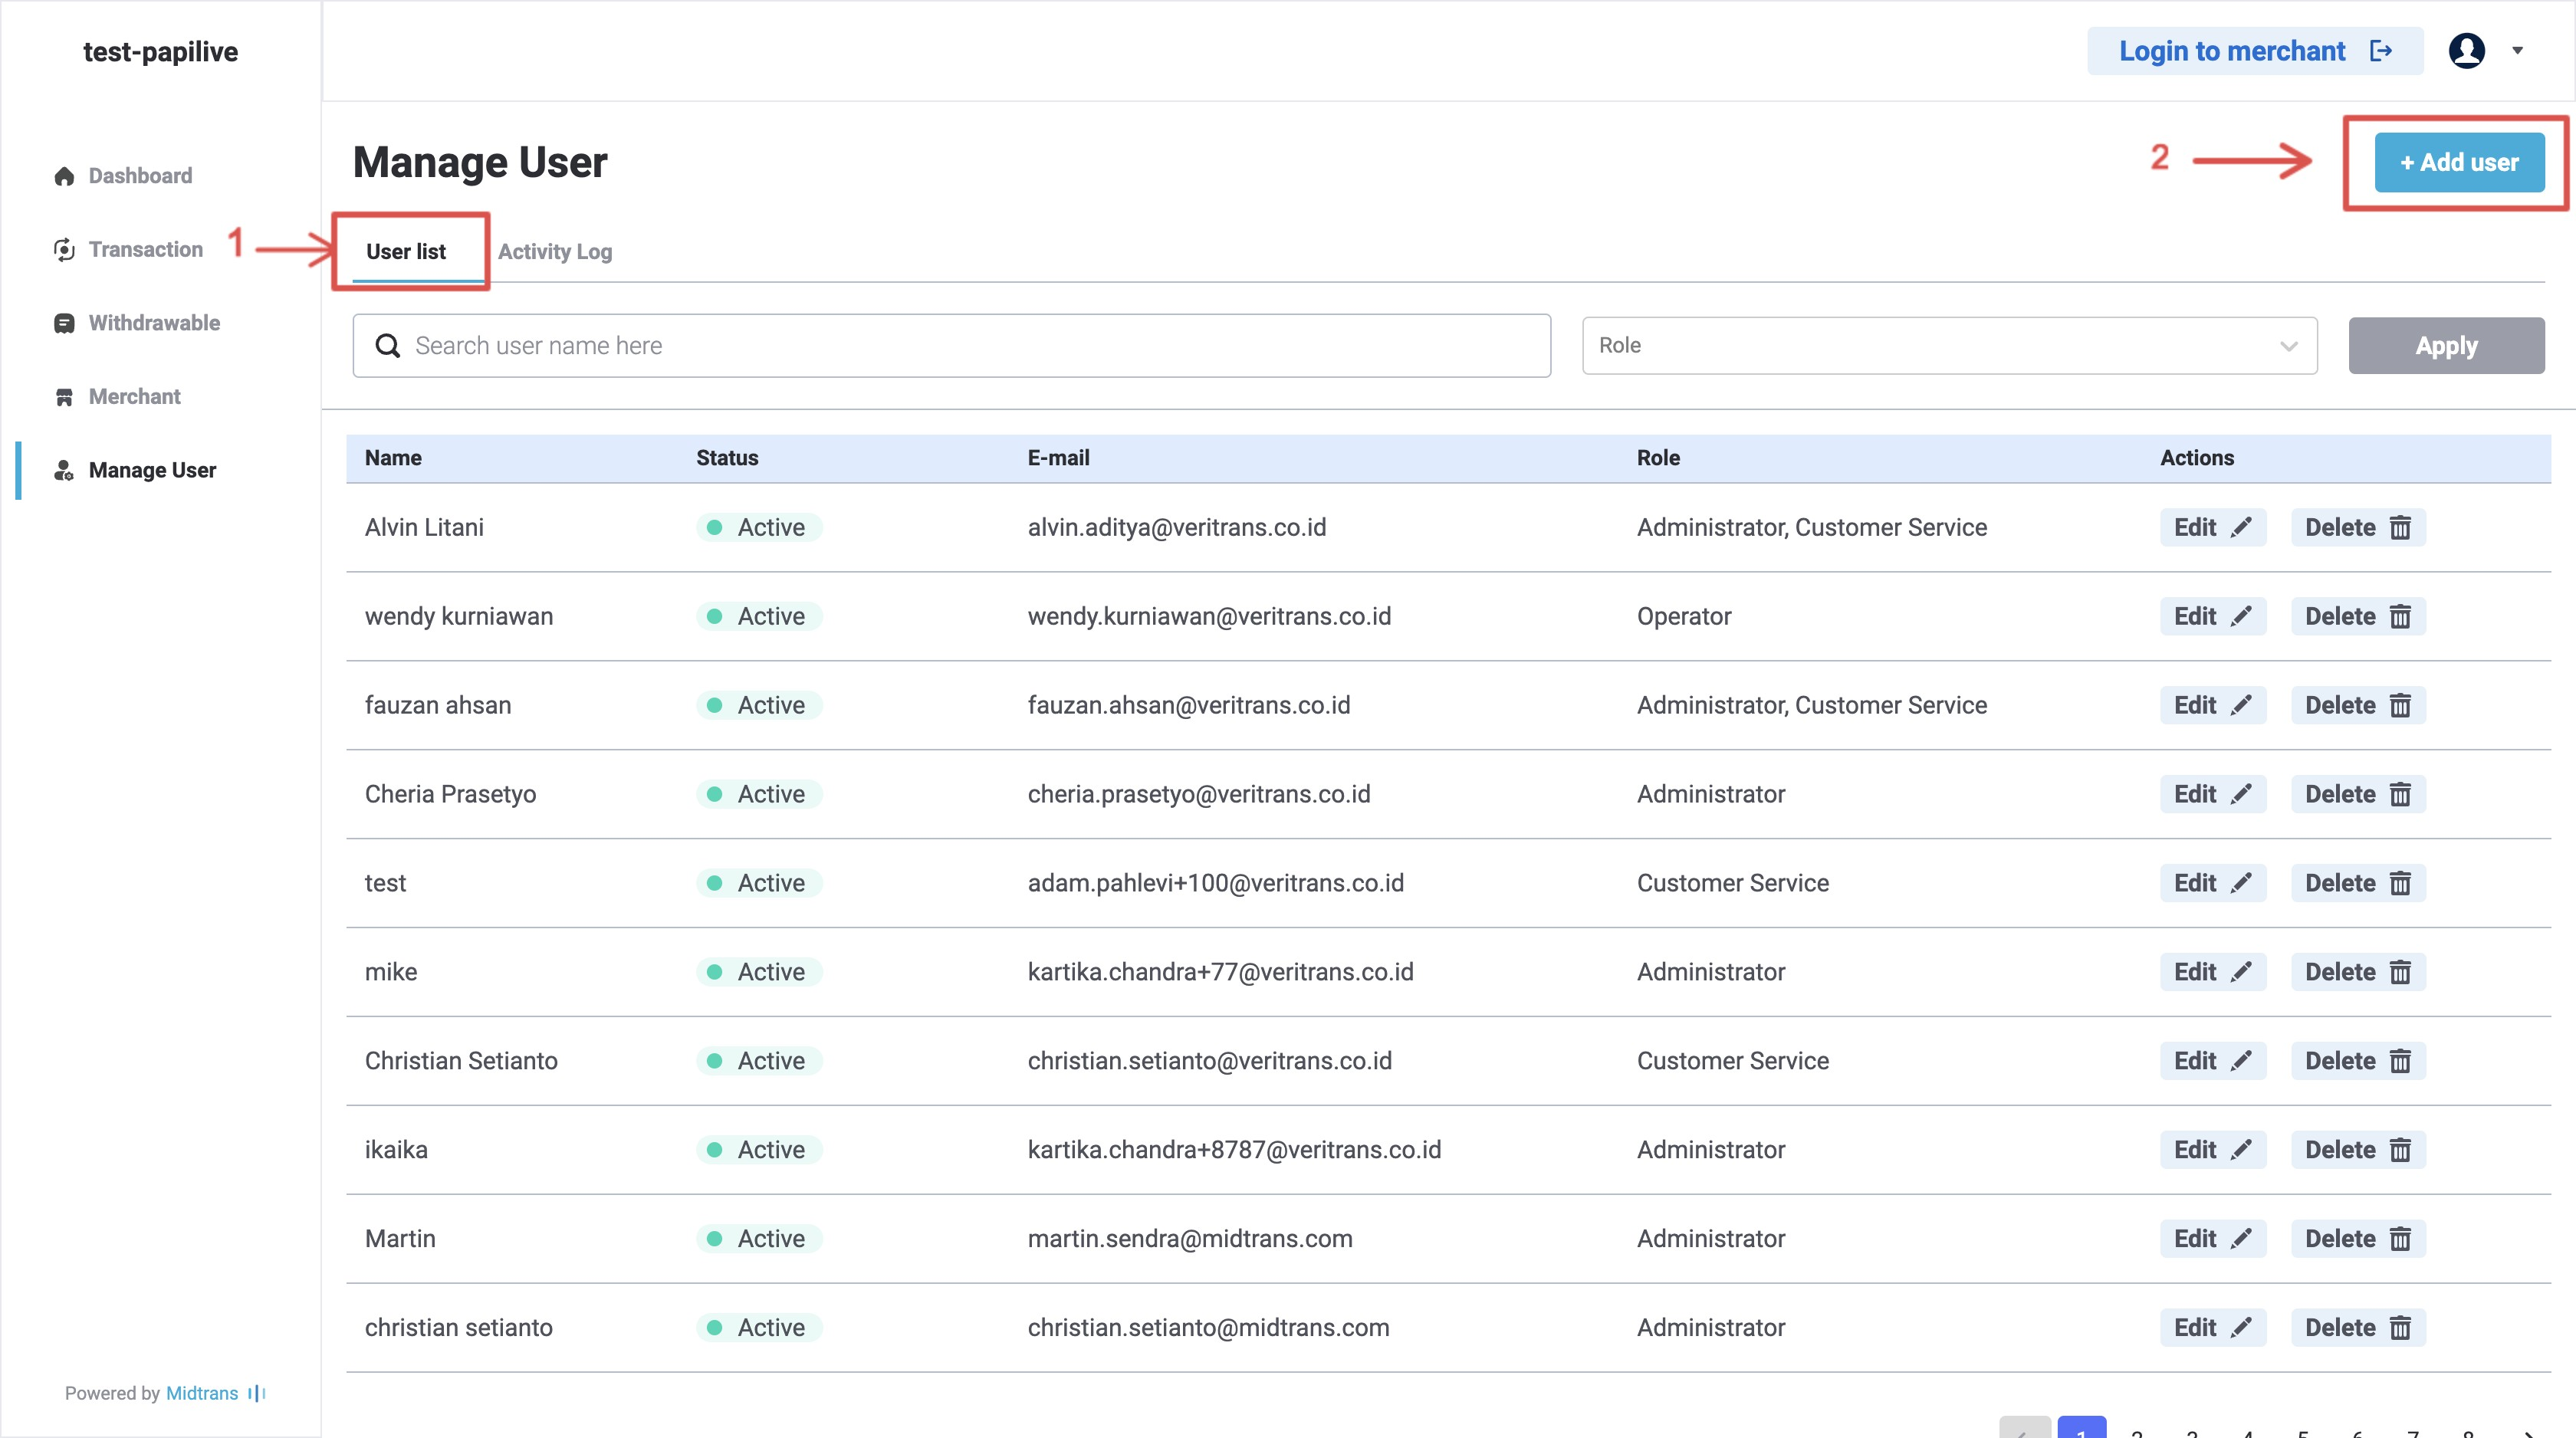
C. You can create new users.
-
Select User list.
-
Click + Add user.
-
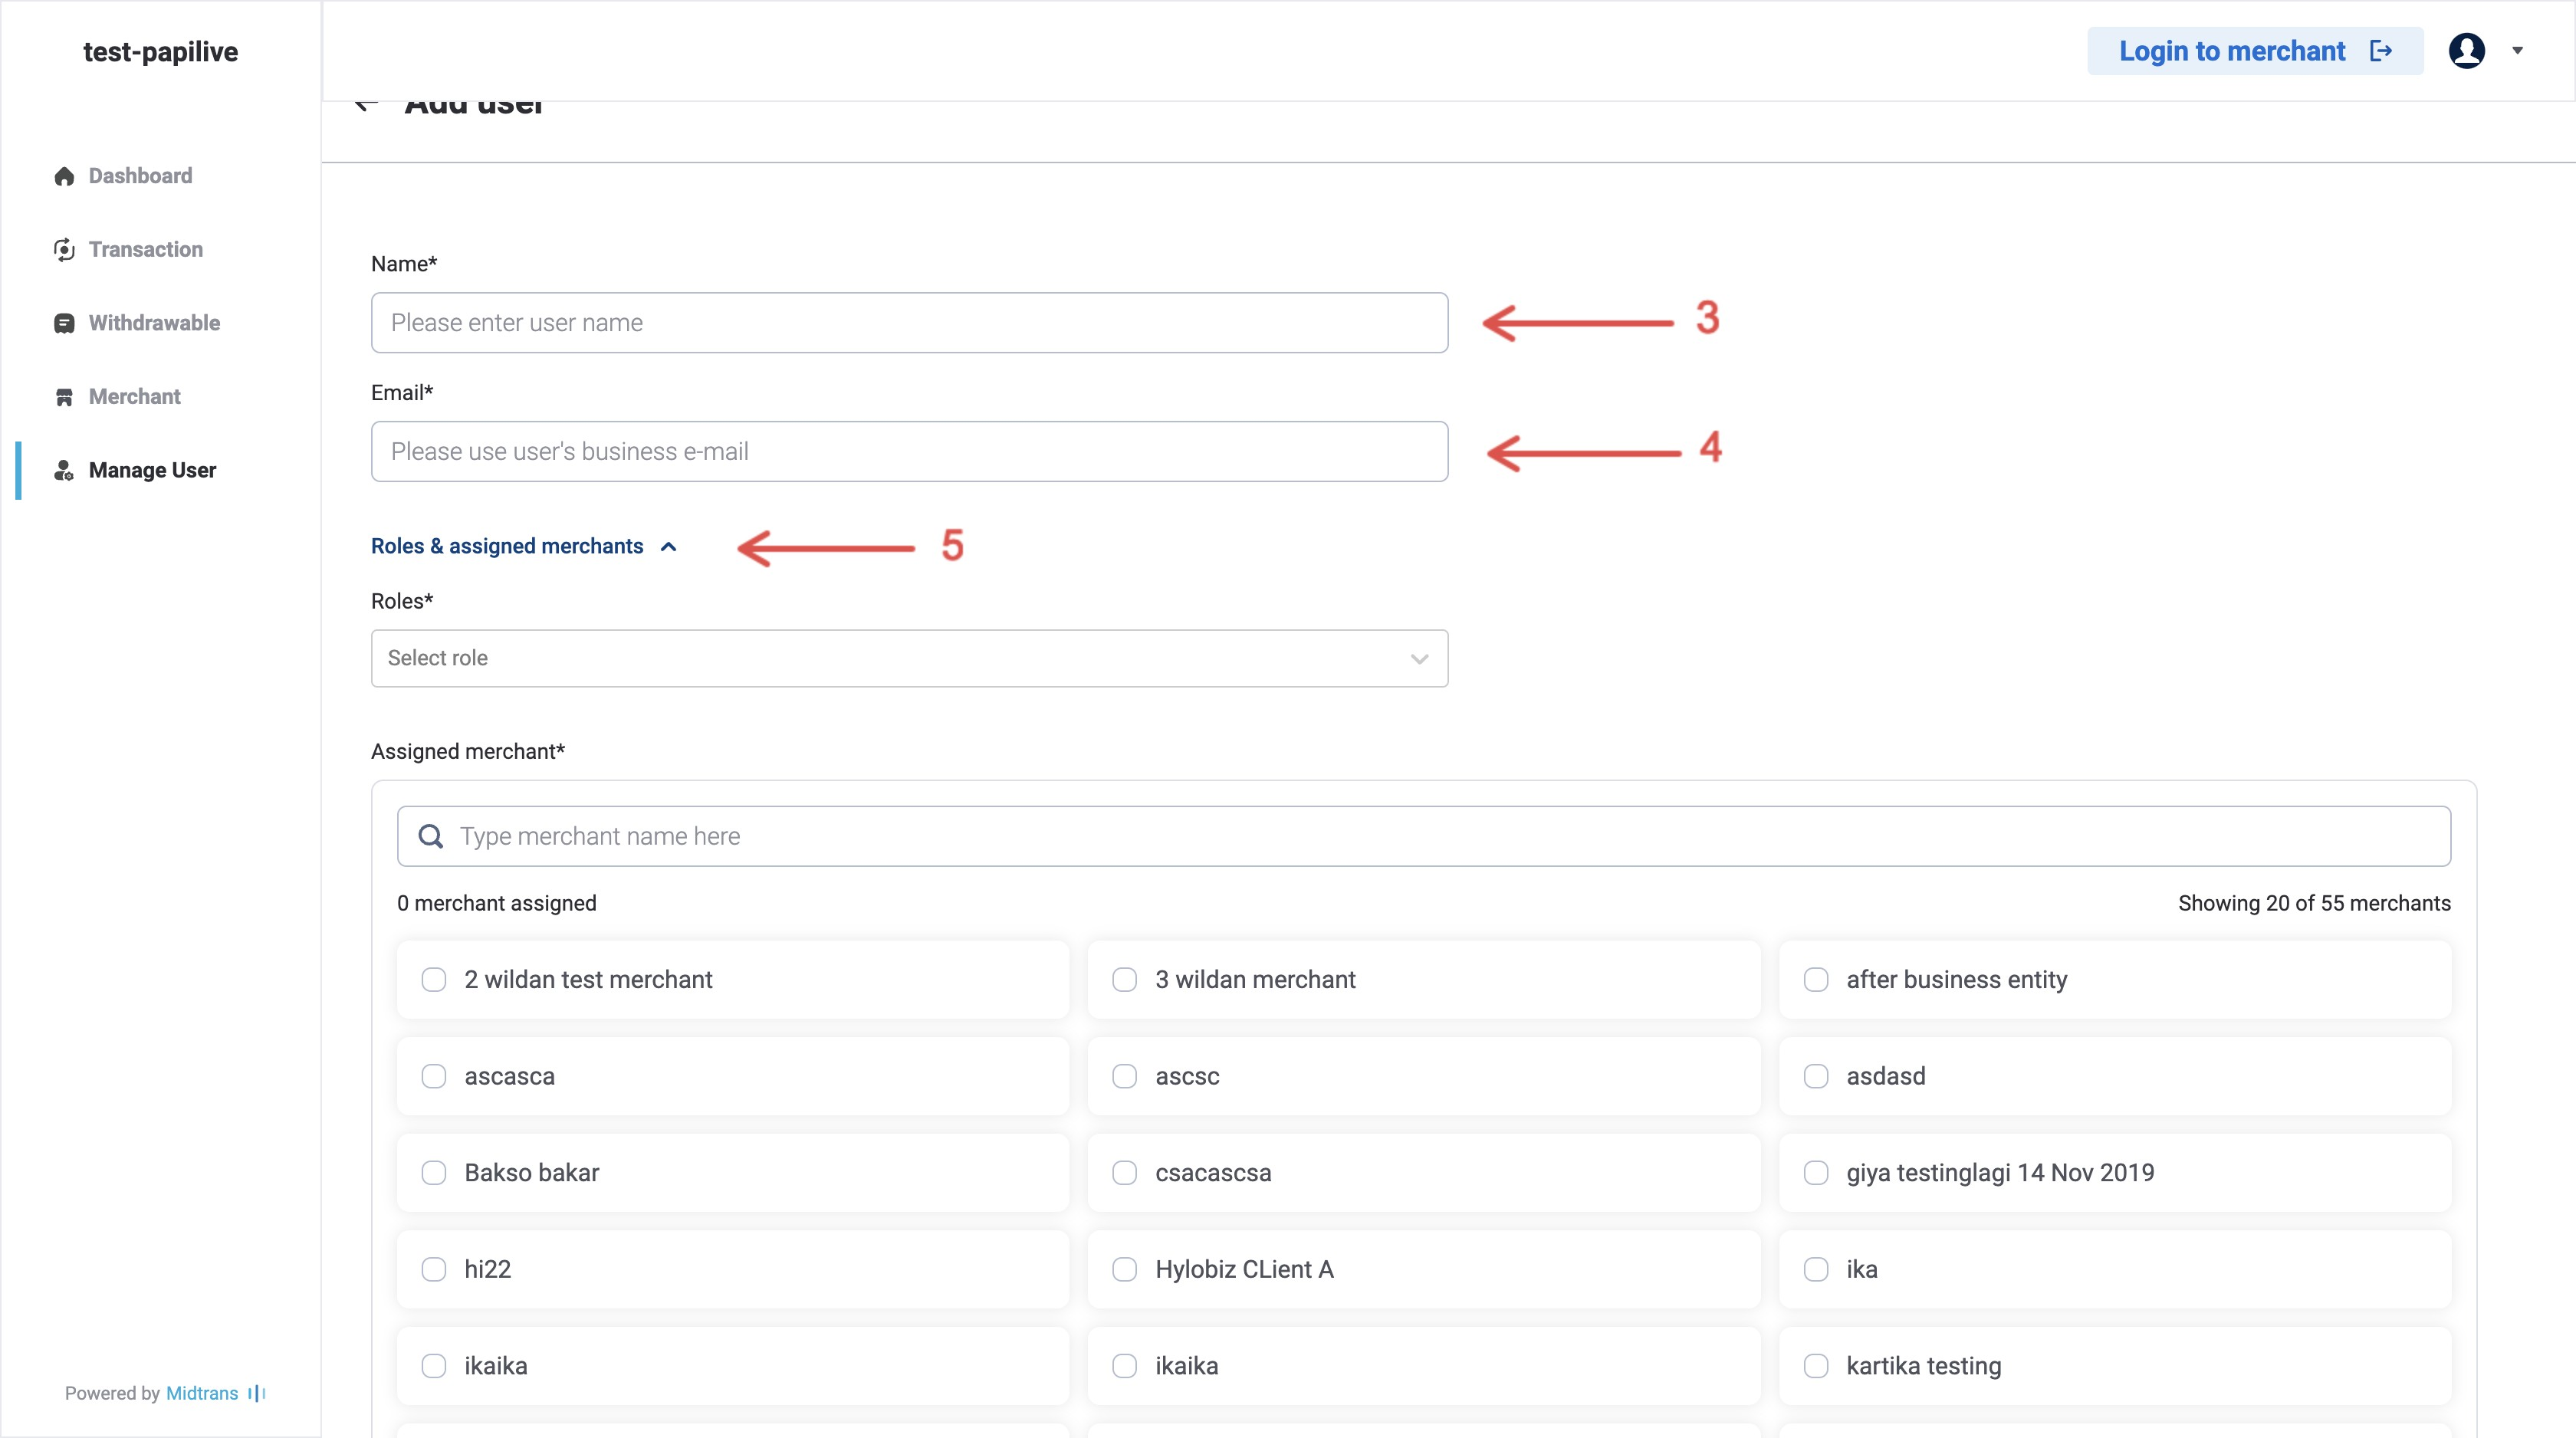
Type the user name.
-
Type the user email.
-
Click on the dropdown list, choose the role. You can choose multiple roles for a user.
-
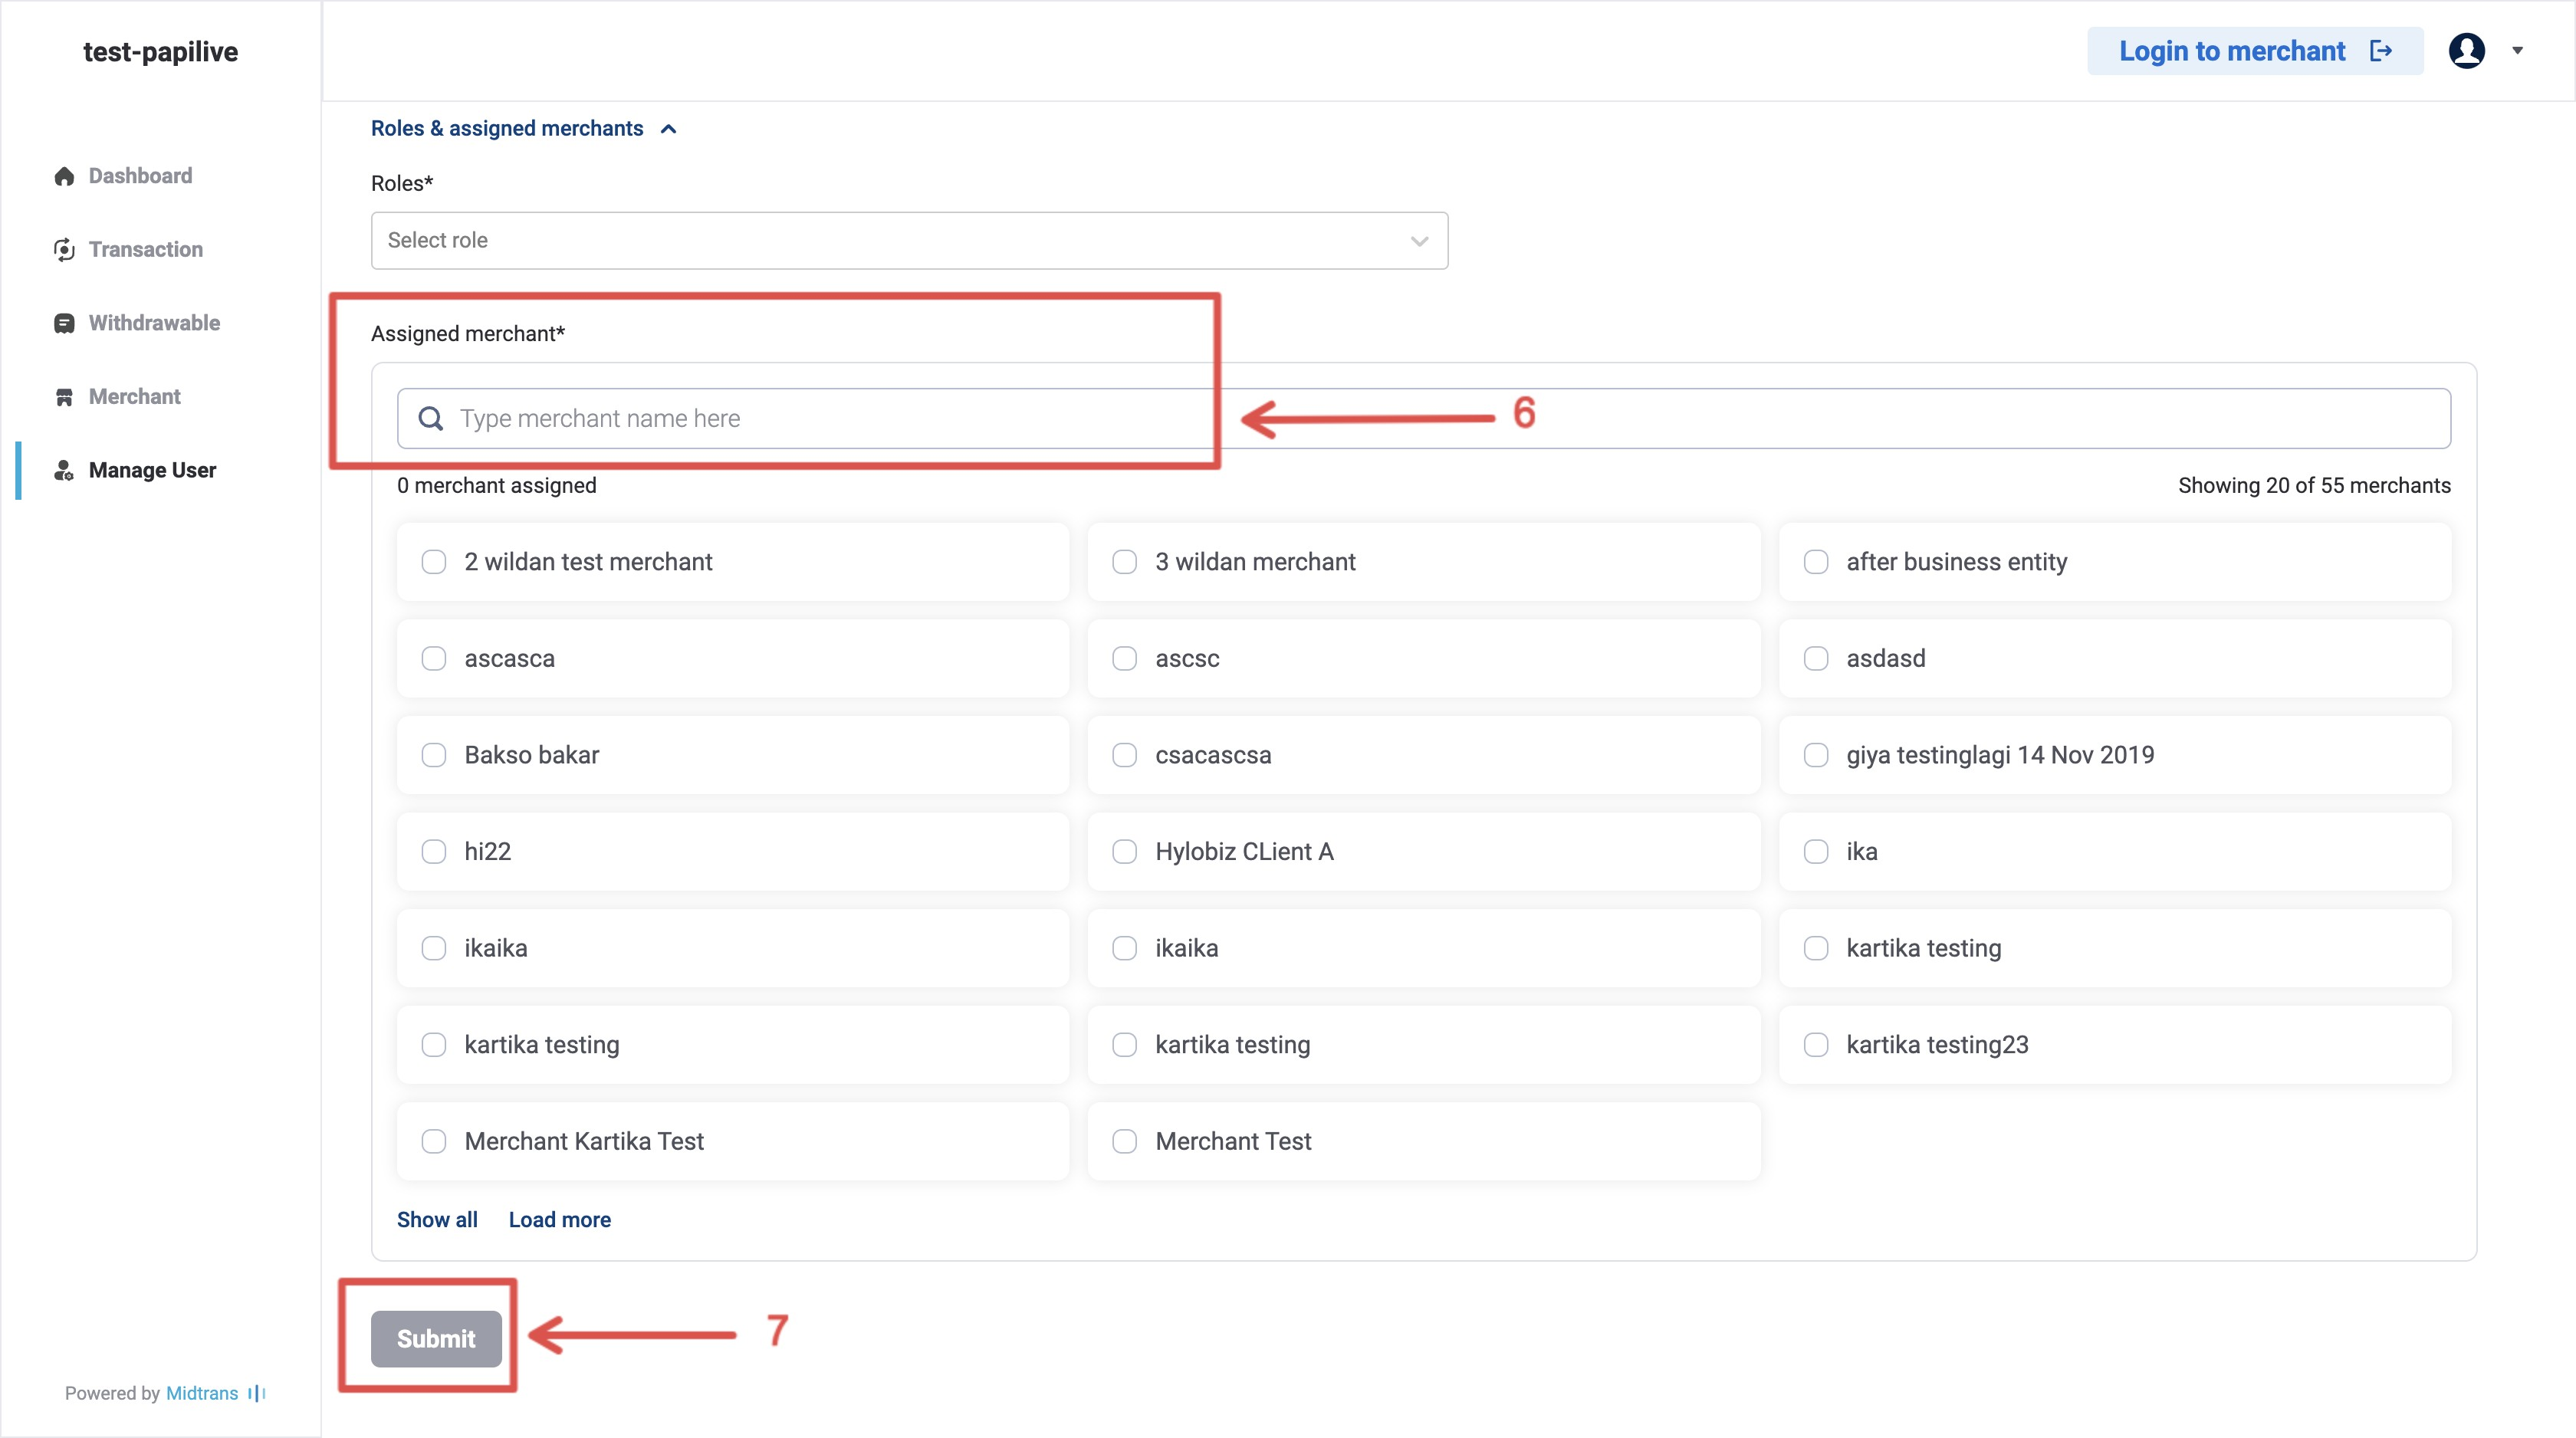
Type the merchant name that this user can access, or simply select the merchant from the list.
-
Click Submit.
-
The user account status will be “Not confirmed”.
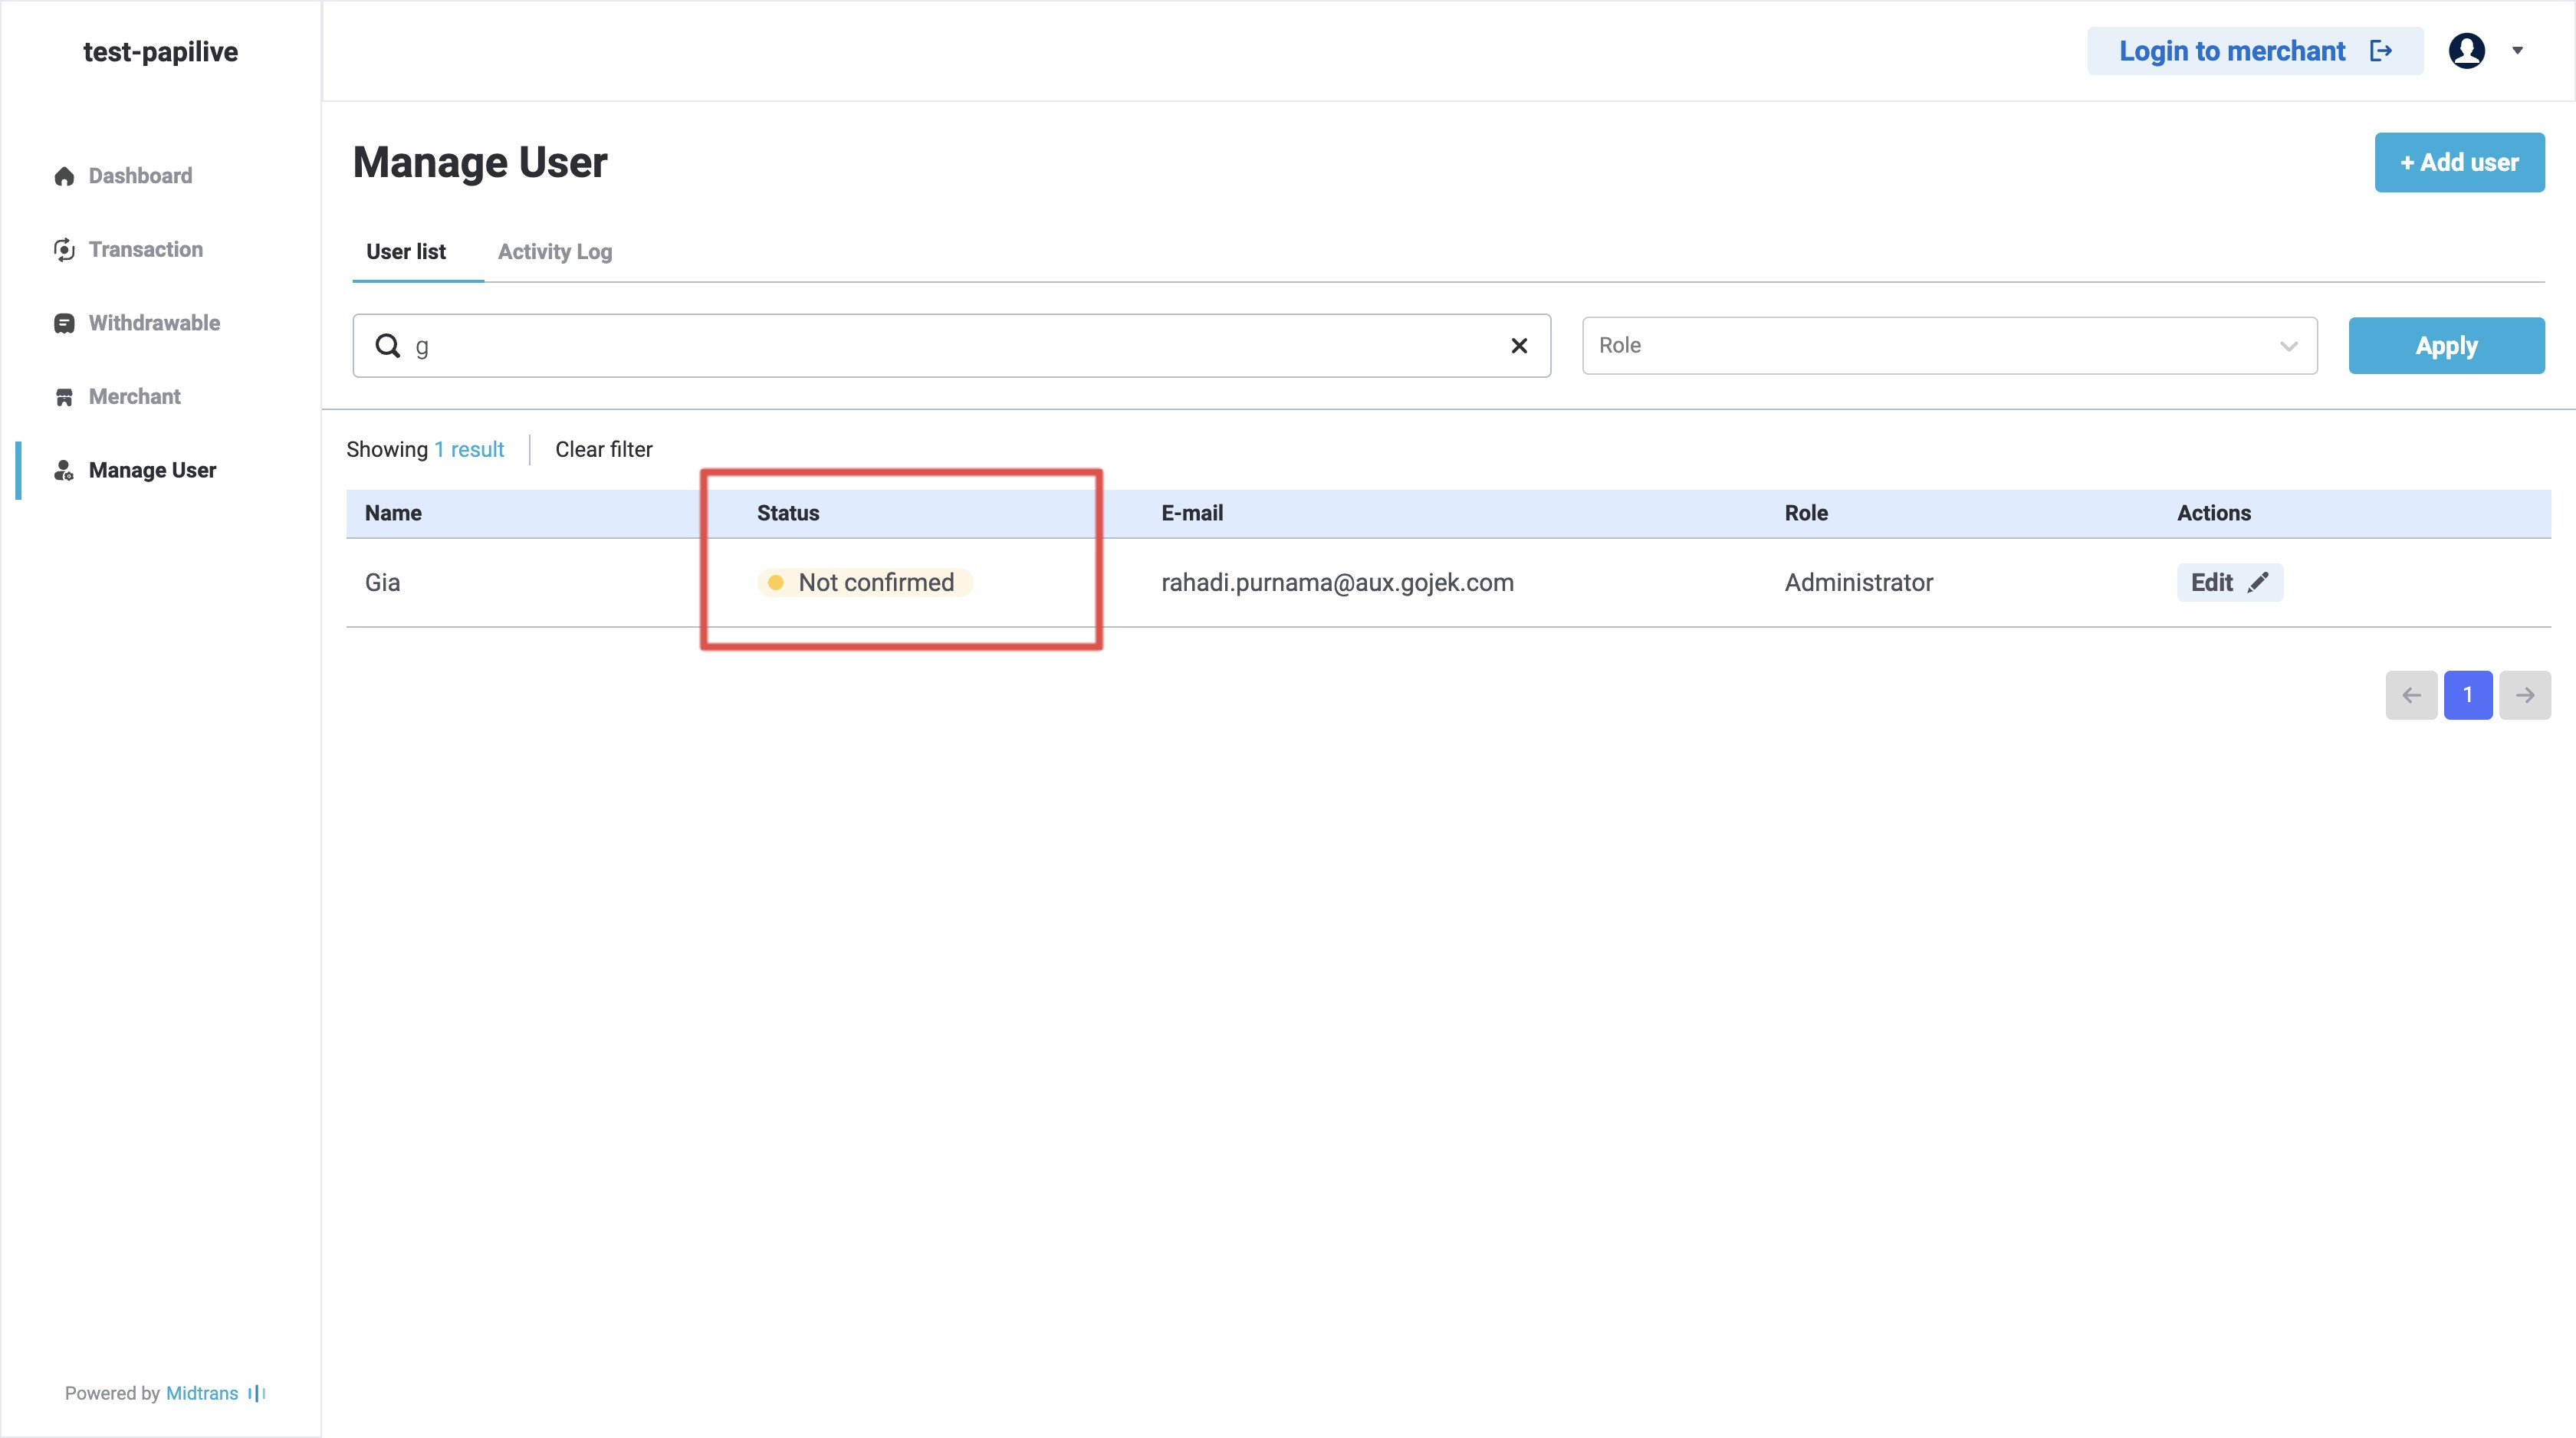
The user needs to confirm the link sent to their email to confirm the account and set up the password. Once done, the user account status will be “Active”.
D. You can also edit the existing users. You can edit the user name, roles, or the assigned merchants by clicking on the “Edit” button.
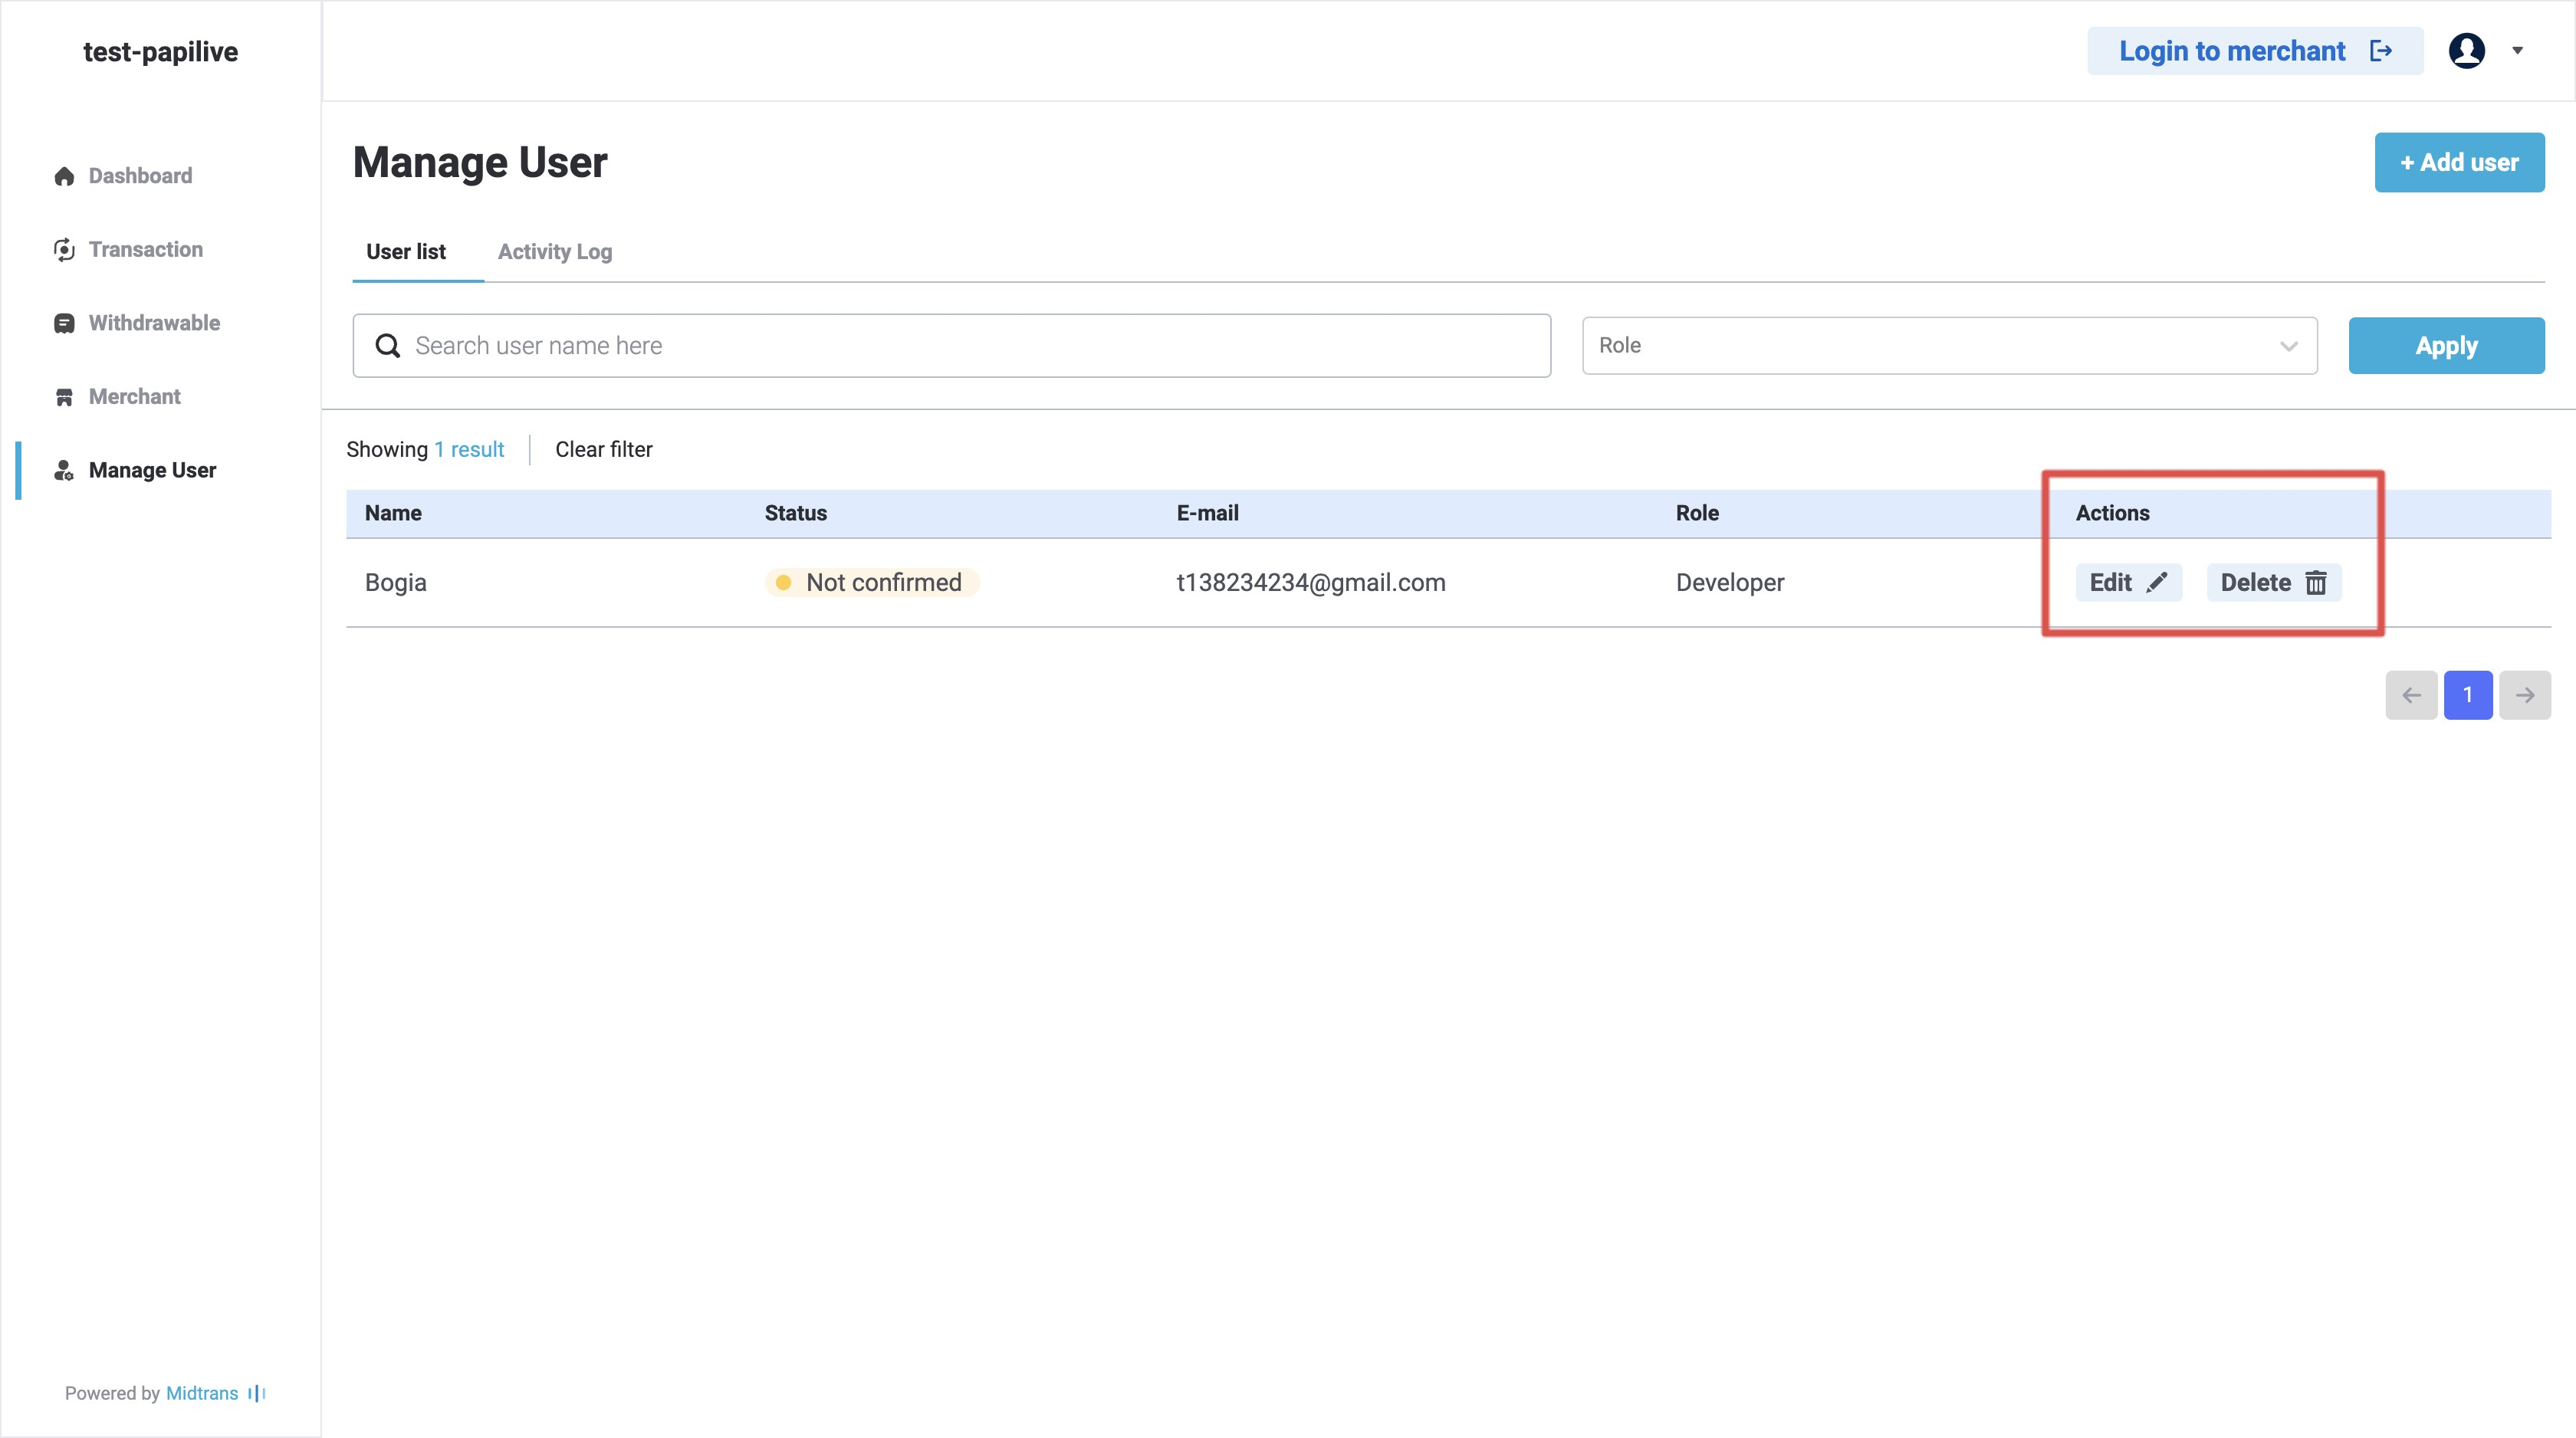
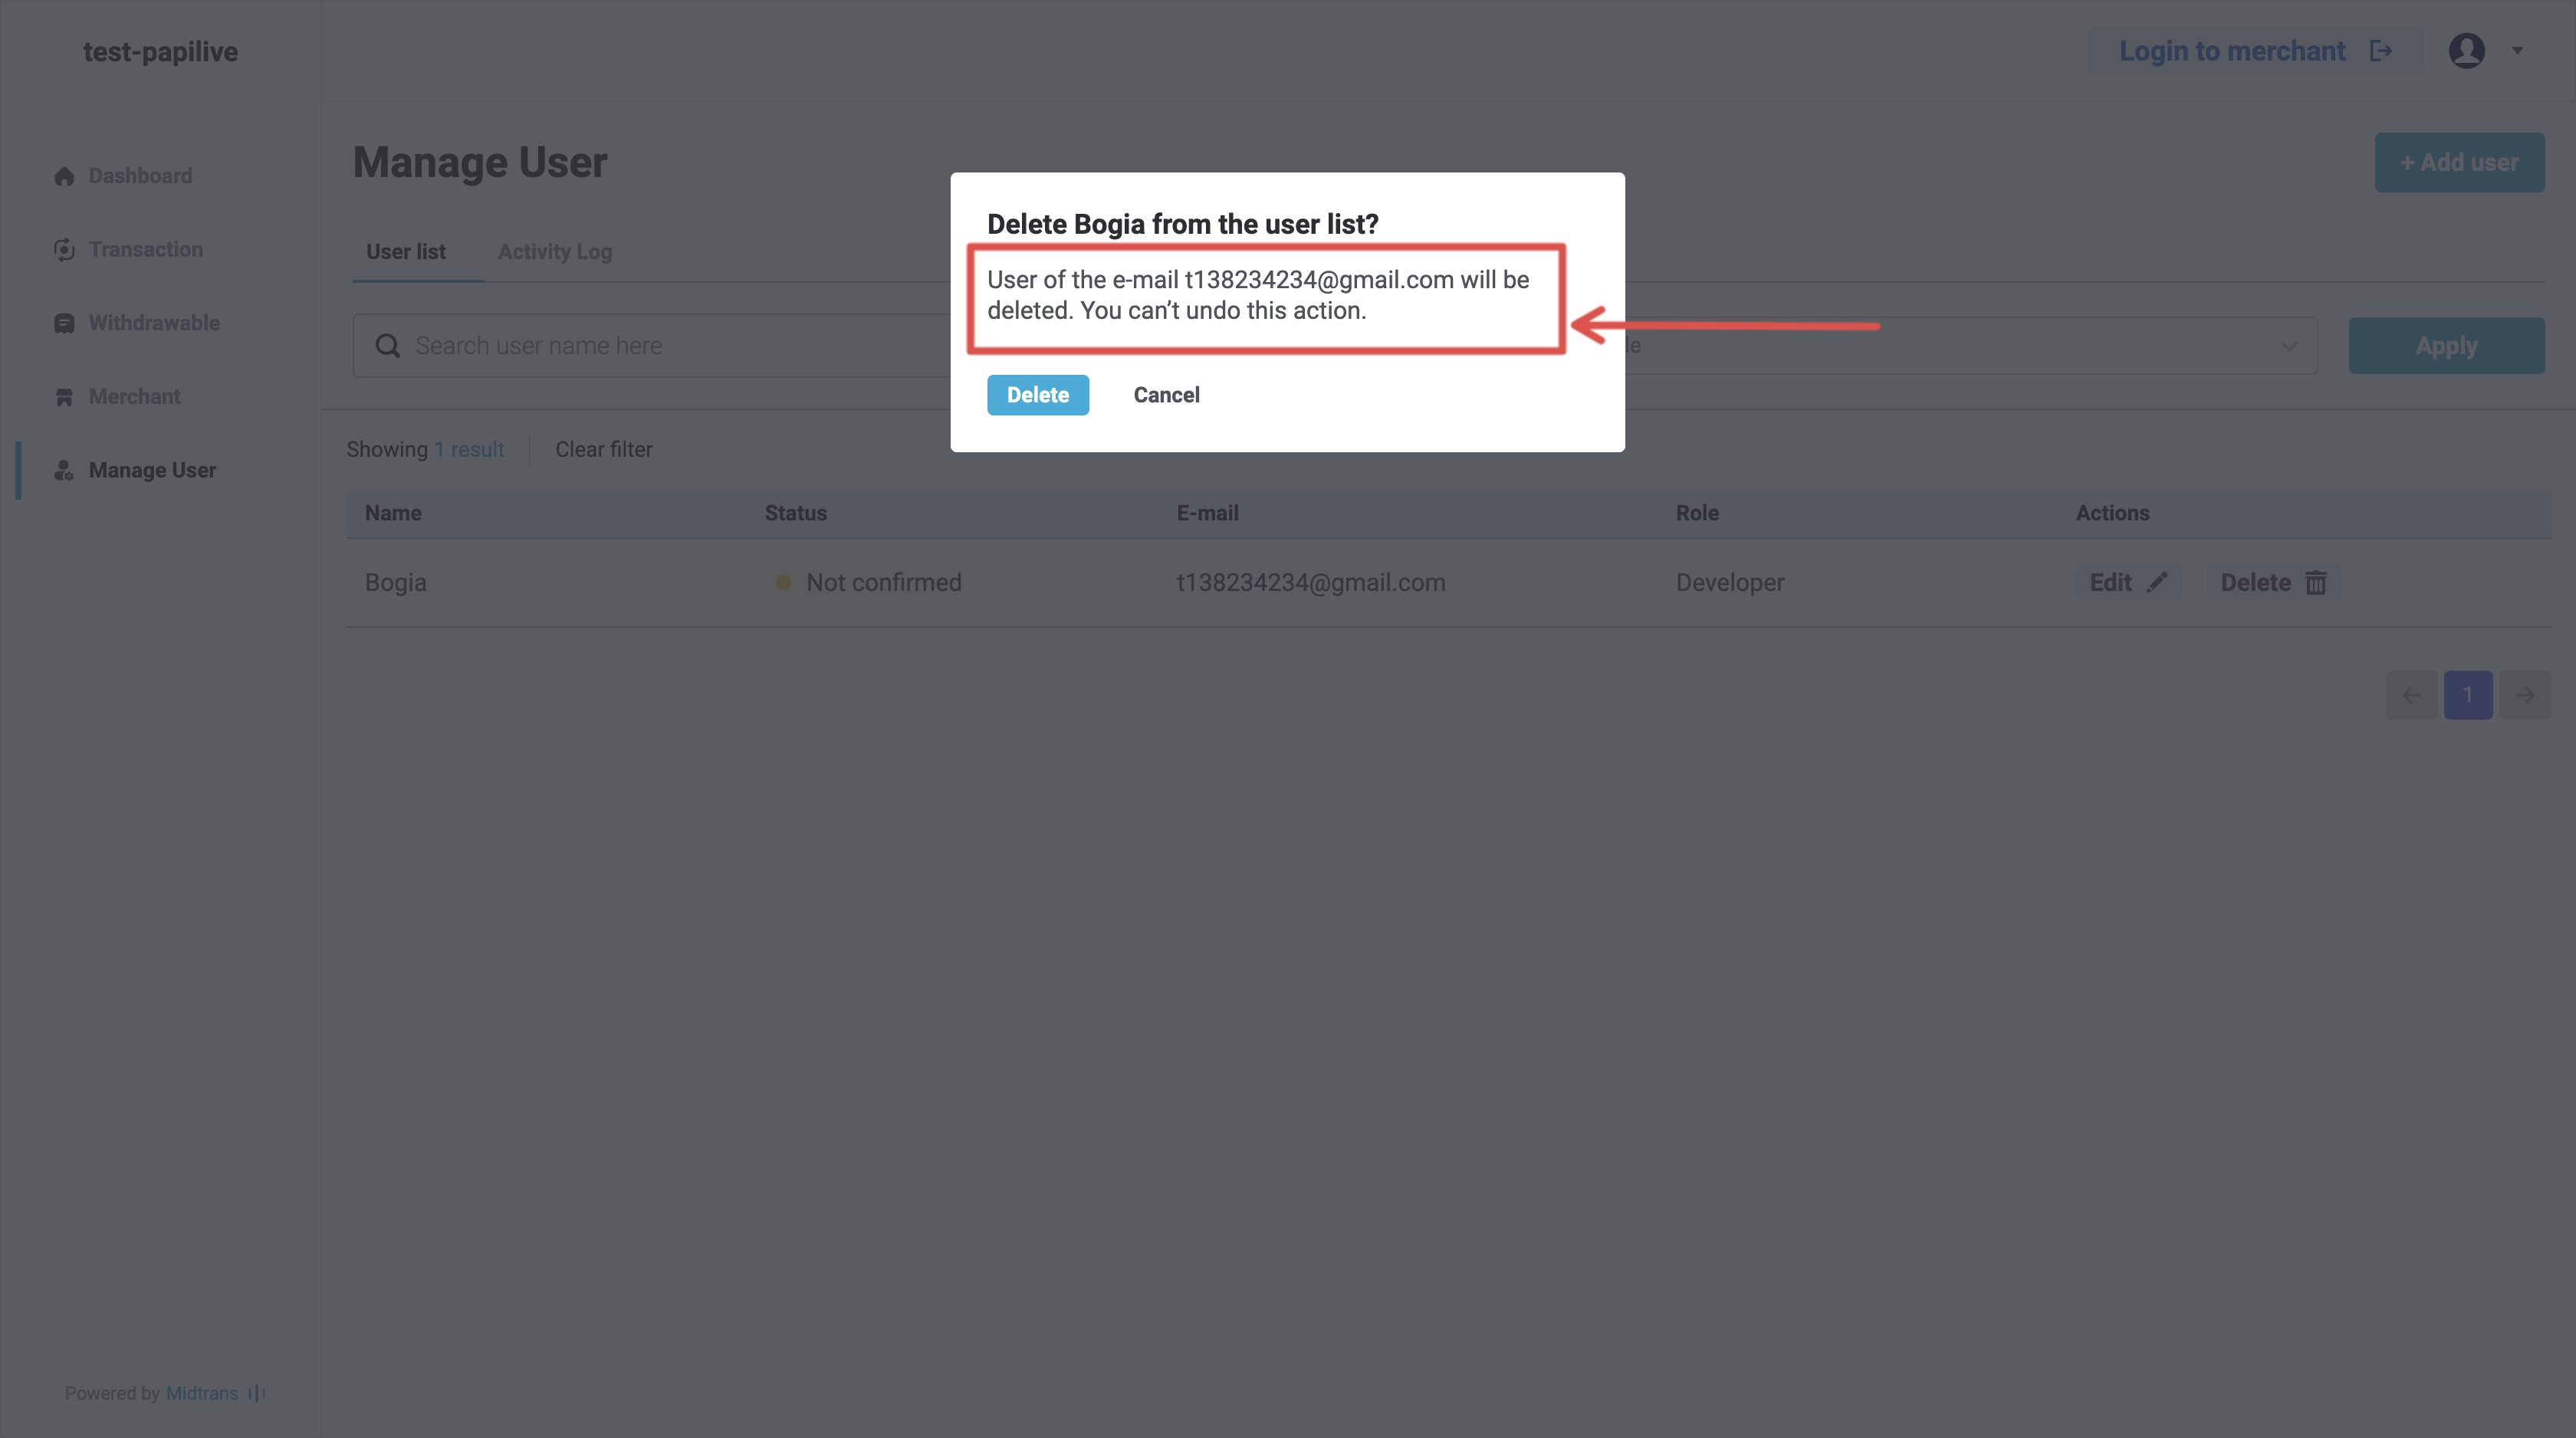
E. If you need to delete users, you can use the “Delete” button on the respective user in this page.
Important ❗Please note that you can’t undo the deletion, so be mindful before deleting users since they will lose access to the dashboard.
Activity Log
You can see a list of the activity log from all users (only Admin can access this page).
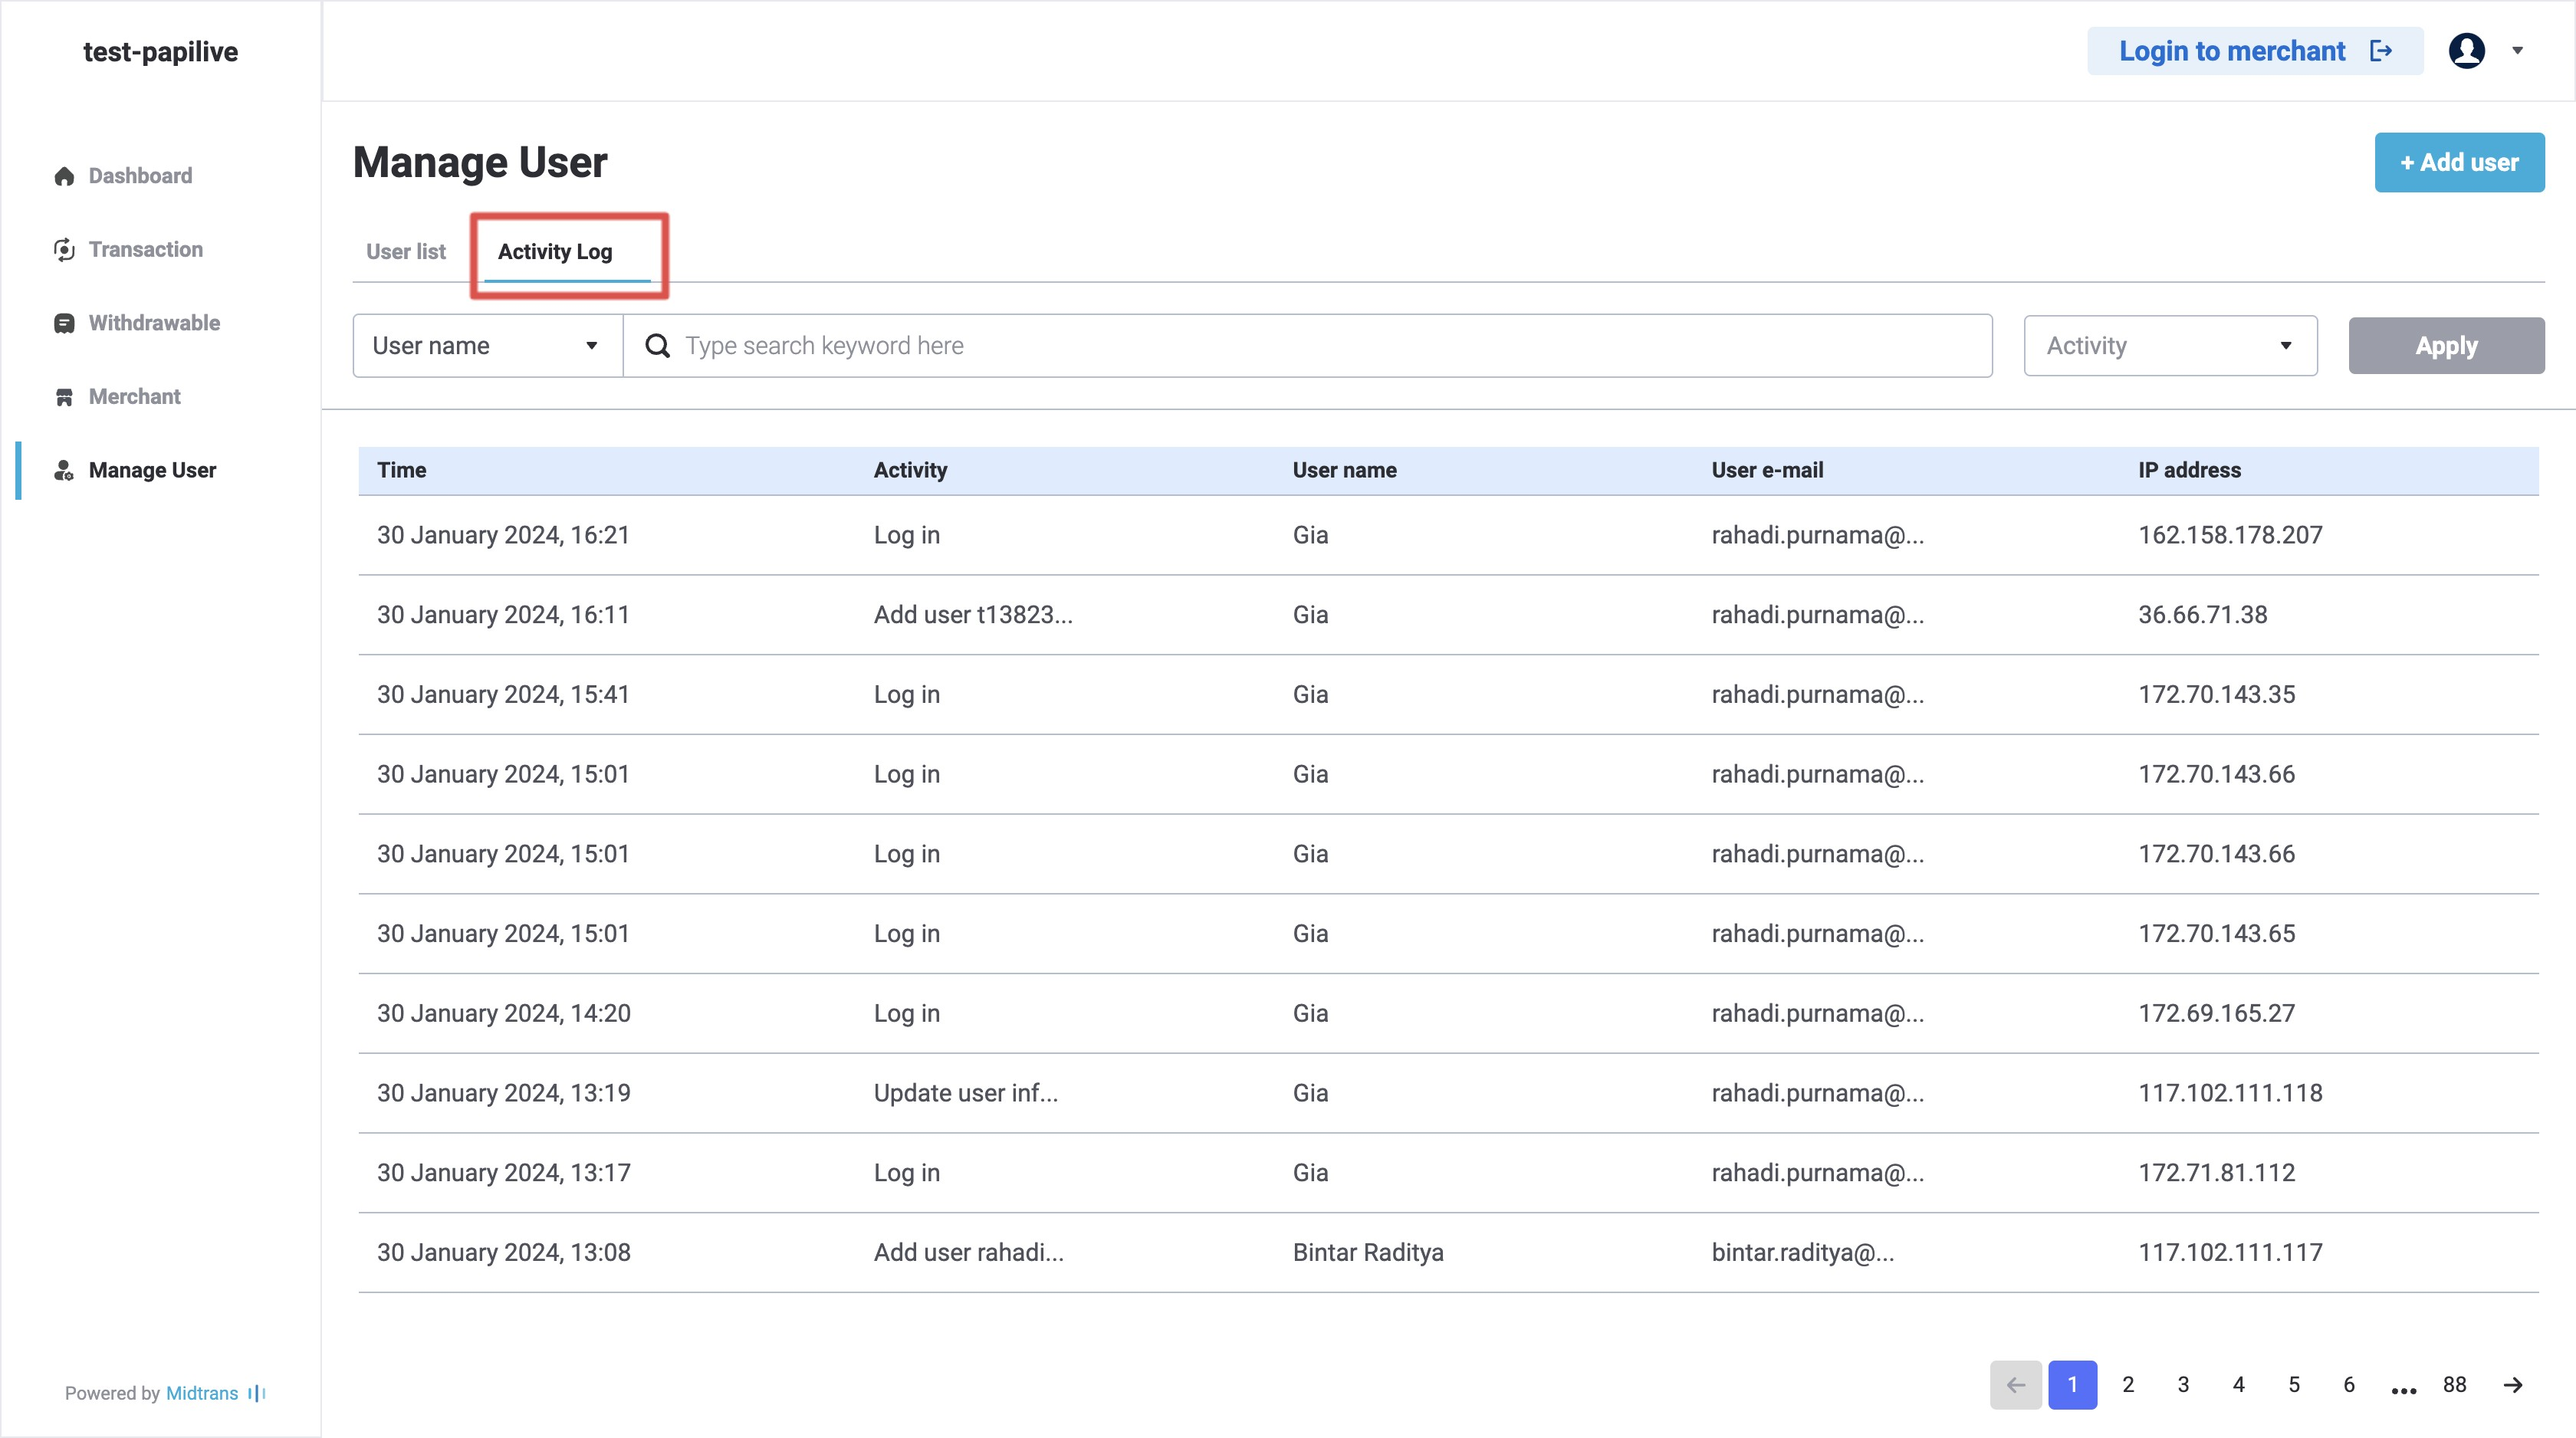
A. You can search the activity log from specific user name, user email, or IP address.
-
Select Activity Log.
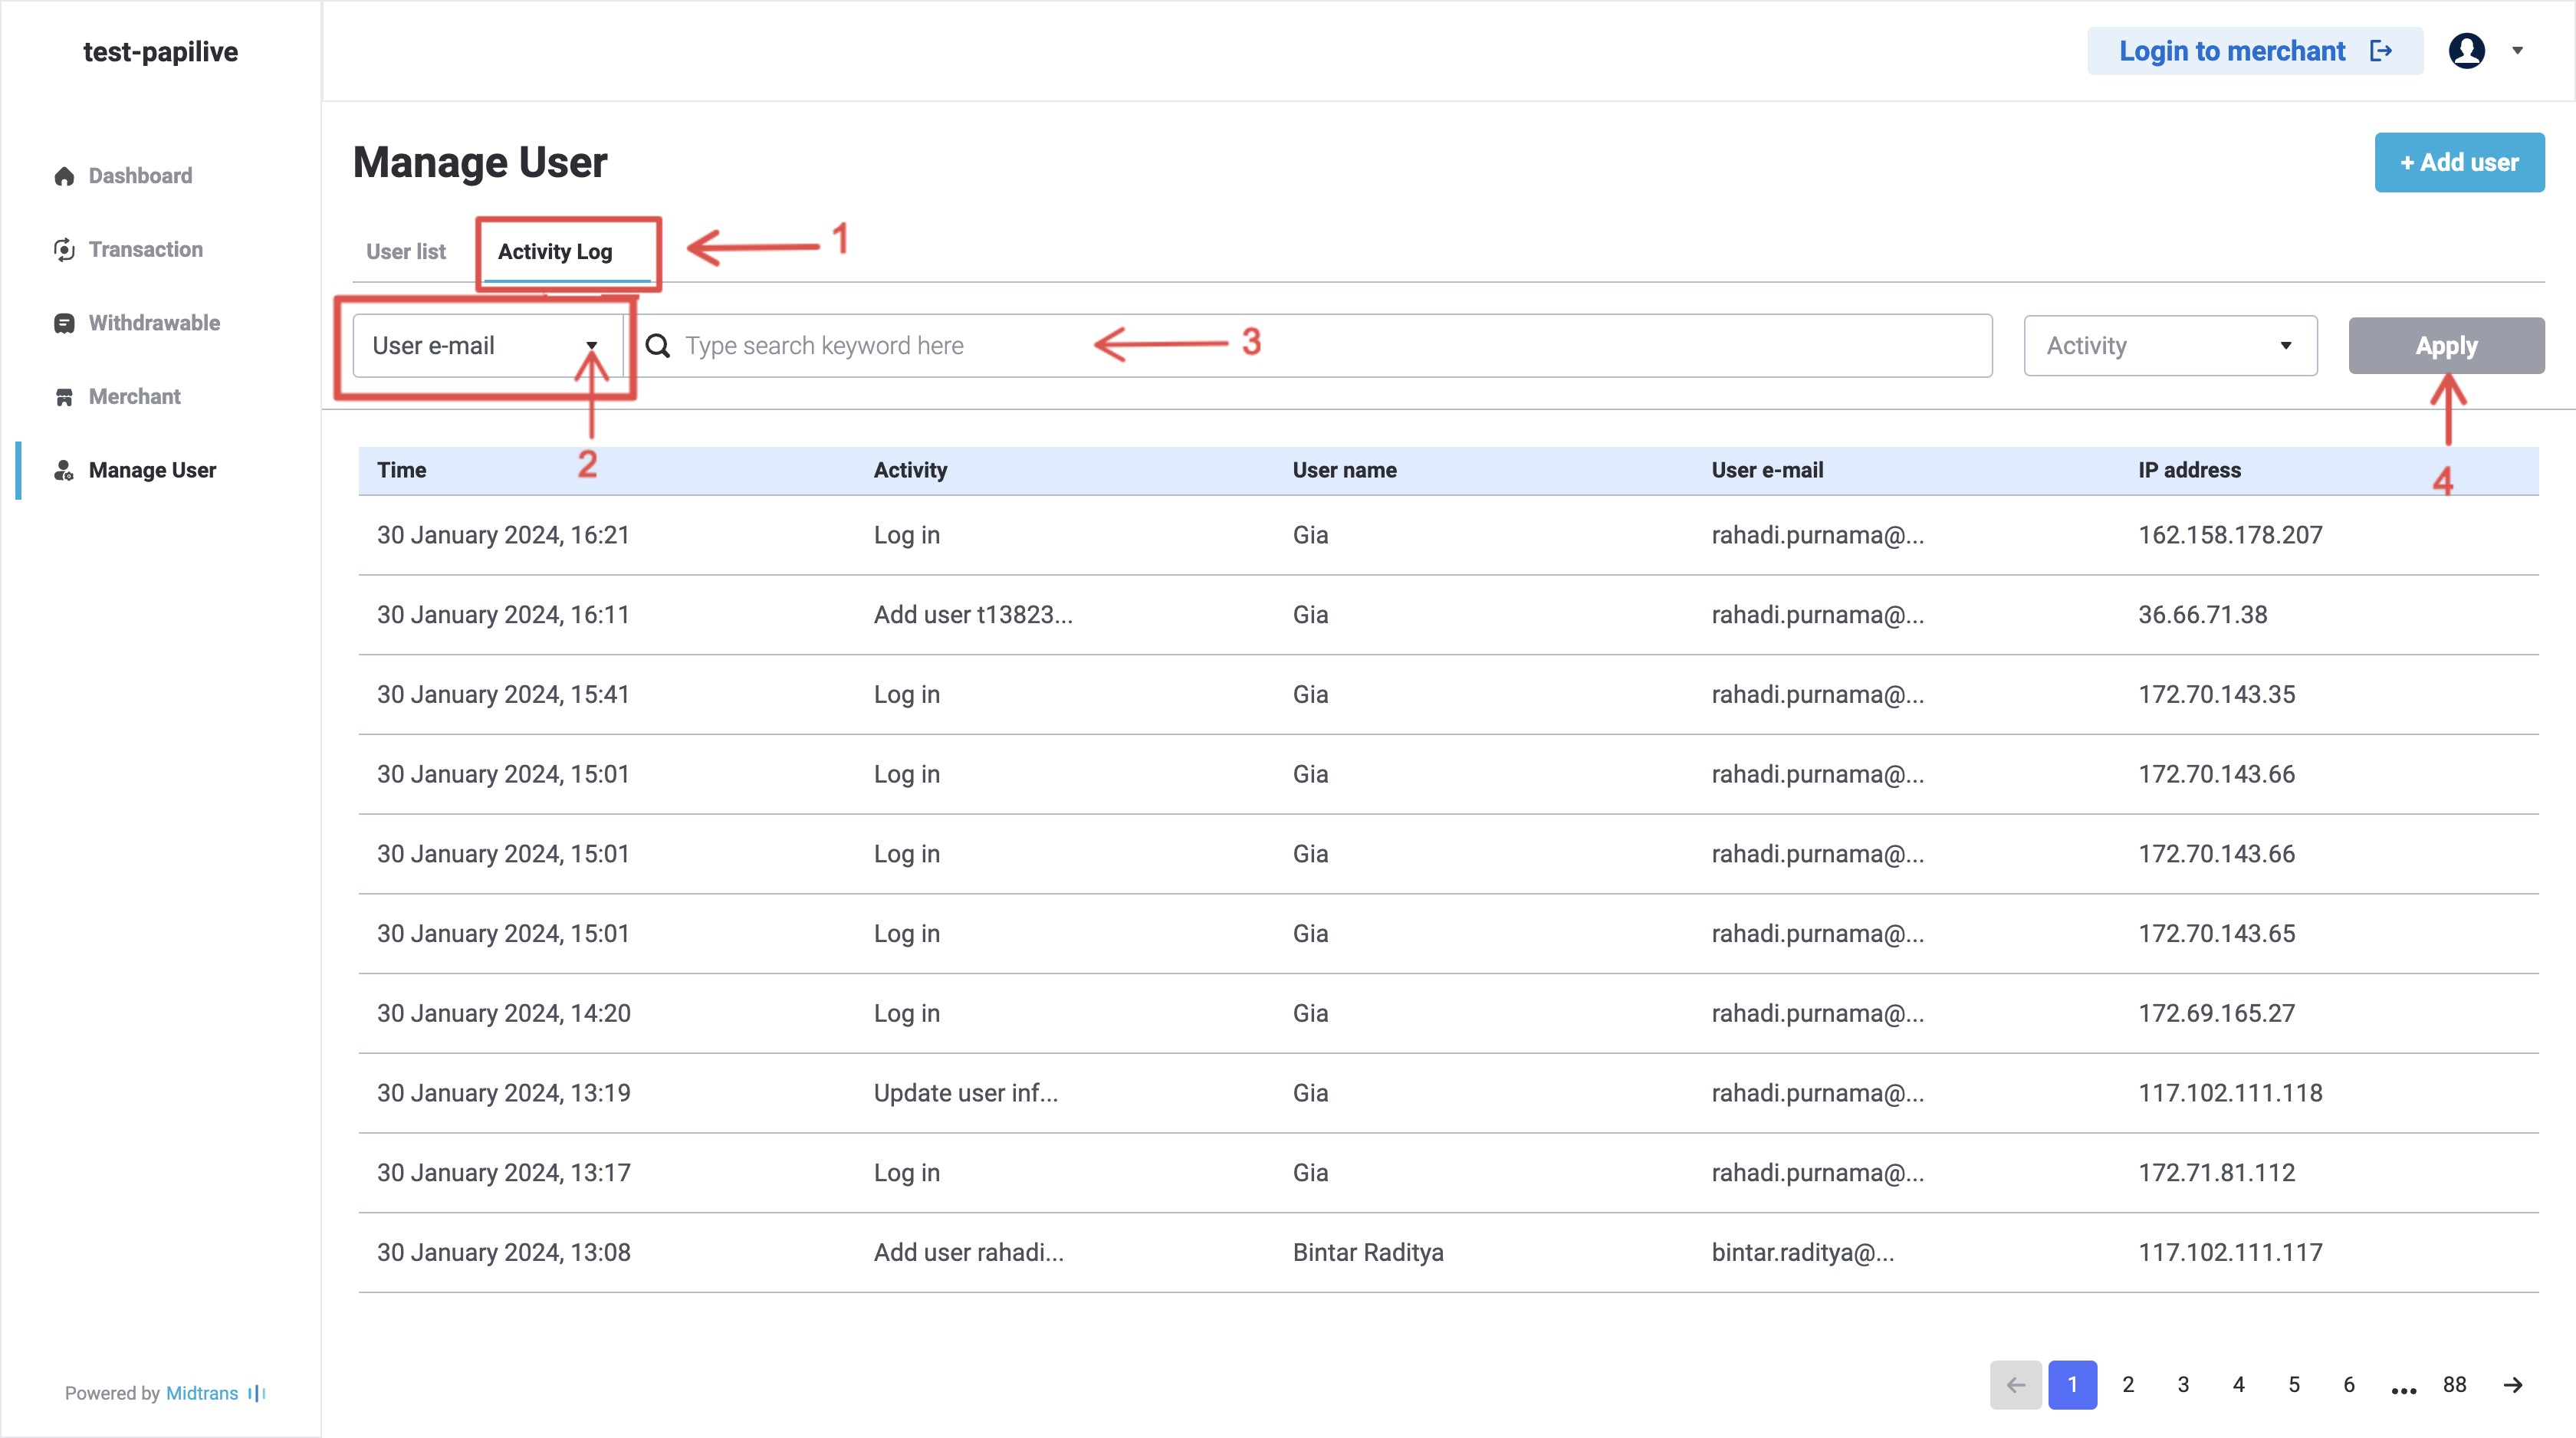
-
Click on the dropdown list, select User name, User email, or IP address.
-
Type the keyword.
-
Click Apply.
B. You can also filter by the specific activity you want to find.
-
Select Activity Log.
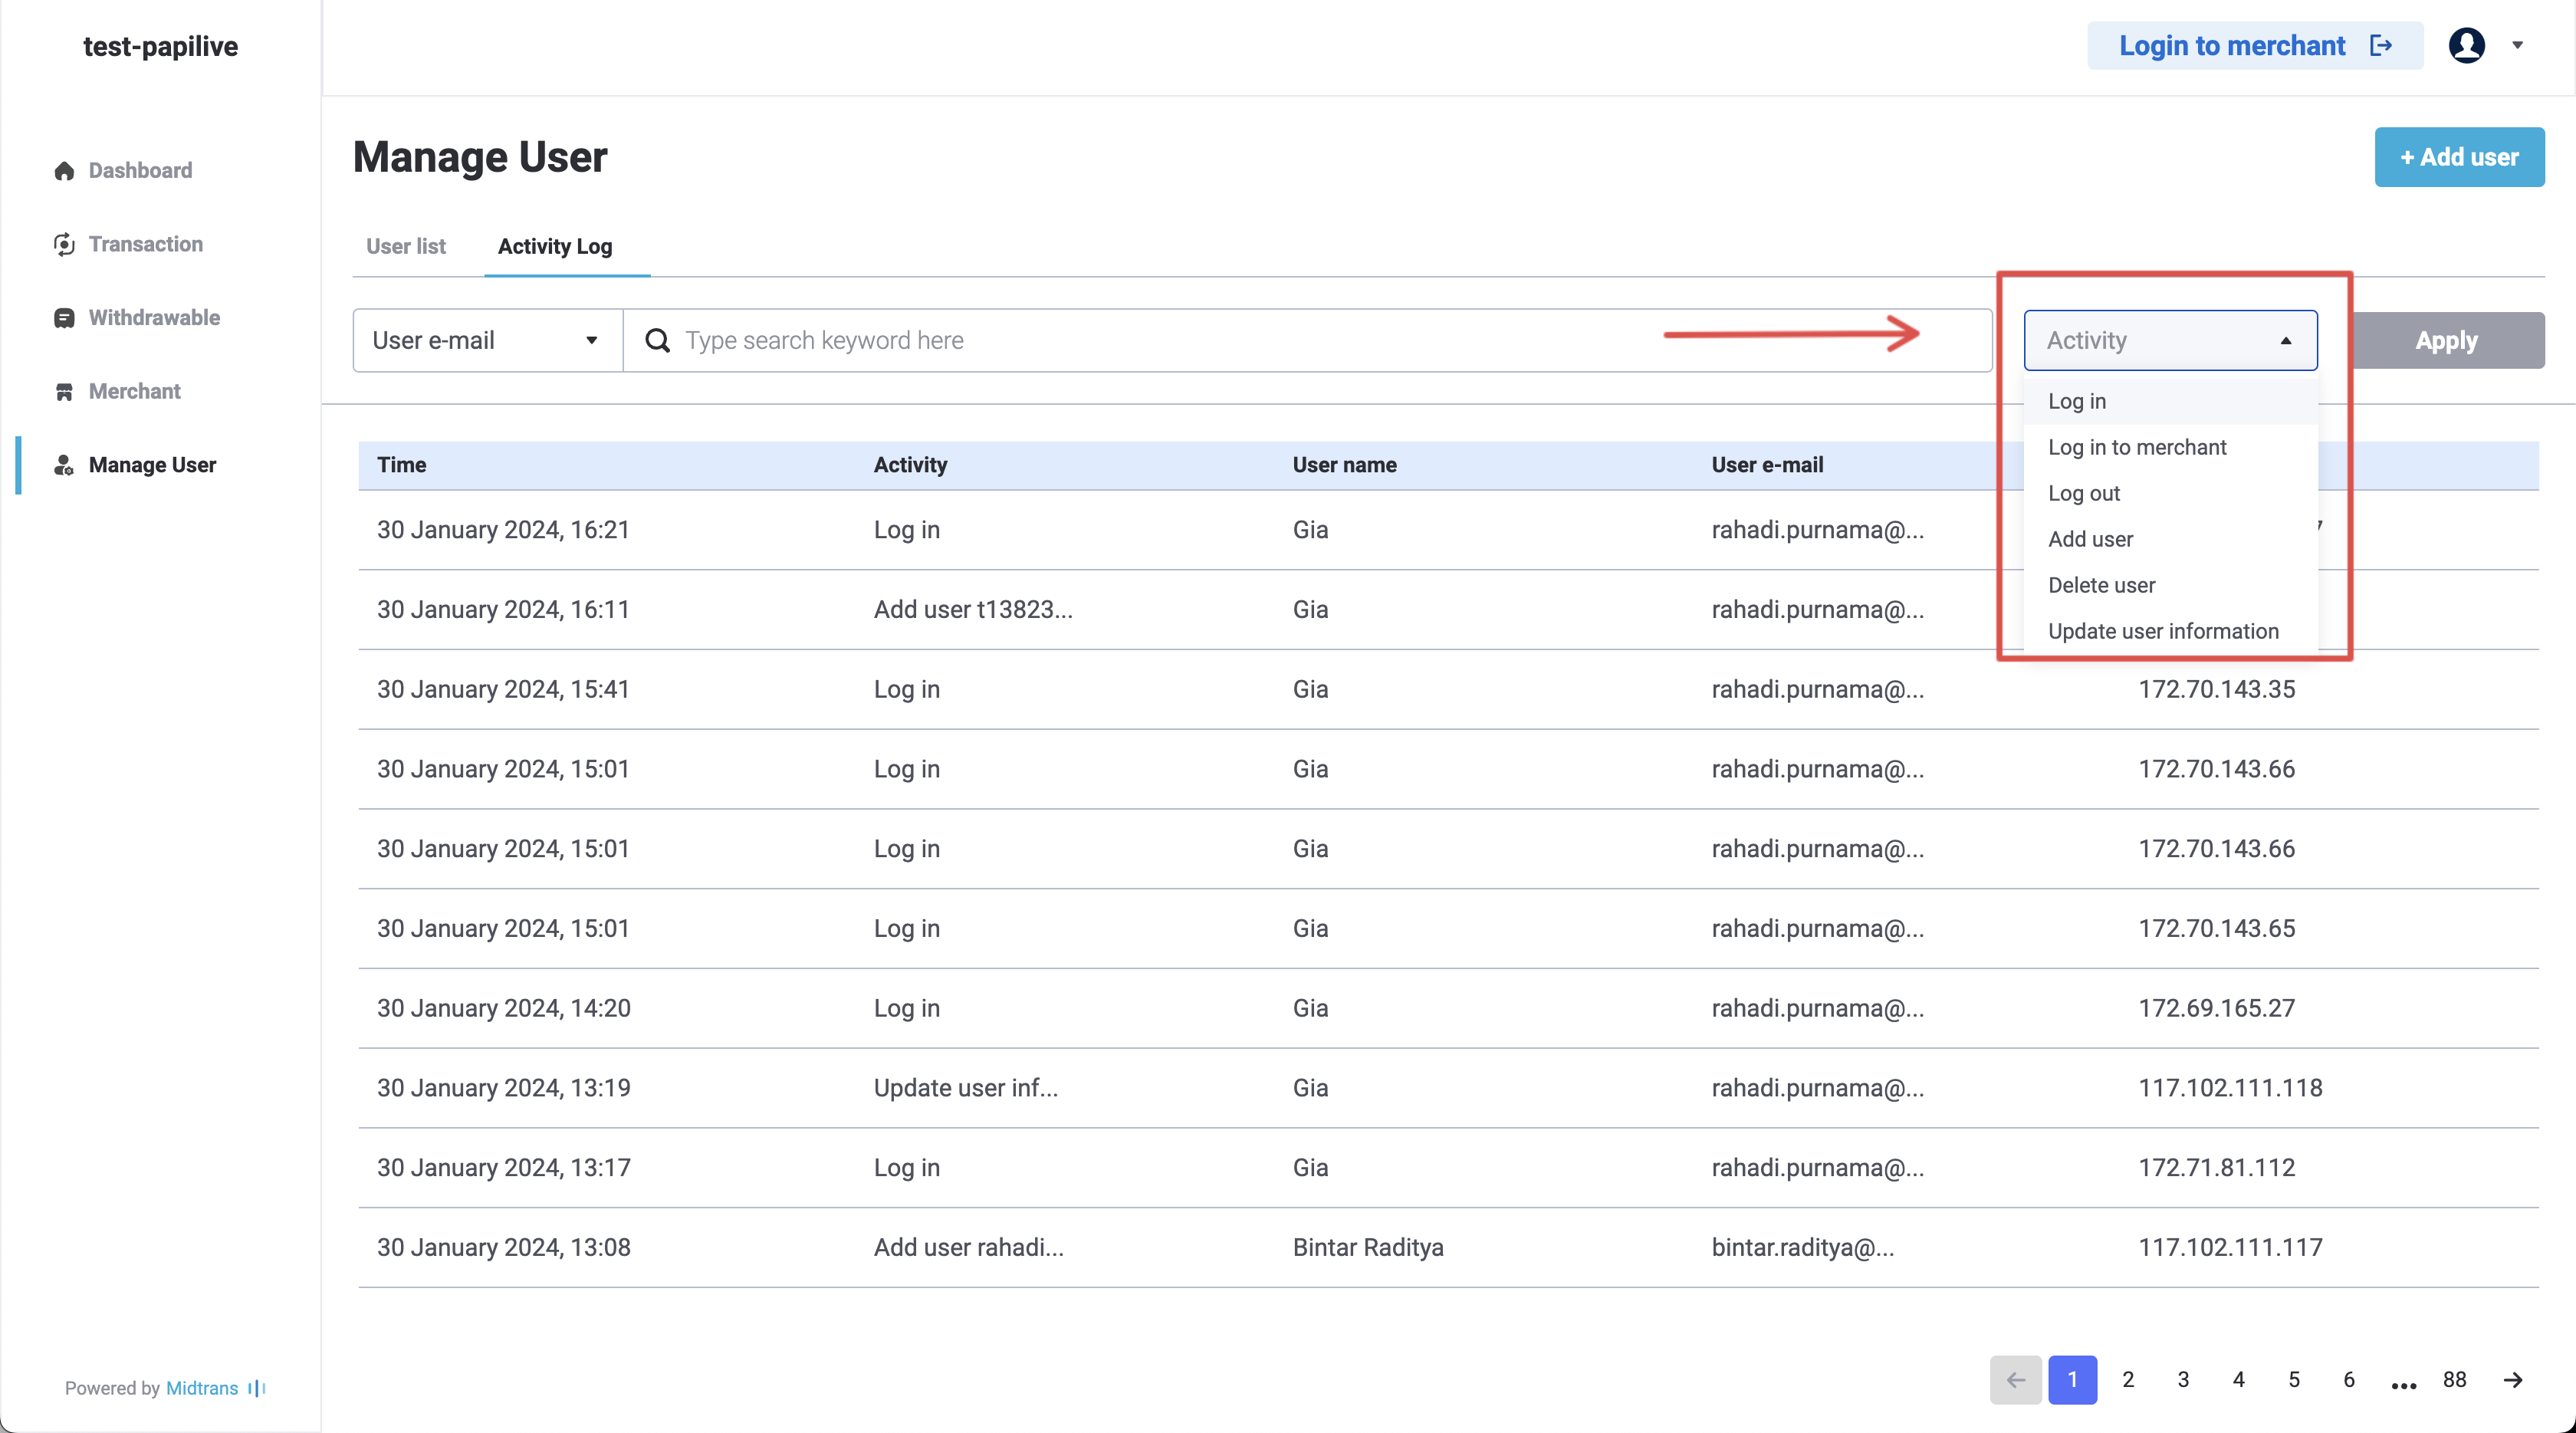
-
Click on the dropdown list, select the specific activity that you need.
-
Click Apply.
Updated 9 months ago