
Accounts Page - Managing Users & Access
Inviting & managing team members
Adding users to dashboard
-
Login to your user account via dashboard.midtrans.com. Make sure you have verified your email first via the verification email we’ve sent you during account creation
-
Once logged in, go to Account > User Management.
-
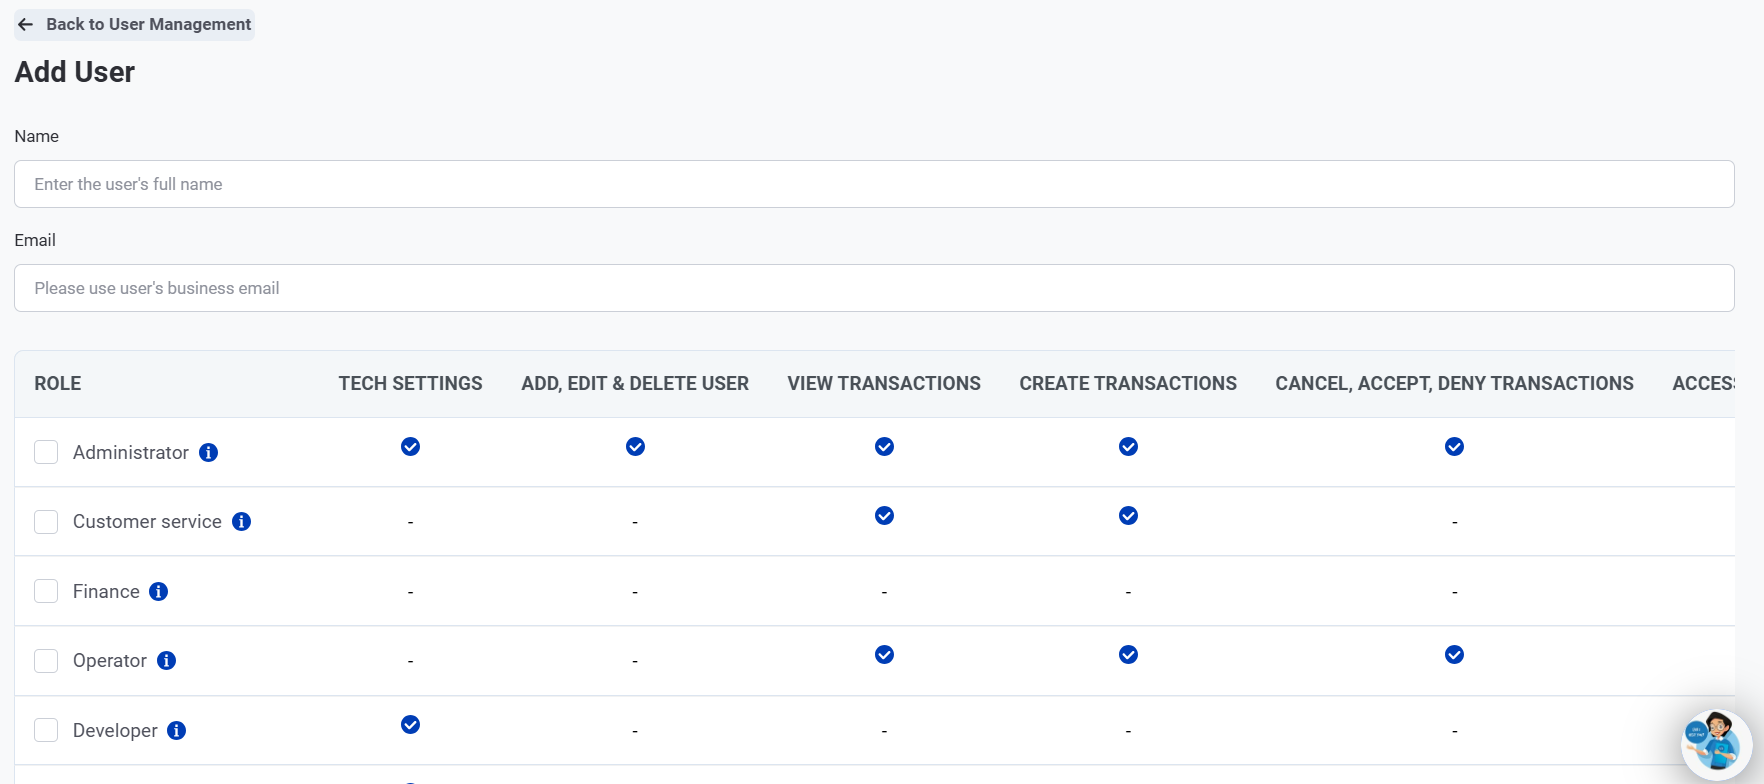
Click the Create New User button, fill in the Name, Email and tick the role(s) you want to assign to said user. Leave the ‘Activate Account’ tick box blank. Hover to the (i) button next to the role name to understand what’s the scope of each role.
-
If email has already been taken, you can choose to use another email, or add an alias to the email (check first if your email provider supports the alias feature - providers like Gmail usually supports this). Alias is useful in the case where you want to use a single email and receive all reports / email notifications to the same inbox across various accounts in Midtrans. To add an alias, add (+) after your email name, and add any alias.
Example :
Original email : [email protected]
Alias : production
Email with alias : [email protected]Then use this email to create the account with. -
Once successfully submitted, invited users will need to confirm first via the email sent to their inbox.
Managing users
- To delete a user, simply go to Account > User Management page, look up the target email, and click delete next to their name.
- You can also edit any created users by clicking the ‘Edit’ button - you can edit their Name and Roles here.
If user missed their confirmation email or their confirmation email has expired, you can resend the confirmation email via this menu as well.
Managing own profile
Go to Accounts > User Profile to manage your own user account's profile. You can change your account's name, phone number and password in this page. Do note that email cannot be changed.
Setting up 2 Factor Authentication
Within the User Profile page, you can also set up 2FA via Google Authenticator for better account security. Scroll down to the Two-factor Authentication section, then scan the provided barcode using Google Authenticator app.
(Optional) Set up IP Whitelist
In the events where you want to whitelist certain IPs that can be used to open Midtrans' Dashboard, go to Account > IP Whitelist. Here, you can optionally add multiple IPs to be added to the whitelist. Do note that only uses with Admin and IT Staff roles can access this page.
IP WhitelistShould you opt to utilize the IP Whitelist system, whitelist the IP that you currently are using to open the dashboard first before adding the rest - otherwise you might lose access to the dashboard immediately.
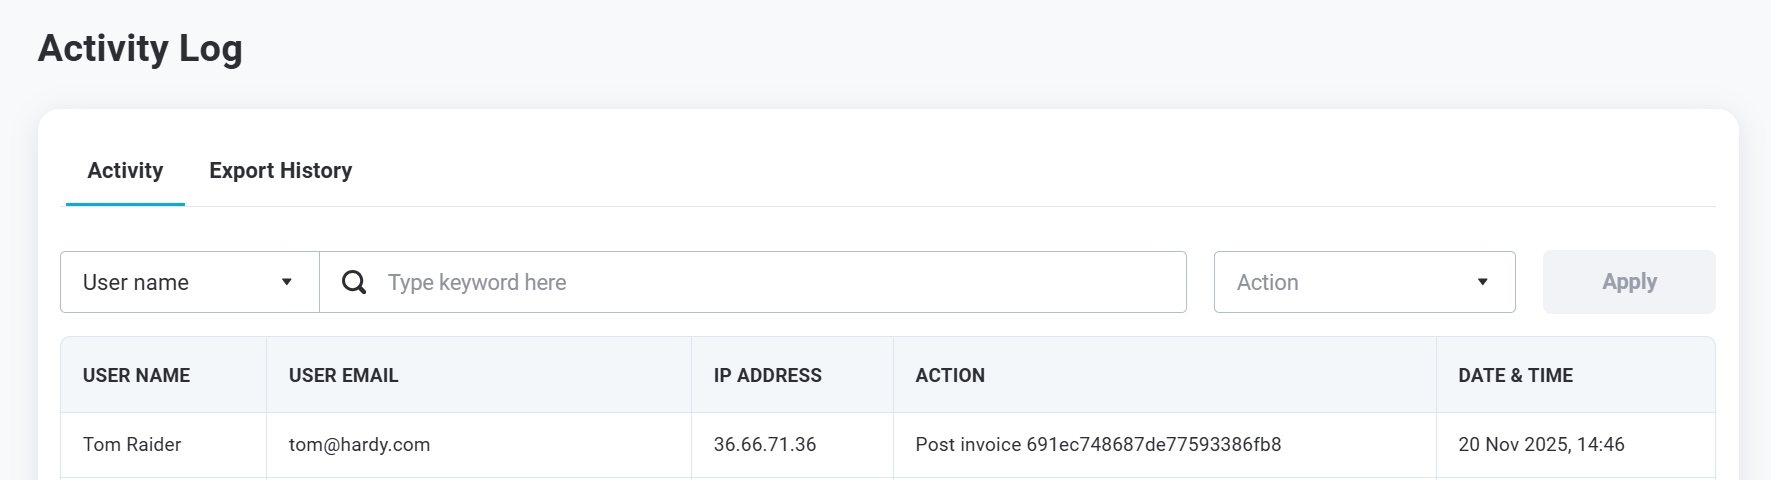
Monitoring user activities via Activity Log
You can also monitor the actions that have been taken within the dashboard by your users via Midtrans's Dashboard Activity Log page (Account > Activity Log). Only users with the role Admin and IT Developers can access this page.
Updated 8 months ago