
This guide explains how to bind your project to the GoPay MiniApp Portal and build, upload, and publish your MiniApp version using VS Code or the MiniApp Portal.
Quick Start: Follow the bold actions to publish your MiniApp version. You can do this automatically in VS Code or manually in the portal. The manual steps are optional, skip them if you’ve already released via VS Code.
1. Bind your Project to GoPay MiniApp Portal
-
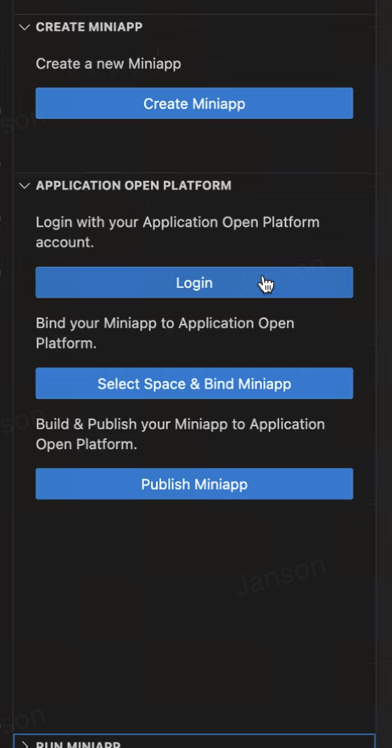
In VS Code, open the GoPay plugin sidebar and select the “Login” button.
- Make sure you change the host and add your username and password in the settings screen
-
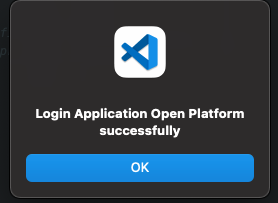
If the binding is successful, a confirmation message will appear and click "OK".
-
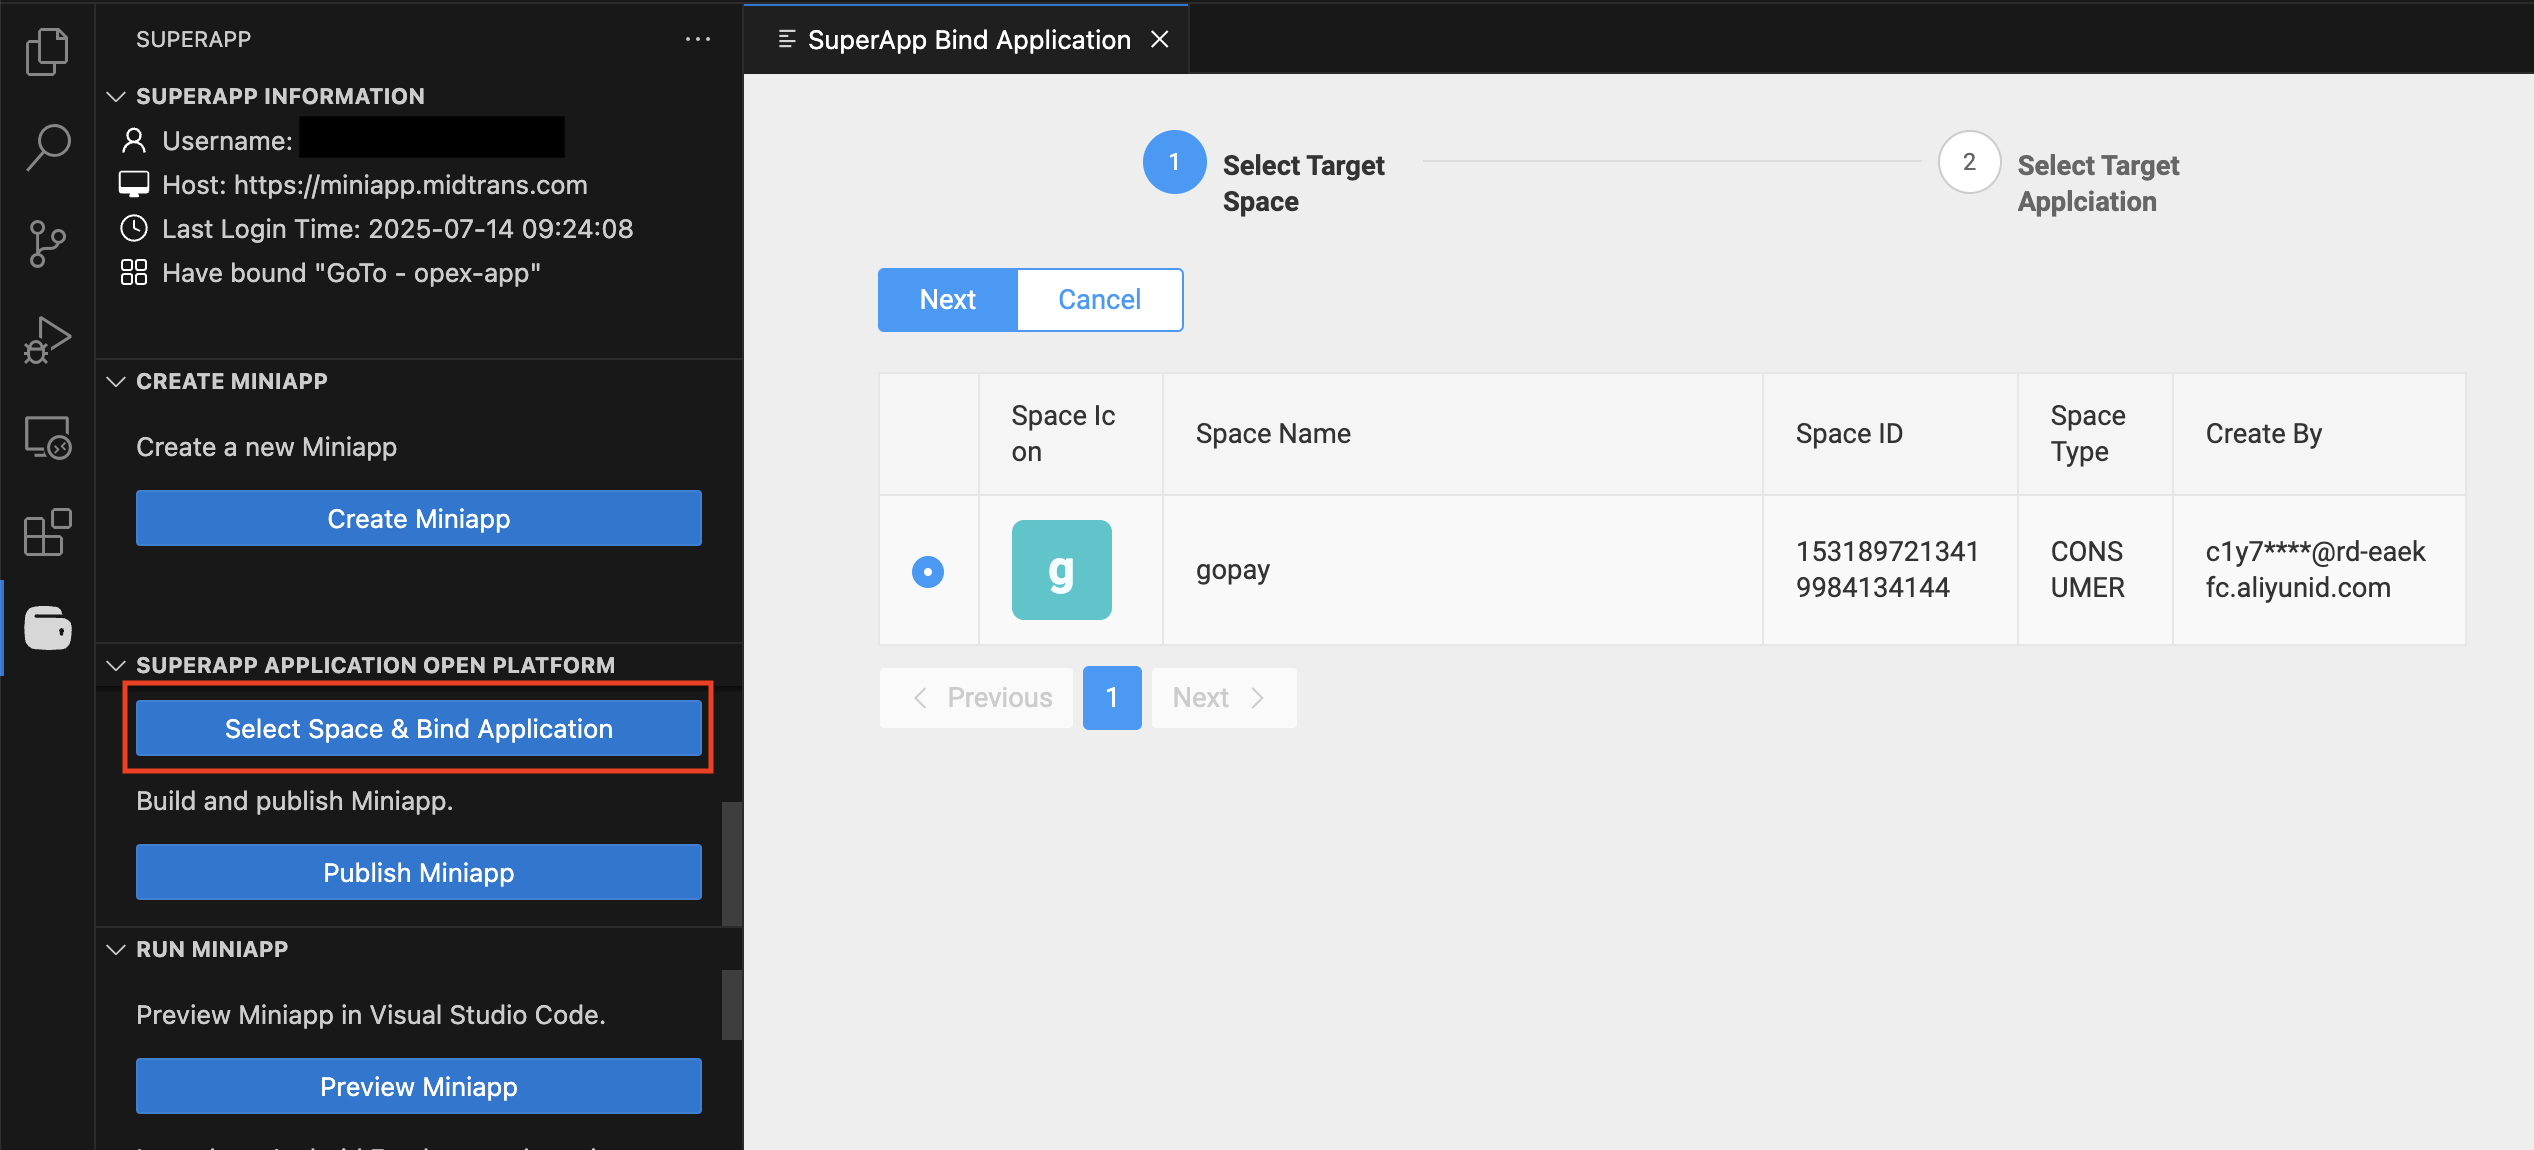
Click “Select Space & Bind Miniapp” to select the GoPay application you want to link to your MiniApp project.
-
If your MiniApp is already bound, you’ll be prompted to rebind.

-
Select Yes to choose a different app, or No to keep the current one.
-
2. Build and Publish your MiniApp
There are two ways to build and upload a version:
-
Publish via VSCode (Automatically)
We're recommending to follow this to simplify the process steps-
In VS Code, click “Publish MiniApp”
The extension fetches the latest version, updates it in package.json, and prepares it for release.
It then runs npm run build, compresses the build output, and uploads it automatically.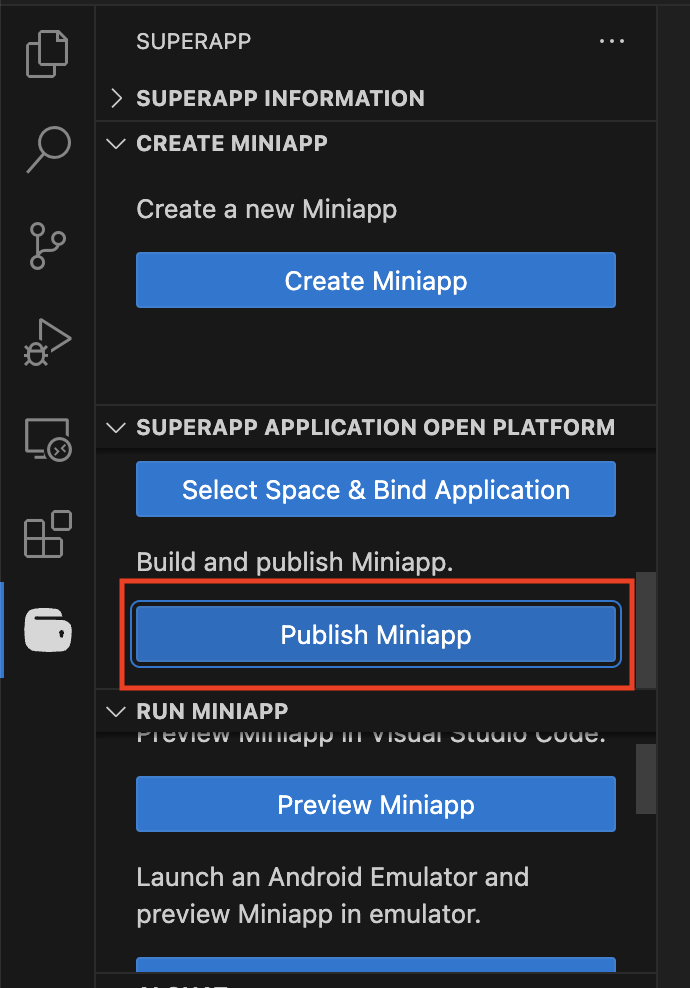
-
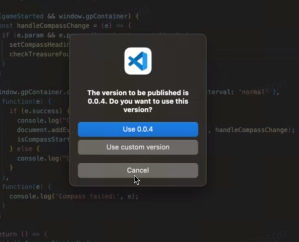
Click the latest version.
-
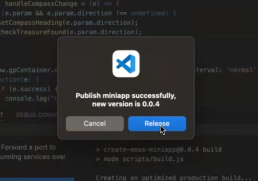
Click "Release".
-
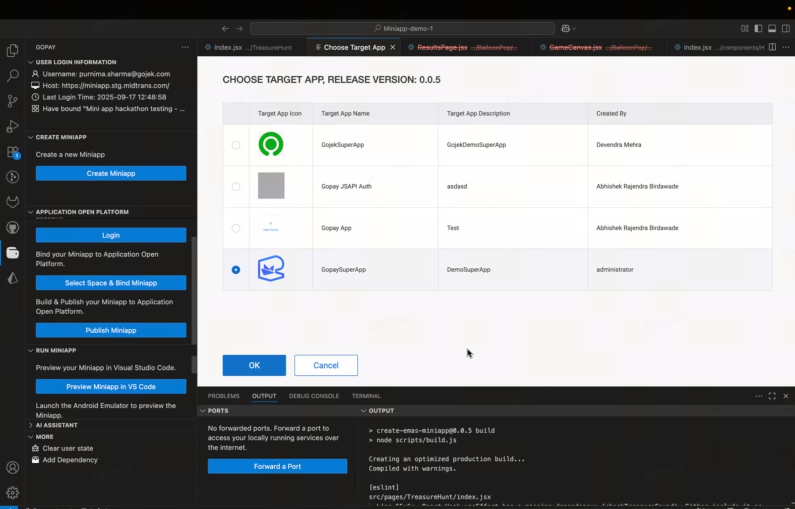
Choose the target app for release and click "OK"
-
Optionally, click Show Temporary Code to generate a QR code for testing your MiniApp.
Note: This QR will not work, to test your miniapp please refer here
-
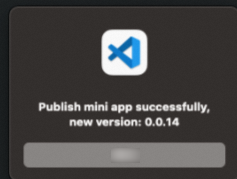
If the publish is successful, a confirmation message will appear
-
-
Publish via GoPay MiniApp Portal (Manual)
If you’ve already published the MiniApp in VS Code, you may skip these steps-
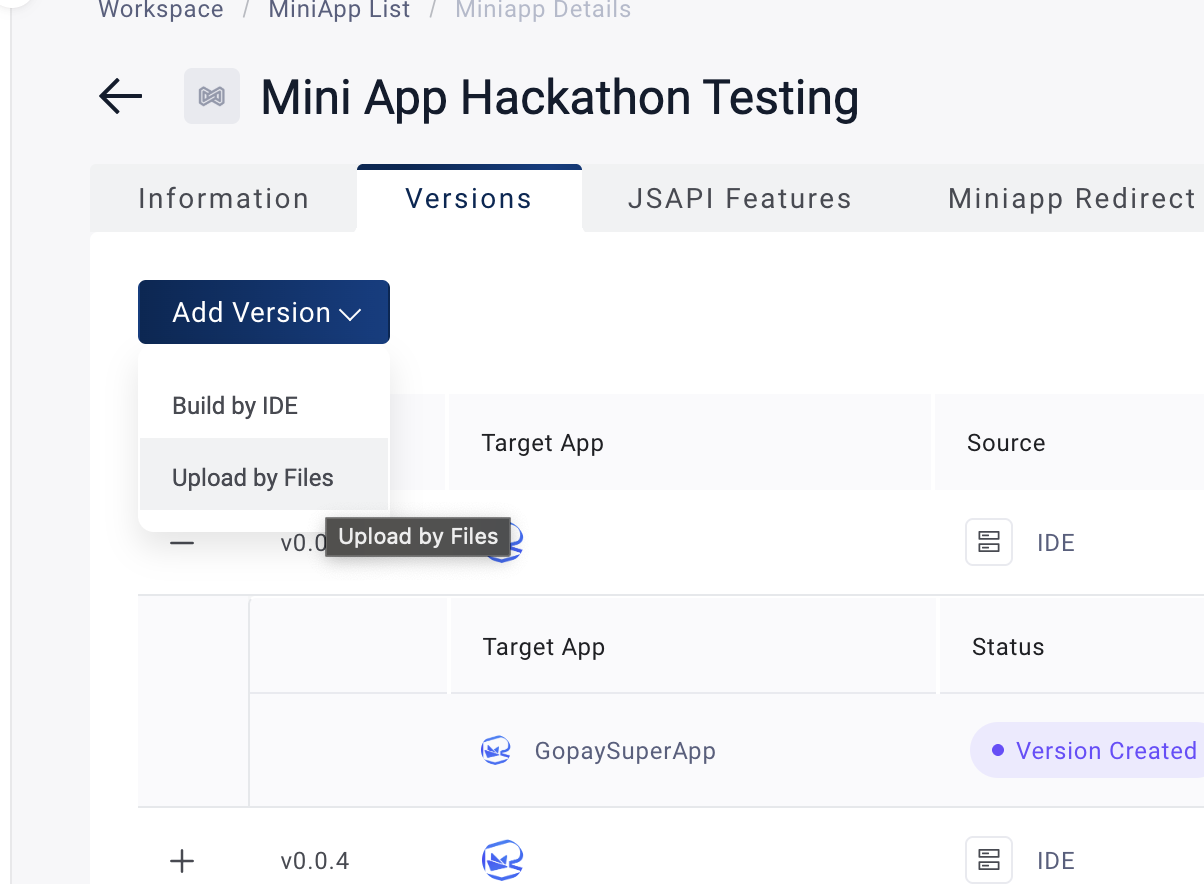
Login to the GoPay MiniApp Portal, select your MiniApp, go to the Versions tab, and click "Add Version" and select "Upload by Files"
-
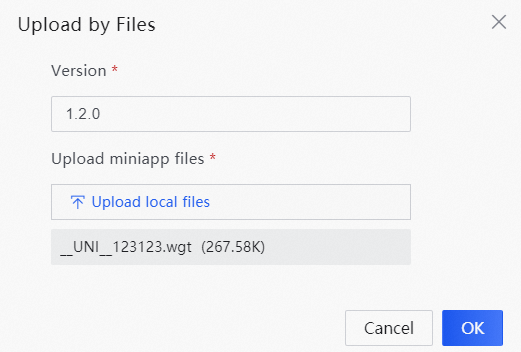
Upload your app package (ZIP) and click "OK"
-